
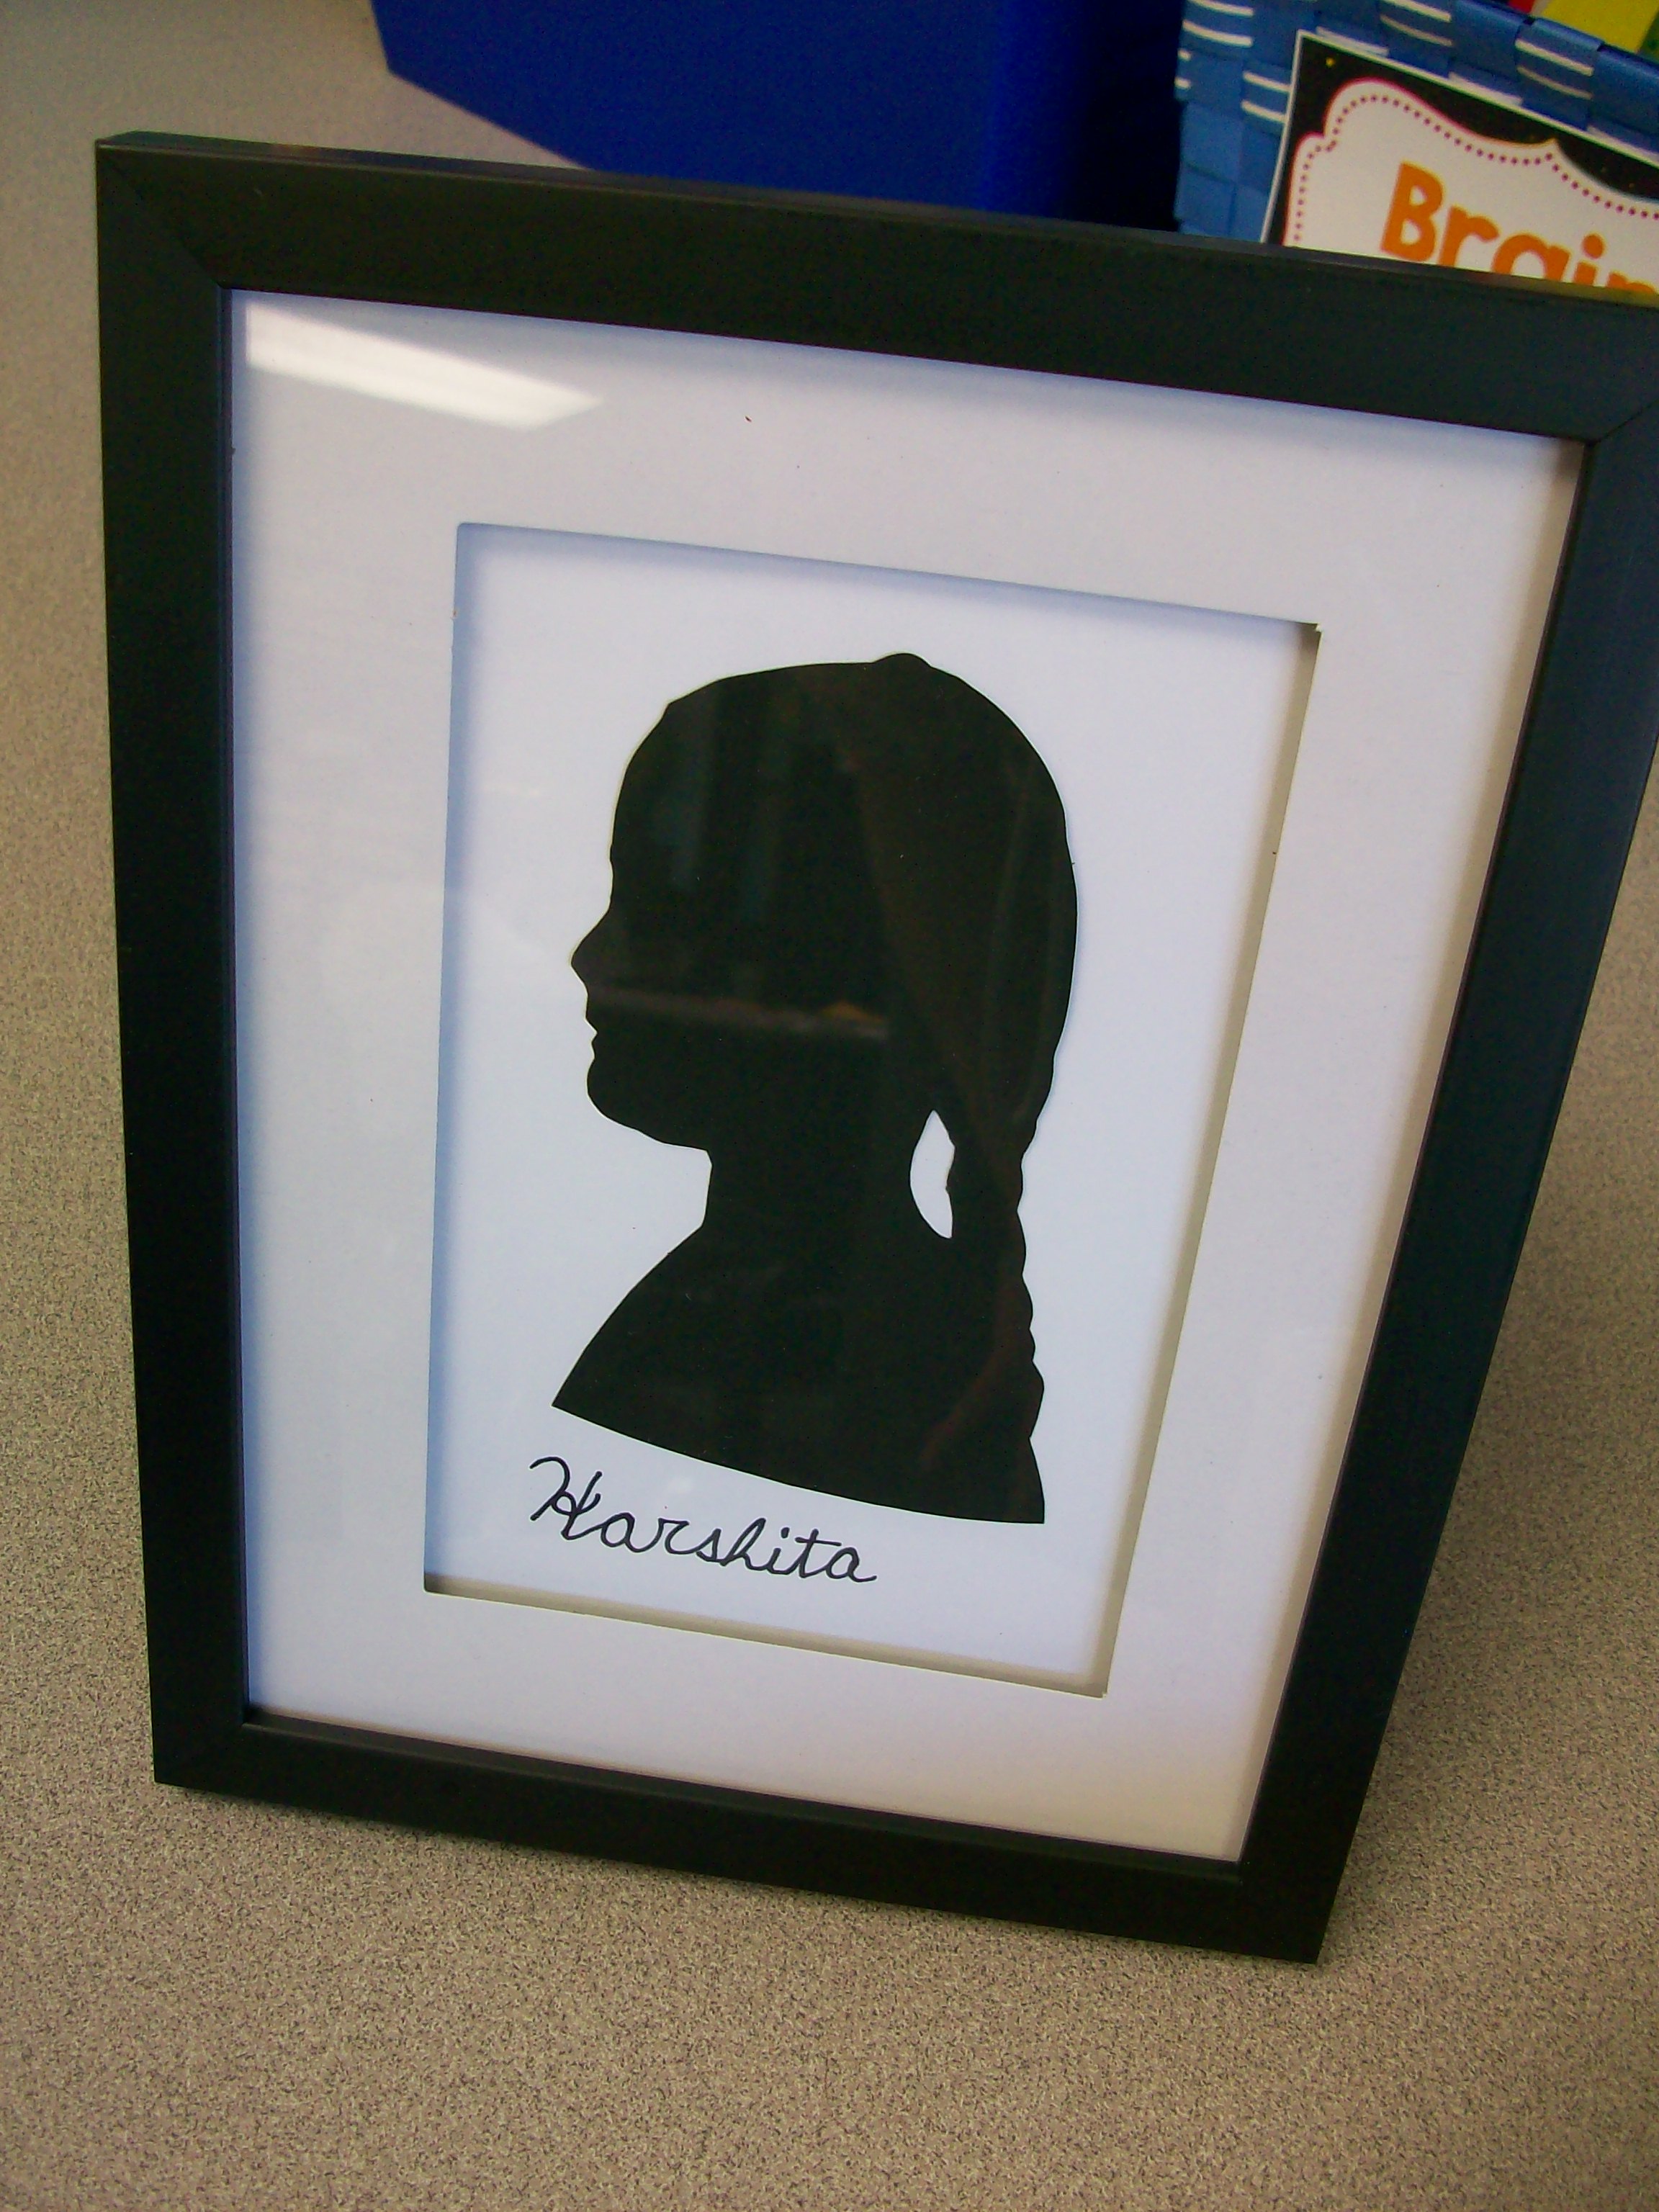
This is definitely my most favorite Mother’s Day project! To be upfront, it takes a lot of work on the part of the teacher. Essentially, you need to take a profile pic of every student, resize, print, cutout against black cardstock with super fine-point scissors, (kids gluestick the image on white cardstock and write their names in cursive with a very fine black Sharpie below), open and clean packaged frames, frame each silhouette, (kids wrap and make the card). Like I said, LOTS of work for the teacher. However, the magic is worth the time and effort. I mean, these silhouettes look JUST like each kid!. After I cut them out of the black paper, I use my document camera and play a guessing game with the class. They can call out the name of the classmate in three seconds on less every time. So fun!
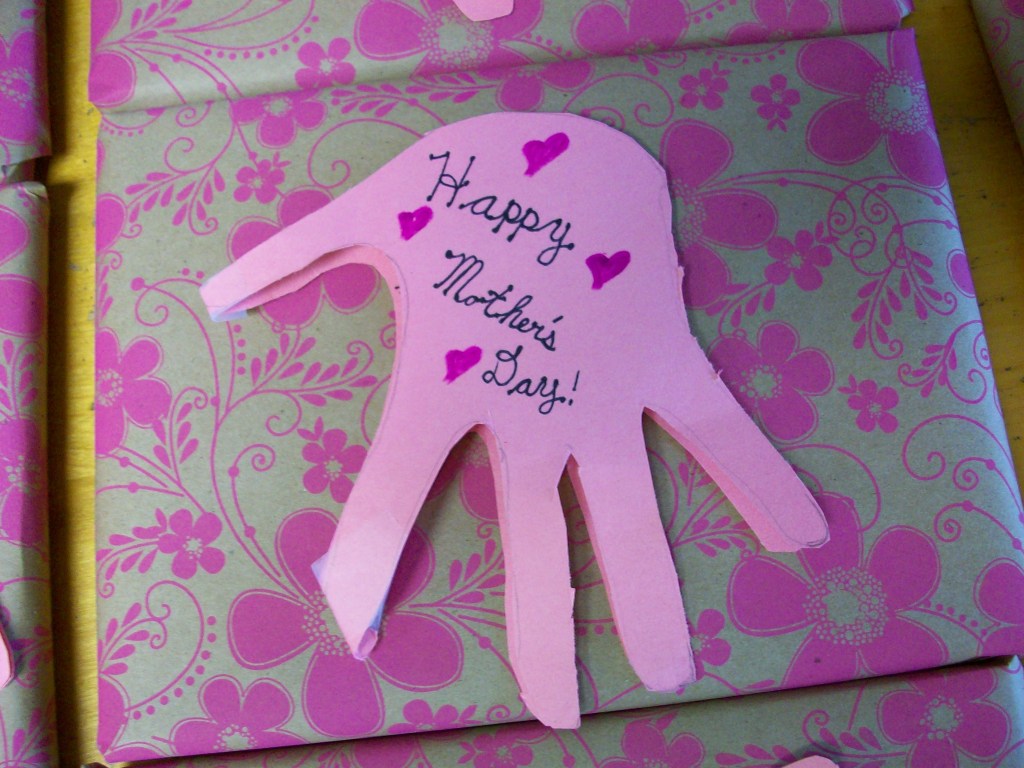
When it comes to wrapping, I like to purchase butcher paper with dainty patterns from The Dollar Tree. Since this project has a vintage feel, I try to keep the theme going. Two rolls is plenty for a class of 26 kids. The students fold a piece of construction paper in half and trace a hand with the pointer and thumb along the fold. After cutting out the double sheet, it makes a card that looks like a hand when folded, but opens up to two hands with a heart shape in the middle. It’s truly darling! If you want to take on this creative Mother’s Day craft, start at least one week early and plan to do a lot of cutting and framing in the evenings while you watch (mostly listen) to a TV show.
