

So, I’ve wanted to do green screen projects with my students for awhile now. But managing it seemed impossible. Until I came up with what I thought was a smaller-scale activity. As it turns out, this adventure took just as much time and effort as a full-scale human actor green screen video. But we still had a blast! Let me share what I learned along the way.
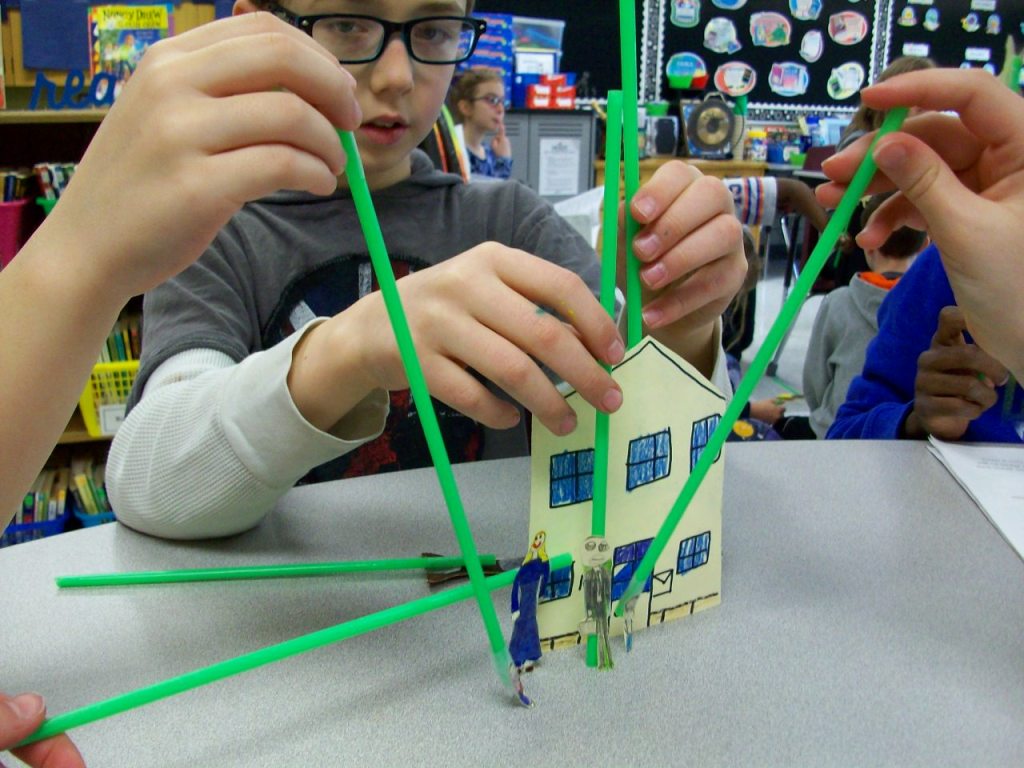
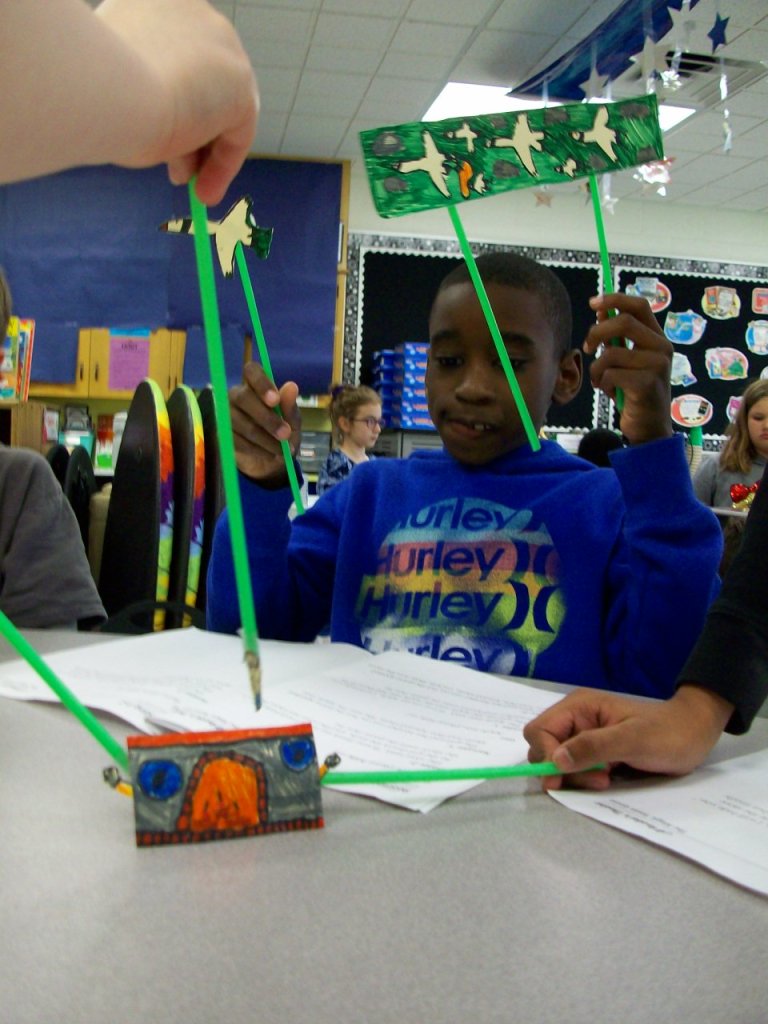
First, I do think stick puppets is the way to go over kids acting. It reduces pressure and self-consciousness. I found five folktale plays and began with groups reading independently for comprehension and then choosing parts and practicing fluency. Next, they created the puppet characters and props on a thick cardstock. TIP: Avoid green when coloring your puppets, because that part will take on the background image. If you really need green, use a different shade from your fabric. However, if you had small areas around an puppet that would be difficult to cut around, just use green and the background images should appear in that space. One of my groups were pure geniuses with this. They needed a flock of birds, but instead of making 6 individual birds, they colored green marker around the birds and cut them out as a big set. So clever! We attached green straws that matched the green background color. TIP: It’s easier to find different shades of green in fabric, so purchase your straws first, then bring one to the store and hold it up to each bolt of cloth. You’ll want them to be a very close match in order for the straws to disappear on screen.
Then the groups practiced fluency in conjunction with maneuvering the stick puppets. Since it was a small space, they had to work in close quarters. TIP: I stretched the fabric across a rolling clothes rack I typically use to hold pocket charts. Some students held puppets from either side and others reached over the top or came up from the bottom. I also let the teams pick their virtual backgrounds. We used free images from www.pixabay.com. A few groups only needed a single image for the story, but others required 2 or 3. Our district has Zoom video conferencing which has a recording option. That worked perfectly for inserting the virtual background and filming. TIP: A smooth fabric screen and good lighting is key to the virtual image looking crisp and the straws disappearing into the background. Any wrinkles in the greenscreen or an overcast day can negatively impact the quality. We often tightened the fabric and did all of our recording near our wall of classroom windows.
While one group was filming, the others had independent reading time. We had to have absolutely silence since the Zoom recording was able to pick up a lot of background sound. Some students enjoyed watching the other groups rather than reading, and I was fine with that. When all teams finished, we had a whole-class screening and shared compliments with each group. It was certainly a learning process for me, but I feel the students learned a lot about what goes into a production. For some of them, this might have been their first experience with performing arts or this kind of technology. And perhaps it opened a new door for those who most enjoyed it.
