Captain X – Math Review Game

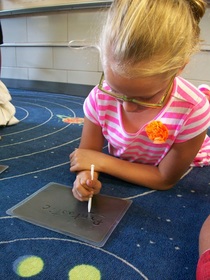
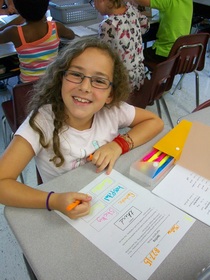
Arrrgh, mateys! Captain Multiply here. Arrr ye ready for a wee math review game? Well, come aboard me ship, The Array, and let the adventure commence! Captain Add has stolen me treasure. He thinks that addin’ is the only way to get the right answer. But we know better, don’t we, mateys! Your mission is to follow the clues on me map and use your amazing multiplication skills to locate me treasure. If we find it, I shall share all of me spoils equally with you.

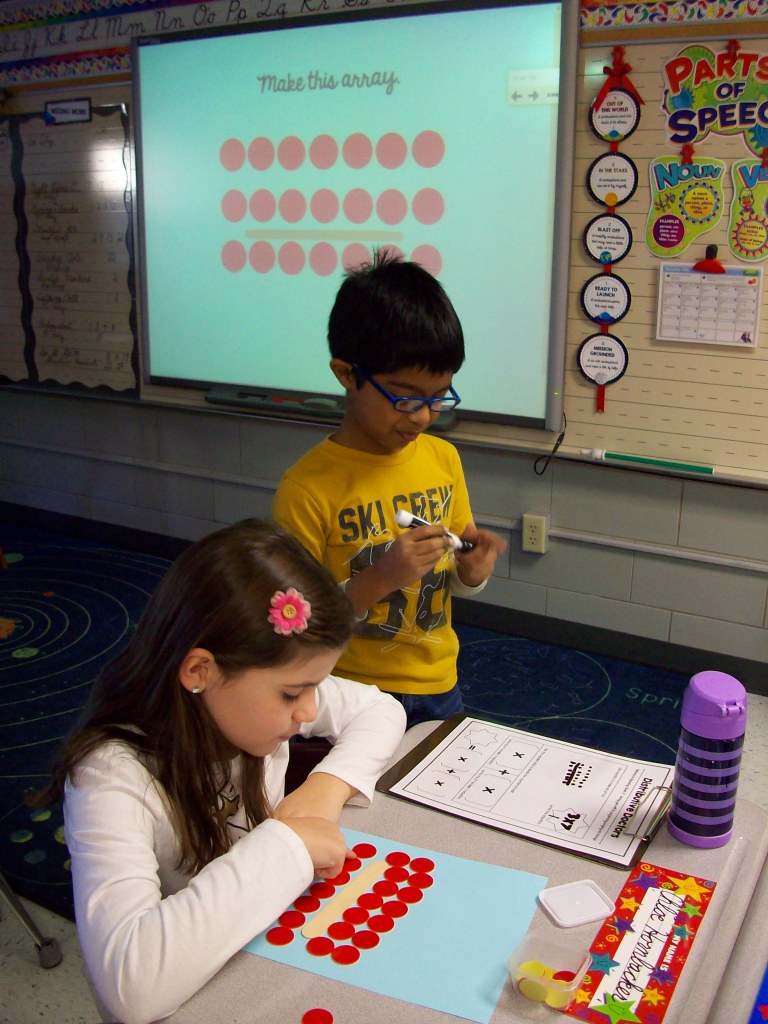
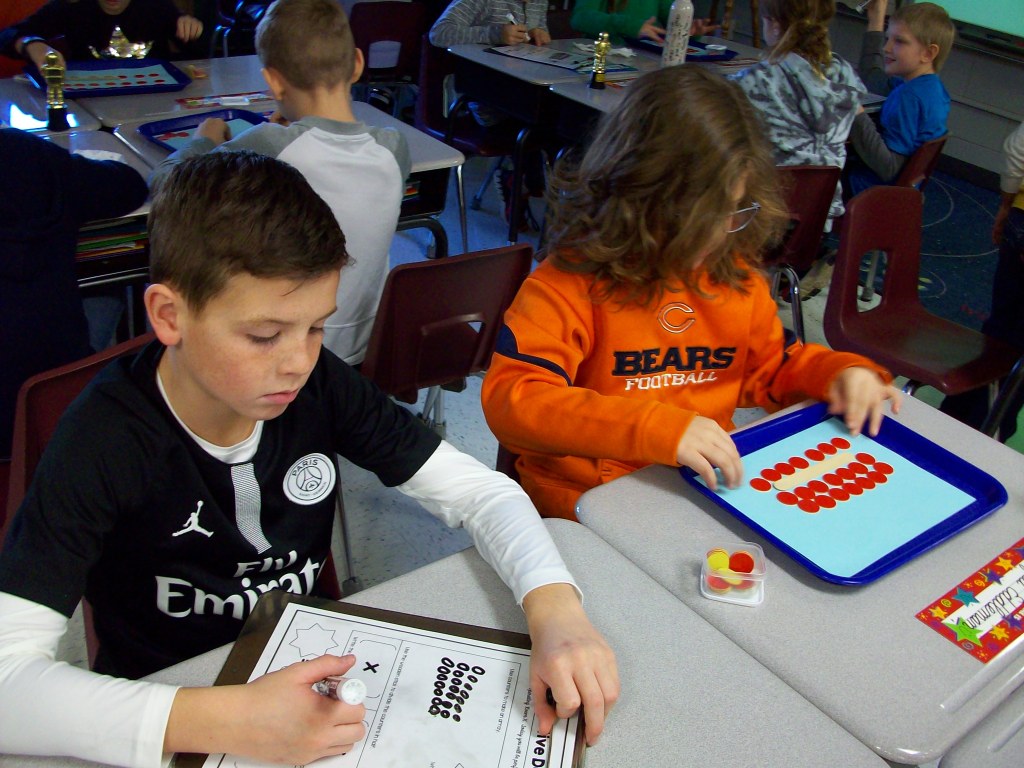
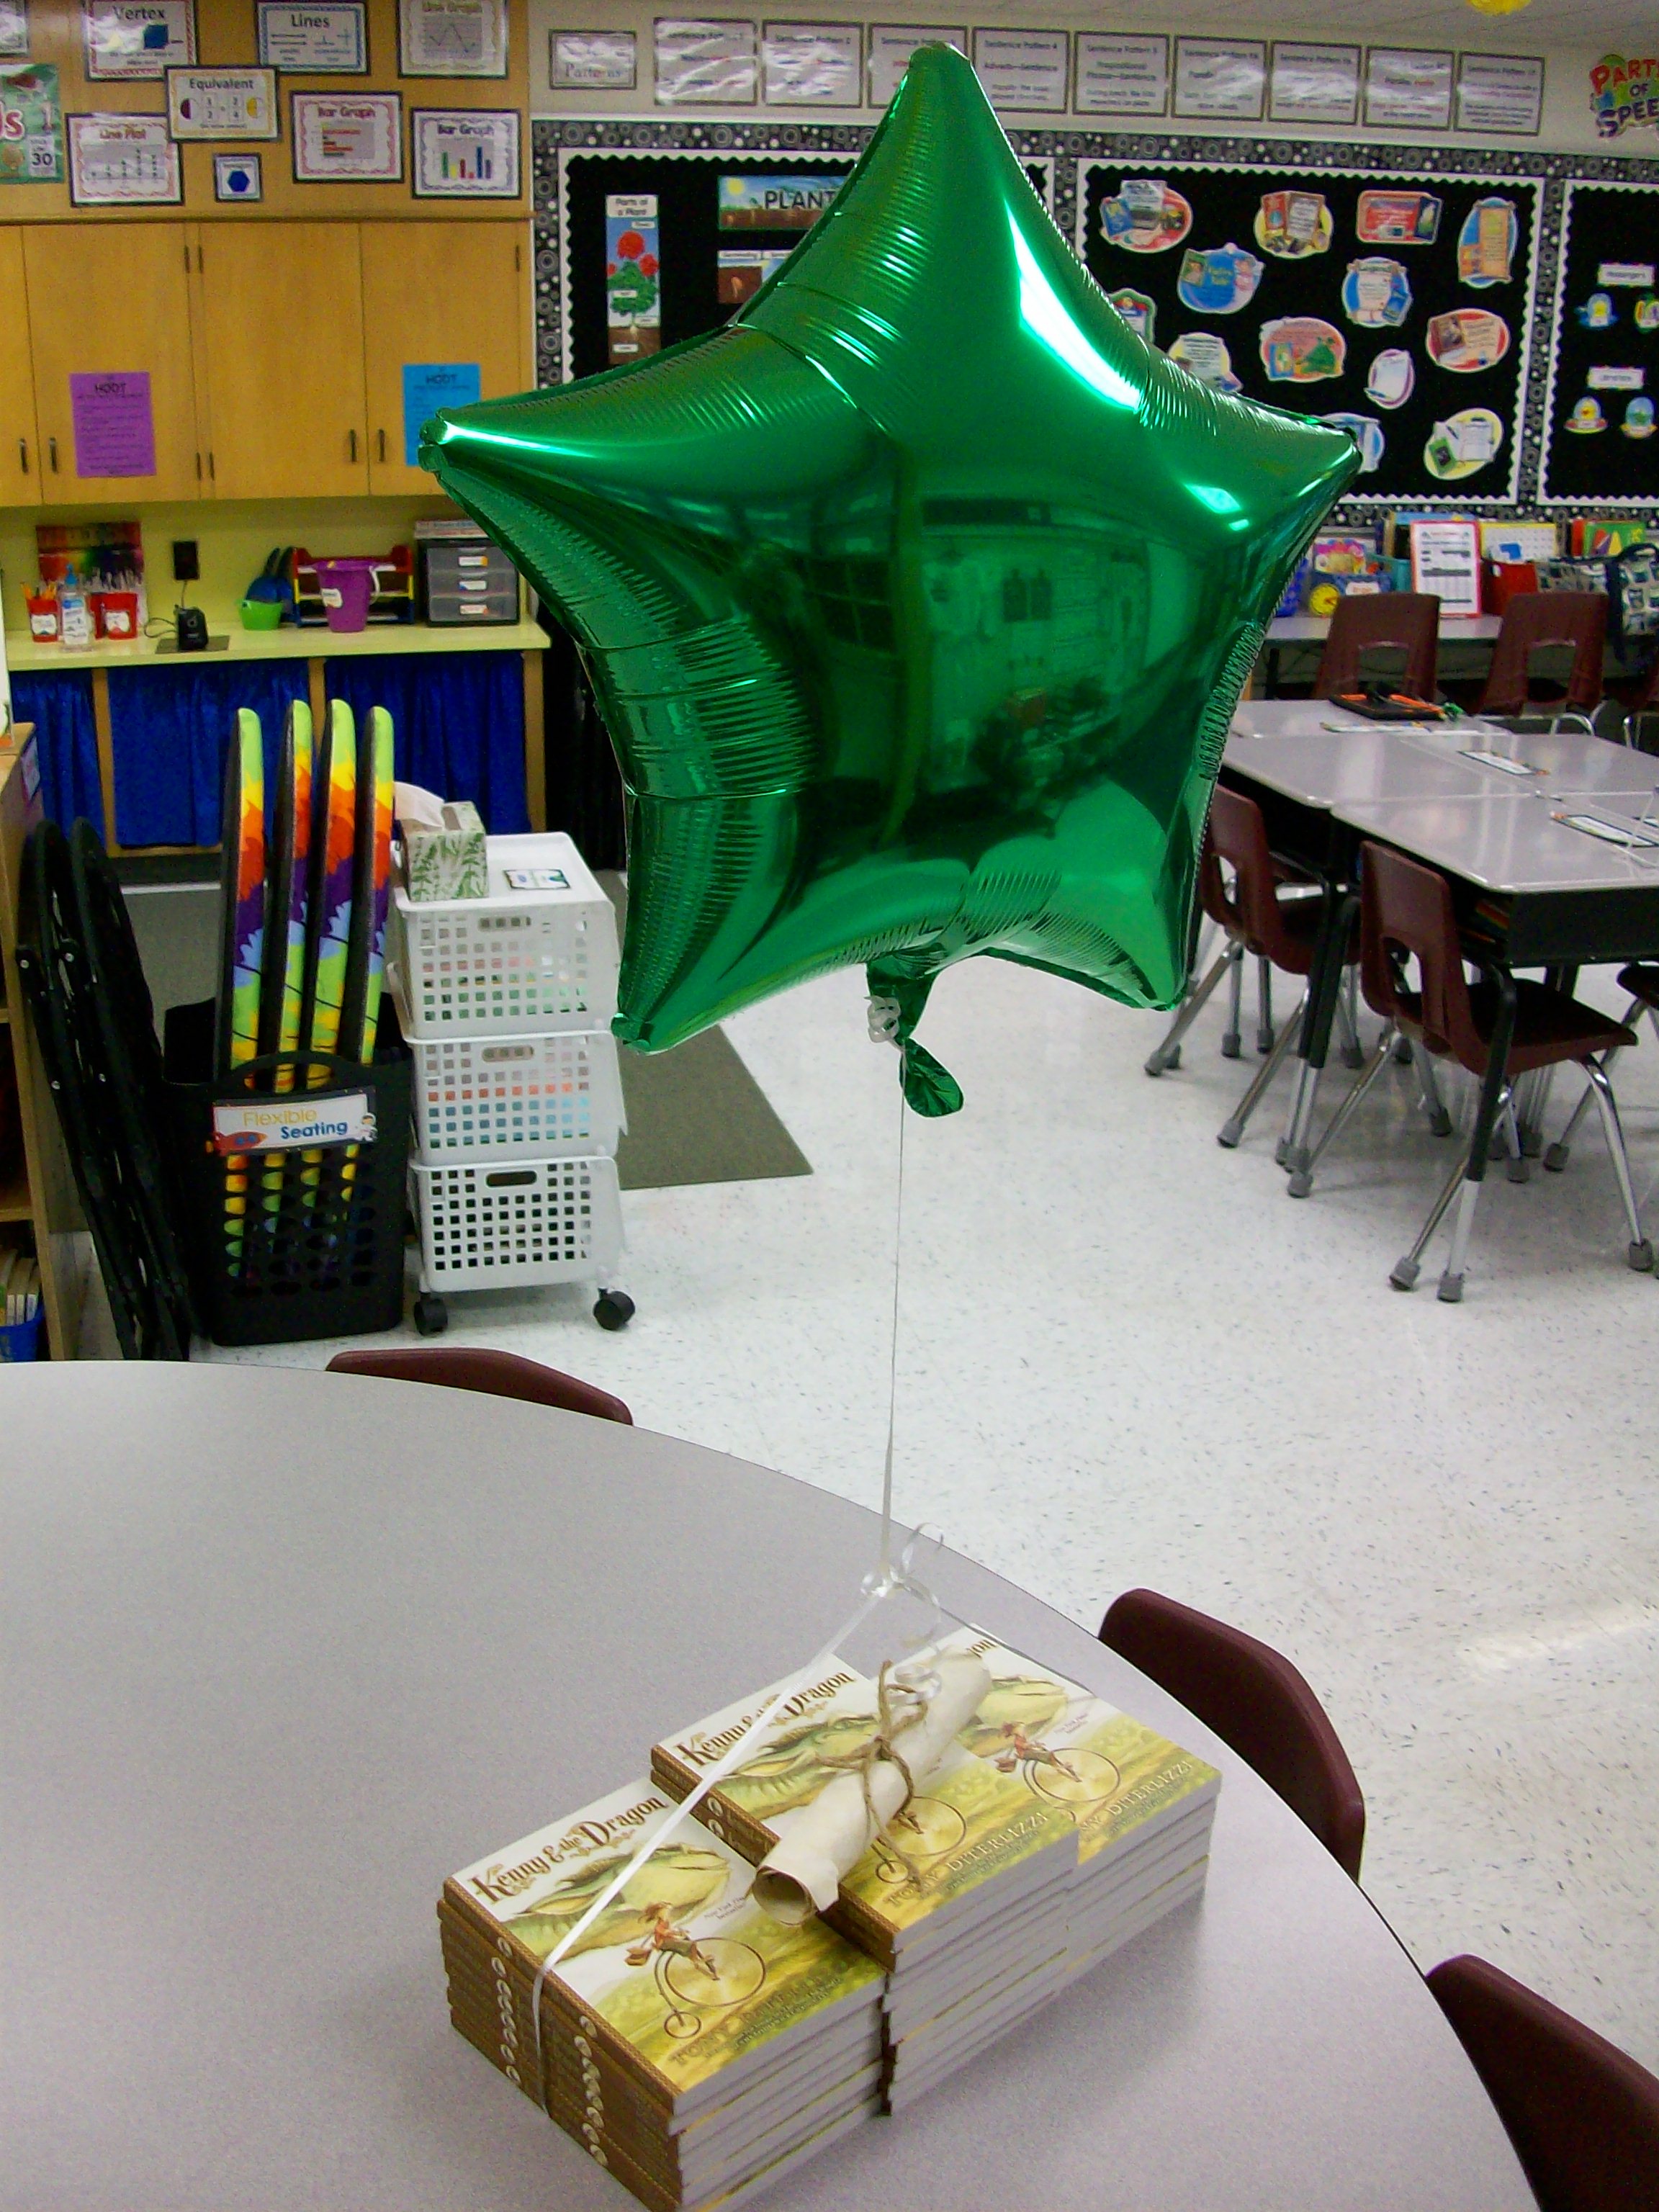
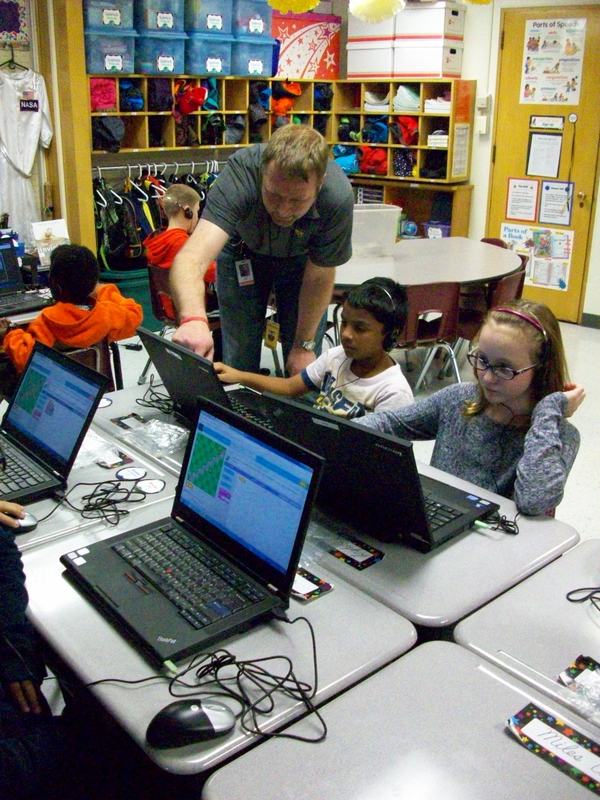
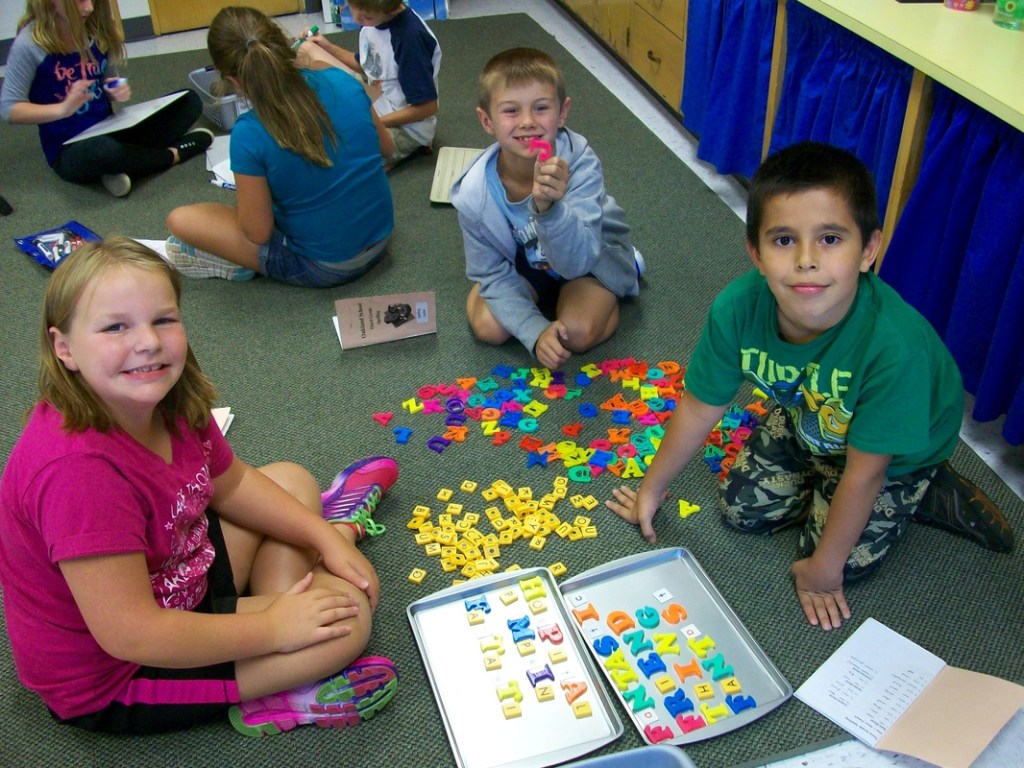
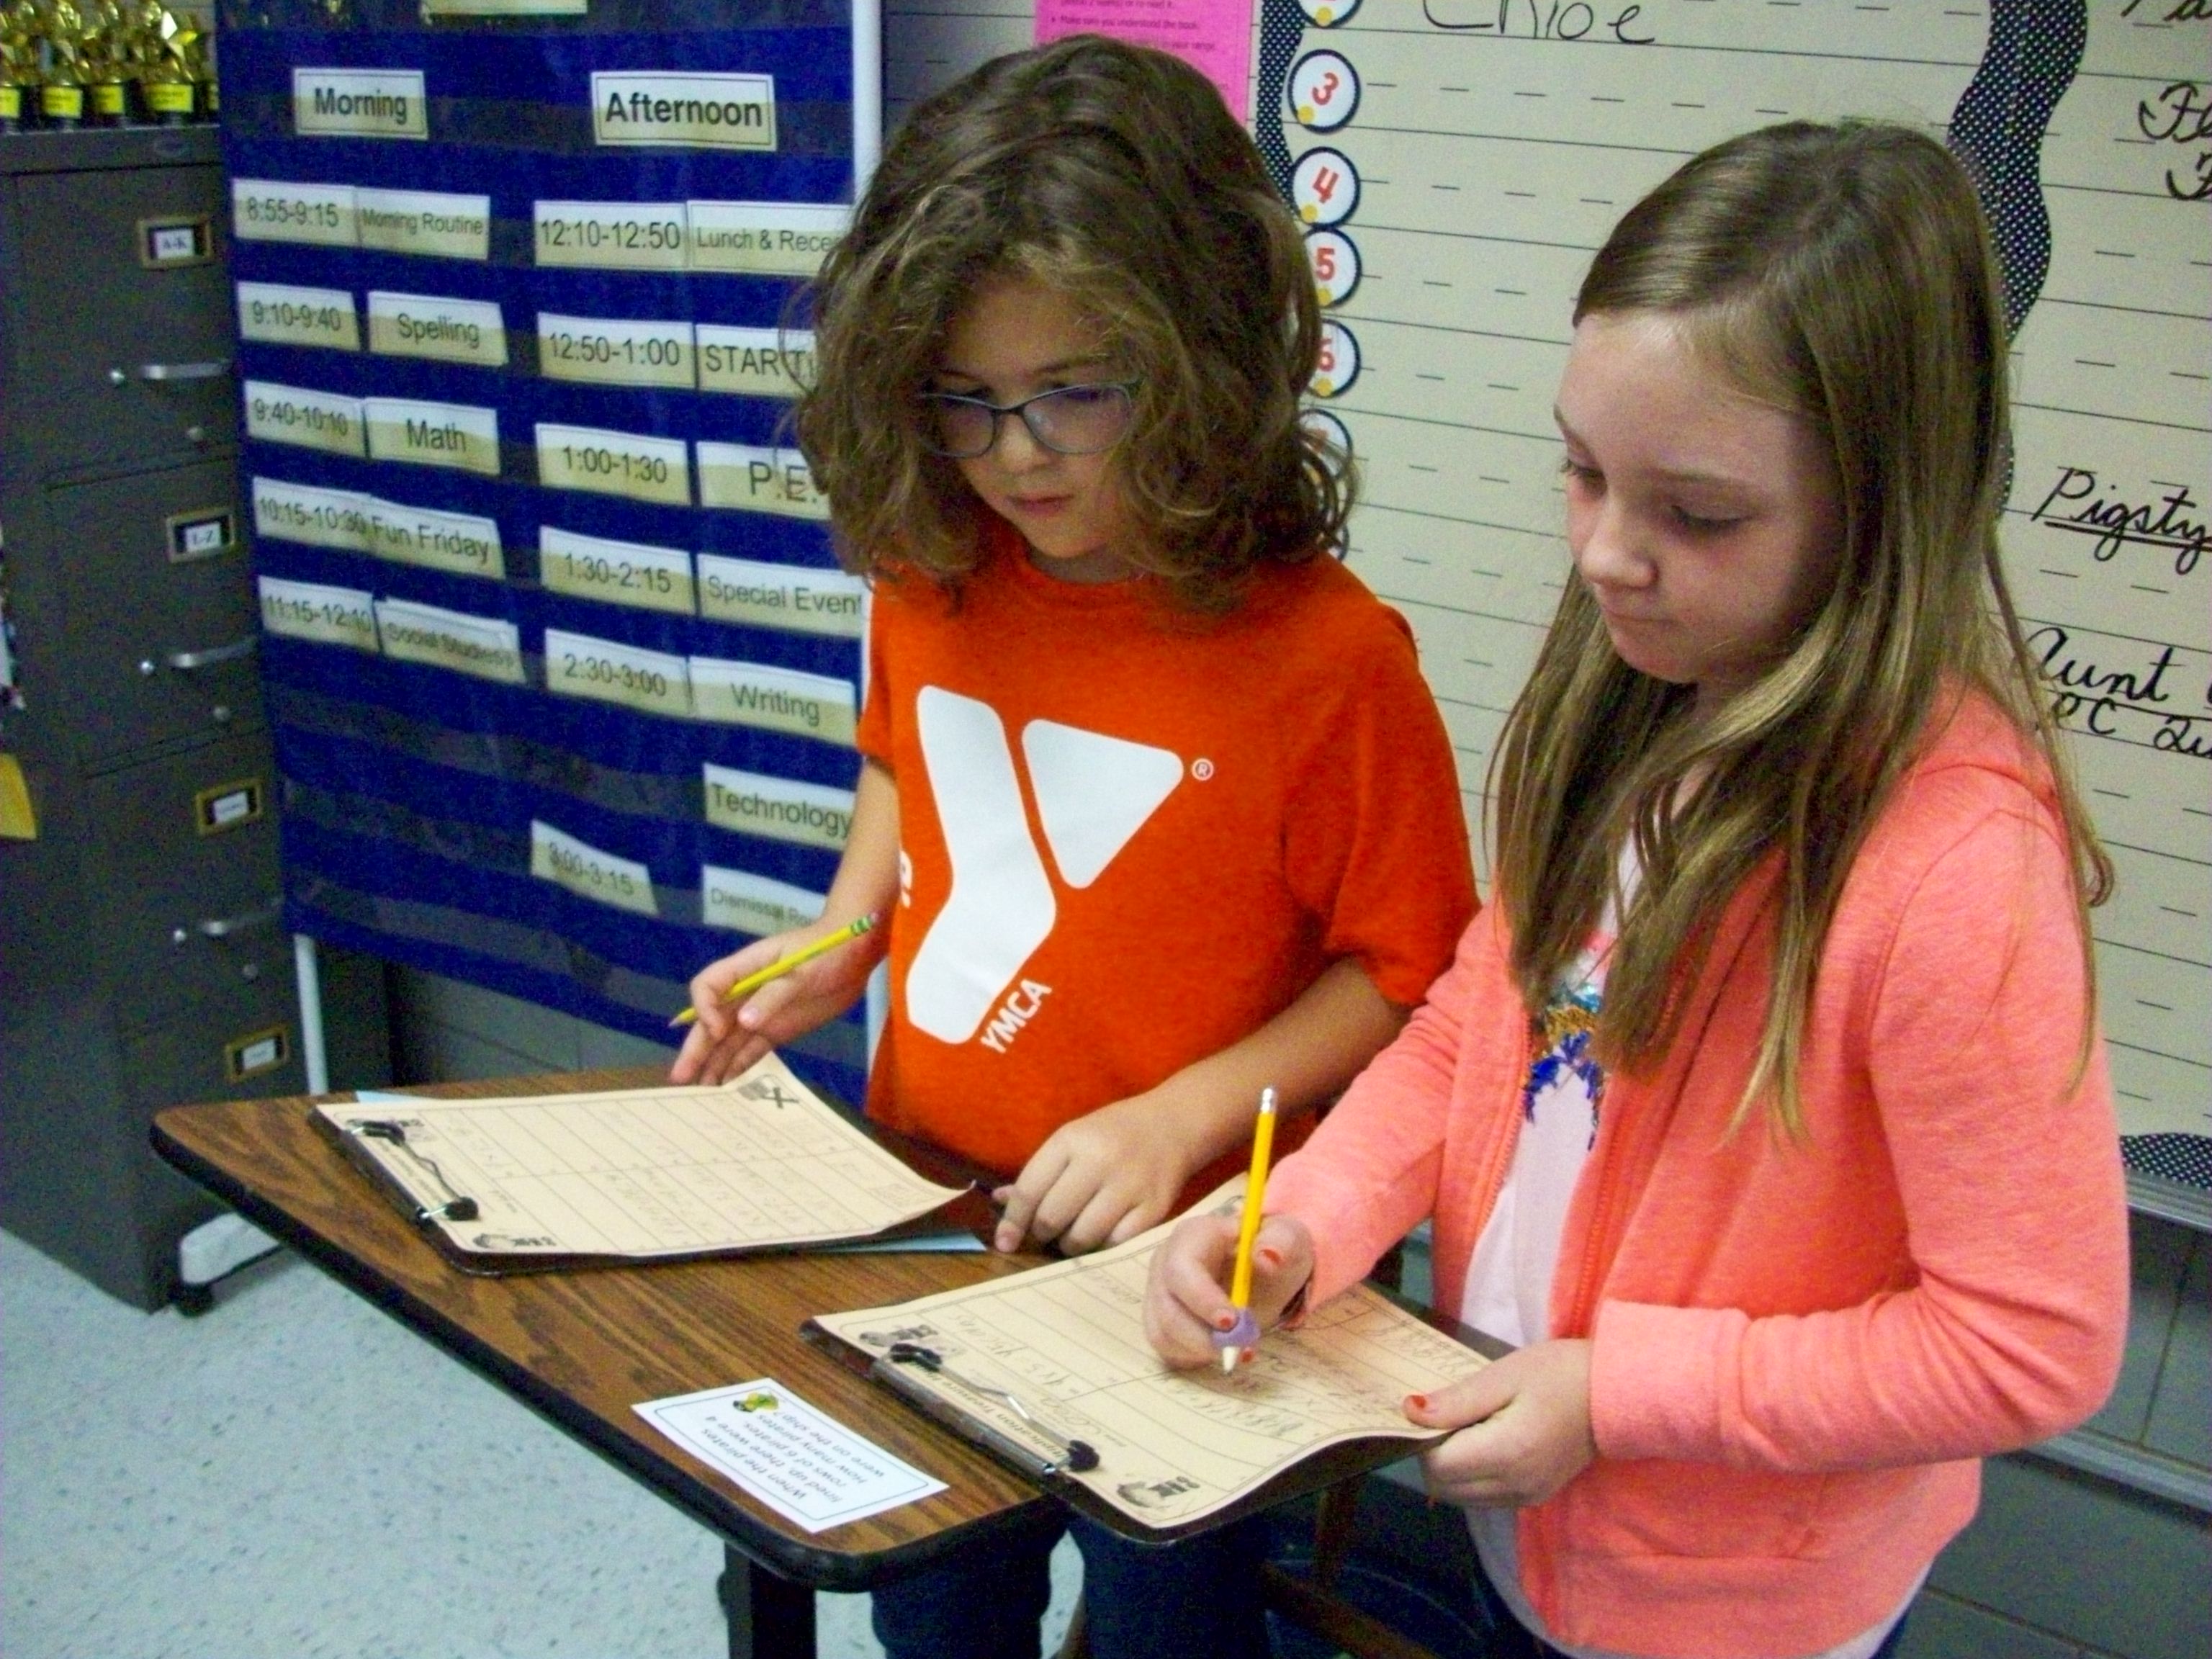
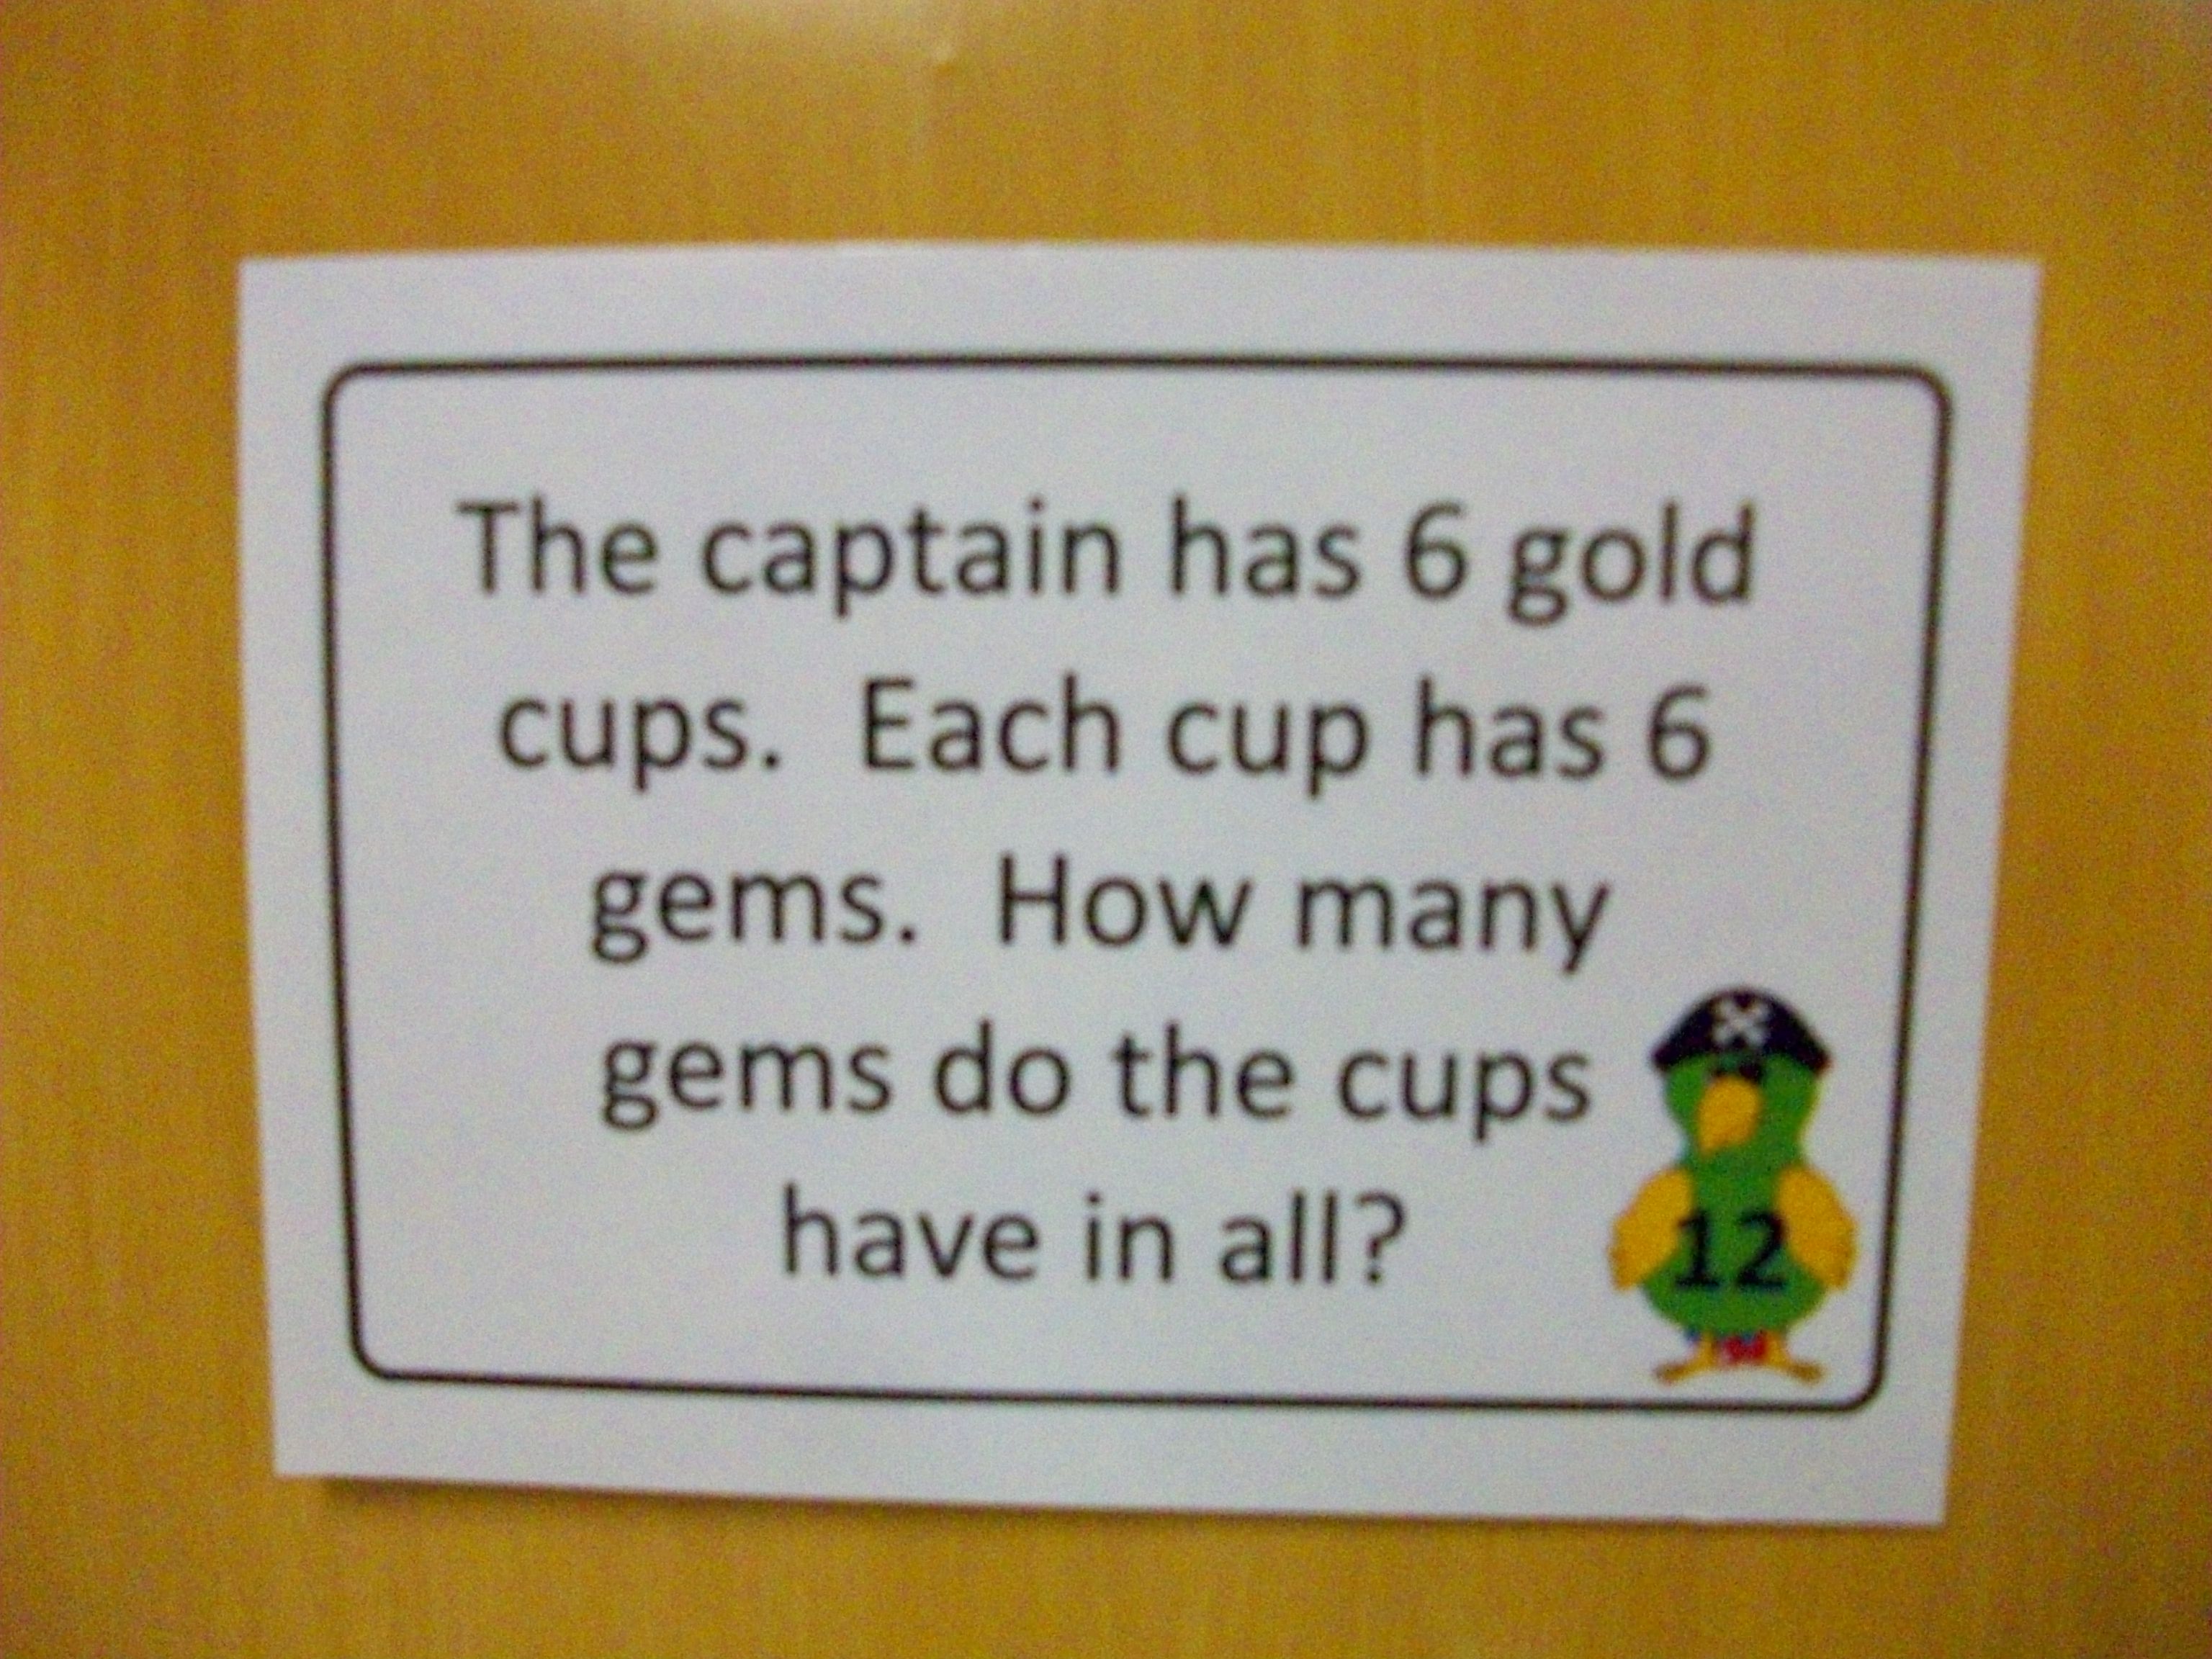
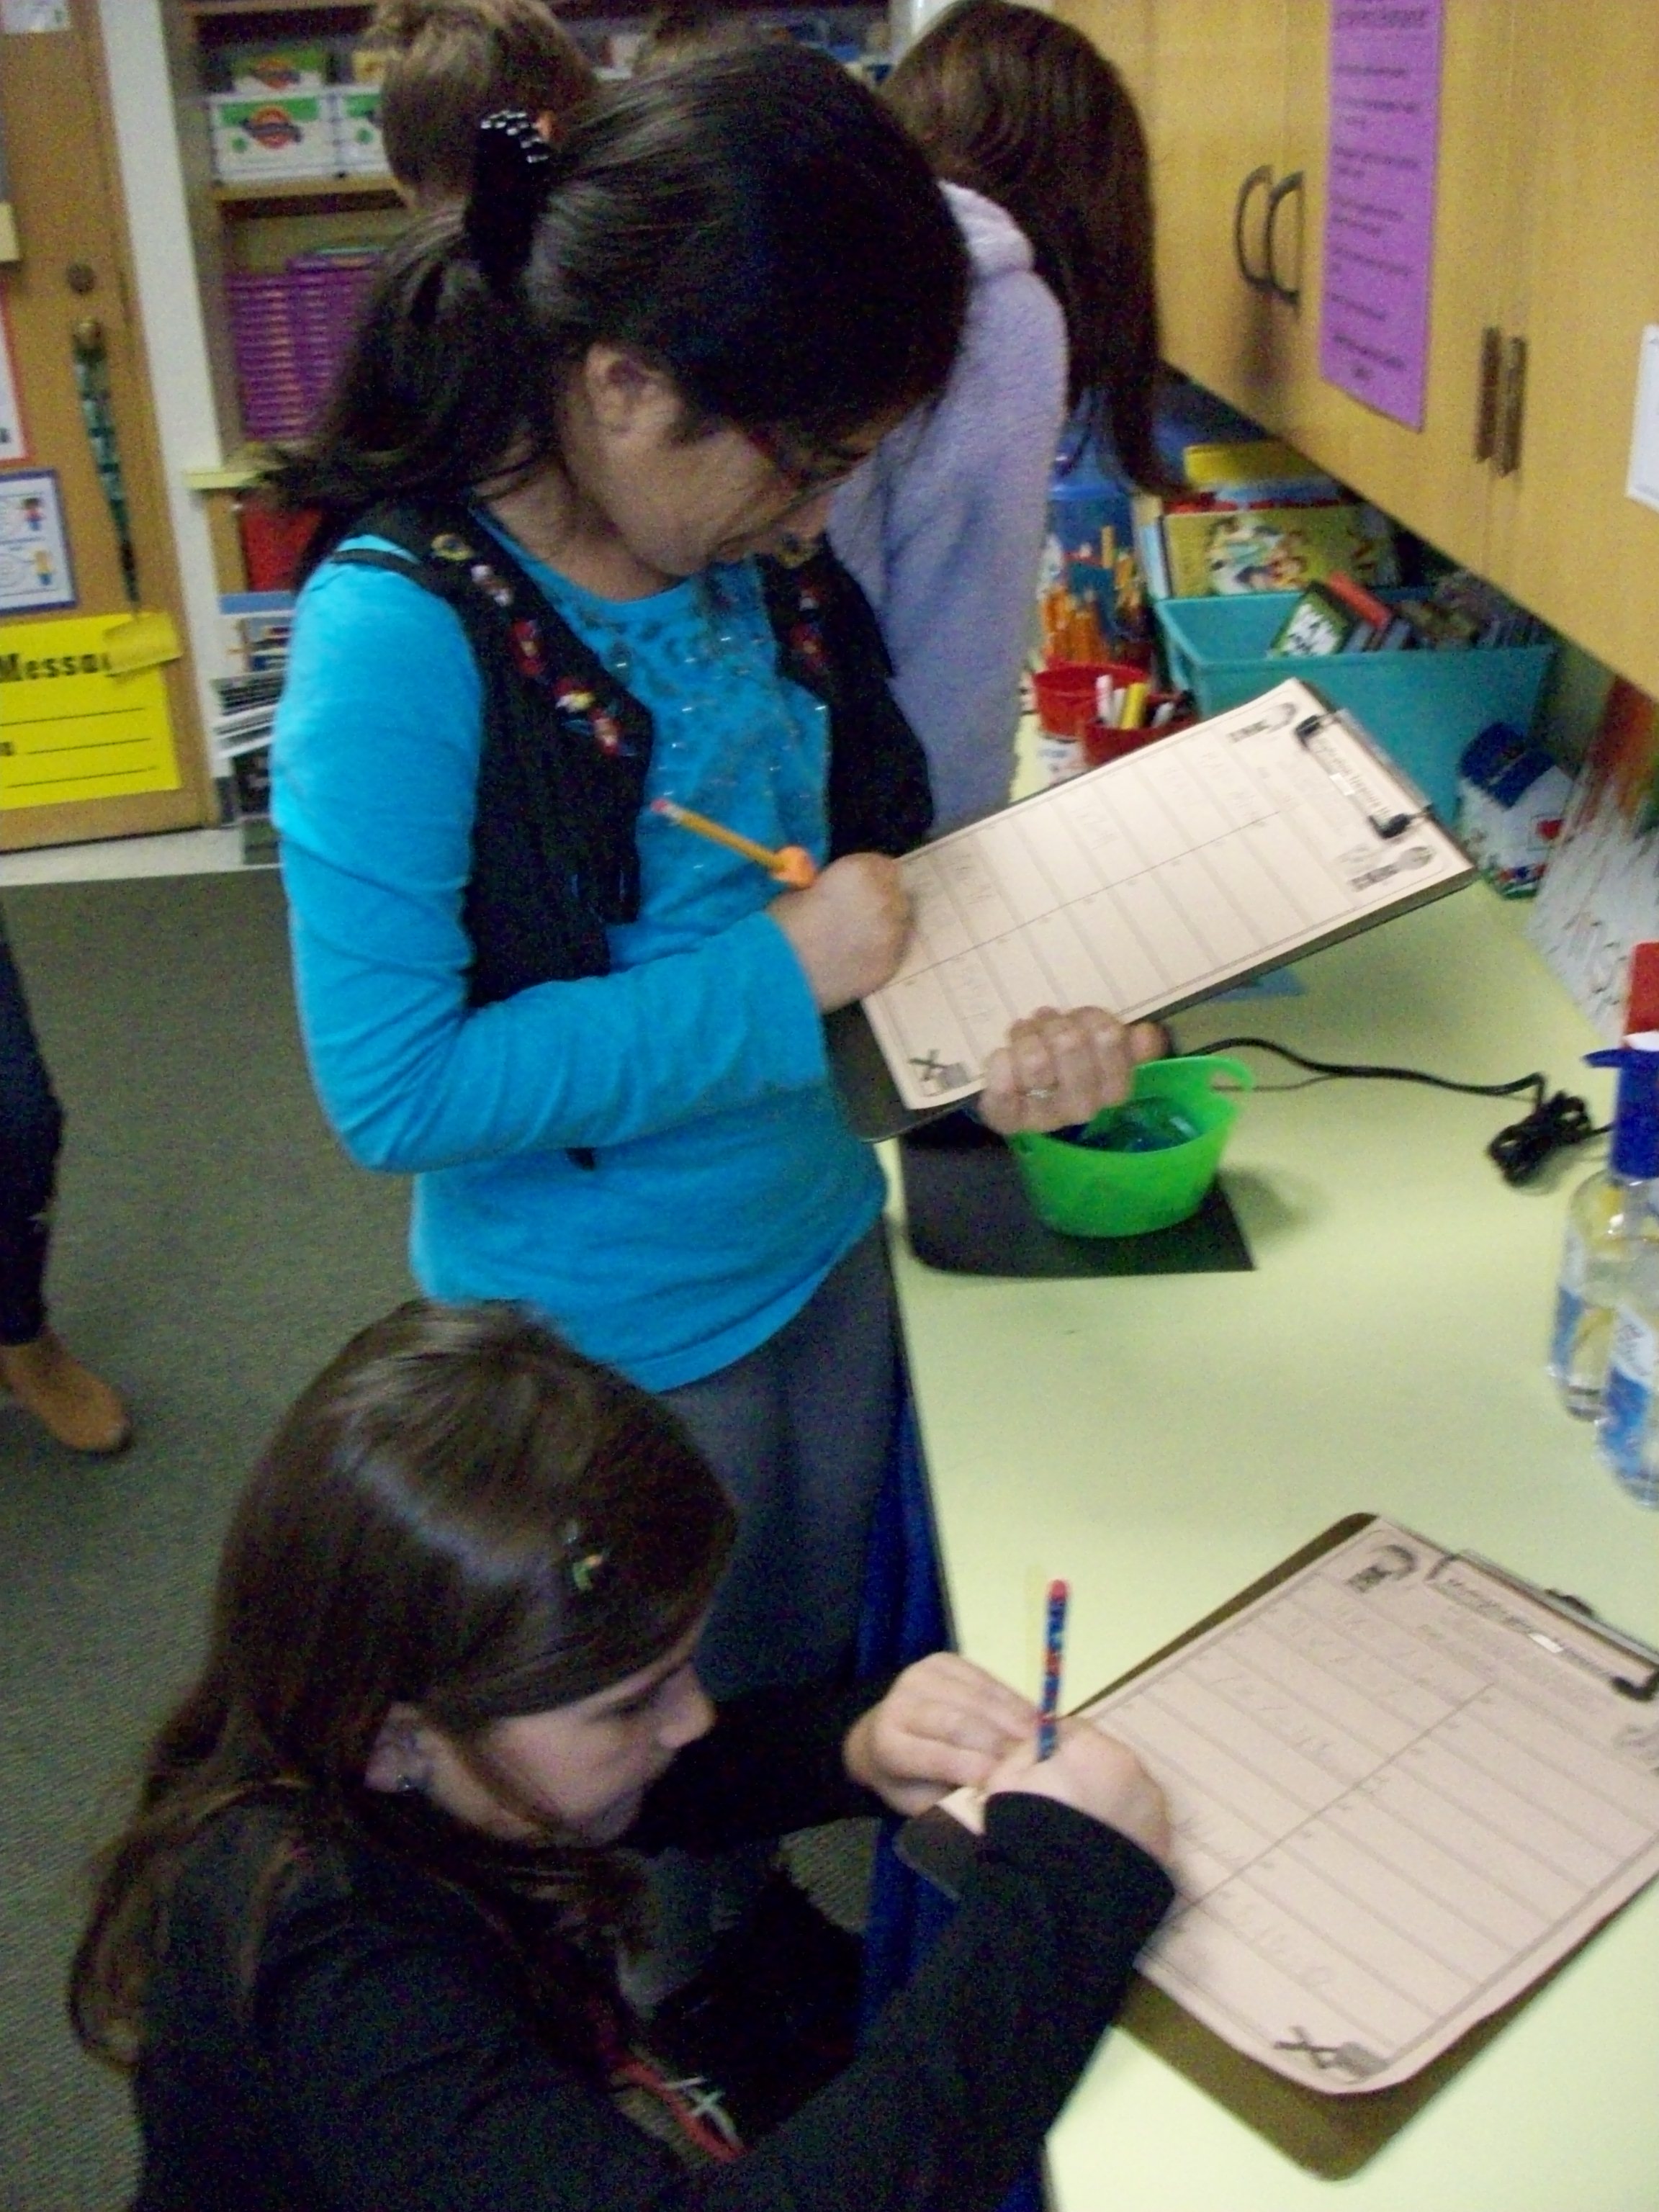
It’s room transformation time–mostly with costume, voice, music, thematic question cards and worksheets, and a REAL treasure. Ok, it’s chocolate covered gold coins. But the kids don’t know that when we set sail during this multiplication review game. After introducing the activity with my Irish pirate character, I show the students their “mates” for the challenge and call each team up to collect their clipboards with the “map” worksheet. Earlier in the day when the class is out (music, PE, or art),  I tape up the 18 “clues” (which are multiplication questions) at various locations around the room. The cards include X story problems, repeated addition equations, and drawn arrays. Teams record their responses on the map. When they have completed all 18, they can check with me for verification. Any incorrect answers can be fixed as other teams finish up. Groups that have all correct responses are given the challenge to support another team (not give answers, but suggest strategies). Once everyone is done and returns to the ship (their seats), I ask the crew for information on the location of the stolen treasure. I always place the final #18 card where the chest is buried, usually my lidded ottoman or closet. When I have a team “dig it up” for us, the whole class is surprised to learn that there is an actual chest with gold coins. I have a sign that reveals there are 100 (or another multiple for the number of students that year), so they can have the extra challenge of dividing that number equally. 100 / 25 = 4 gold coins each. The sweet reward at the conclusion of this activity is three-fold: candy, knowledge, and confidence.

Distributive Doctors

A complex mathematical concept when described, but completely understandable with hands-on, immersive learning. The distributive property of multiplication!

Definition: the property that terms in an expression may be expanded in a particular way to form an equivalent expression (www.dictionary.com)

To third graders (and most adults), that definition is mind boggling. Enter Dr. ________________ (insert your name here). Each year I arrange to have this hour-long activity take place after a classroom break. Often I set it up when the kids are in a special (art, music, PE), because I need about 30 minutes to change the classroom into a hospital operating room and I want it all to be a surprise. The day before I will gather the needed materials (trays, counters, jumbo craft sticks, small paper plates, Q-tips, red tempera paint, tissues, dry erase makers, laminated practice sheets, and copied worksheets . . . plus my white lab coat, stethoscope, Dr. name tag, and “Operating Room X” sign for the classroom door). When the kids are gone, I rearrange their desks into three large OR table groups. The trays are set with the needed supplies for elbow partners (resident buddies) to share as they work together in their training. I pick the class up in my costume, so they are already reeling with curiosity. When we reach the classroom entrance, I stand next to the operating room sign and greet each student with “Good morning, Dr. Kirk” or “Welcome to the OR, Dr. Smith.” I use a prepared SMART Notebook file with “case studies” of patients that have a diagnosis (7 X 8). I ask for their advice on which operation to perform to “cure” the patient. Using the jumbo craft stick as a scalpel, I model how to cut apart the large array into two smaller, more manageable arrays (2 X 8 and 5 X 8) on our document camera. Once we do 3-4 examples on the board, they get the idea and are ready to try it with their partners. Now they can use some of the materials on their trays. I continue using the SMART Notebook file with patient profiles. The teams set up the scenario using the counters and discuss how to operate. The laminated sheet has the template __ X __ = (__ X __) + ( __ X __ ) so they can practice writing the larger array and showing how it can be broken up into two smaller arrays. After a few rounds of guided practice, they graduate to independent work using red tempera paint and Q-tips on the worksheet. This time I provide the “patient diagnosis” (full equations such as 6 X 7), which they dot with paint. Then they must decide where to “cut” (draw a line to separate it into two smaller arrays). Finally, students write the math equations to document their understanding of the property. Any “residents” that finish early and have “cured” all of their patients, are given the challenge of assisting any classmates who need more coaching.

This concept can be quite boring and confusing on its own. But turning the lesson into an experience really helped my students learn it and love it!

One School, One Book – Kenny & the Dragon

Our school has decided to embark on a “One Book, One School” reading adventure! Our novel is Kenny and the Dragon by Toni DiTerlizzi. As a member of this committee, I think we came up with several creative ideas to excite the students and families beginning with a kick-off assembly and book drop off. Our librarian read the first chapter to the entire school as I played the roll of the main character, Kenny the rabbit. (My ideas sound so good when I come up with them, but up in front of 500 people, I was wishing I had that same confidence.) We had borrowed an awesome dragon costume from the high school drama department, which snuggly fit our principal. He was game for it! During the assembly, he surprised the kids as Grahame, the dragon, and announced he had just left a special delivery for them in their classrooms. When the classes returned, they discovered he had left a huge stack of novels, one for each kid, and special scroll letter.

The OSOB committee also set up a little display in the lobby, created daily trivia questions and weekly trivia videos featuring virtual backgrounds from the novel, and centered our annual fall book fair around the theme of knights and dragons to match the story. As we wrapped up the novel, I enlisted my students to perform a readers’ theatre production of the final two chapters. I made a script, cast the parts, and gathered/created costumes and props. Our music teacher helped me match instruments to characters so that all 28 students would have a role in the performance. It was impressive! And I’m excited to see what we conjure up for next year’s OSOB event!

Directed Drawing

Listening skills + mystery drawing = art! These penguins are just adorable and truly reflect each student’s unique personality. It began as a directed drawing activity. The students didn’t know the final product would be this Antarctic bird. They had to listen to my directions (such as draw a large oval in the bottom half of your sheet or draw a triangle on top of the circle) and sketch with pencil. Eventually, they figured out that we were creating penguins. They had extra time to add accessories like a scarf and mittens. A few students included ice skates, glasses, etc. They colored using crayon and placed several snowflakes in the negative space. Finally, we used blue watercolor pain to create the wintery background and reveal the falling snow. After a night under our heavy dictionaries (so many uses), they were ready to display in the hall!

Winter Tree Collage

For our family gift, I guide my students in creating these collage winter scenes. Since there are a variety of religions represented in my classroom, I wanted to find something that wasn’t focused on Christmas. Even families that don’t celebrate any holidays can appreciate this craft. We start with making the blue watercolor background on white cardstock. As they dry, students use overlapping tissue paper squares (glue stick) on a large trapezoid shape of white construction paper that we later cut into the three trees. Torn and crumbled brown butcher paper makes the textured trunks. A small and mini doily cut in half make the snowy hills. And we finish off the collage with Q-tip dots of white tempera paint for the snowflakes. I prefer the kids use a glue stick rather than goopy glue on the construction. After a night under some heavy dictionaries, I frame each one ($1 each at The Dollar Tree). The students use a silver Sharpie marker to sign and date their works of art on the black cardboard frame backing. (Parents will want to remember the year and grade when looking at it in years to come.) The kids also wrap the gifts and create cards before taking them home the week before winter break. Colorful. Creative. Cute.

Coding!

Don’t be afraid of coding! I was. So I enlisted the help of a co-worker’s husband who does it for a living. He was great at helping us ALL get our feet wet! During “Hour of Code” week, Mr. H came to our classroom and explained what coding is and how we use it every day. The www.hourofcode.com website was perfect for the kids to explore coding in a video-game style format. The coding blocks and trials allowed the kids to take chances and learn from any mistakes. They took on each leveled challenge and persevered through any obstacles by trying again or asking for help. No one gave up, pouted, or cried . . . not even me! It was a great experience for everyone. And we don’t need to wait until next December’s “Hour of Code” week to do it again. We can explore coding anytime, because we know it’s nothing to be afraid about!

Classroom Awards

Recognition. I think that’s very important. So many students work at 100% and really go above and beyond, but don’t see many accolades, particularly for good behaviors. In my classroom, I like to celebrate students who show kindness, good participation, and a positive attitude each week. So on Friday after school, I think back on each student’s achievements in these areas and decide which kiddos will walk in on Monday morning to these goodies (certificate, pencil, and stuffy mascot) on their desks. As part of our morning meeting, I share the reasons these students were selected and everyone joins in a special “clap” or chant. Then those three kids take their awards to the office to share the good news with our principal. The recipient can keep the mascot on his/her desk all week if desired, and I take them home on the weekend to wash.

In addition to these weekly acknowledgements, I also give daily awards. As I walk around the room and notice awesome effort, I mix both verbal and nonverbal praise. So while the class is busy working quietly, I might place a plastic trophy or “caution” sign on the corner of a stellar student’s desk. These remain on their desks all day, and when were are wrapping up at 3:00, award winners return the desk awards to the top of my filing cabinet for reuse the next day. And, yes, it is possible for a student to get more than one award in a single day.

This isn’t “big” stuff. But I don’t think we need to give kids big stuff. I prefer to do it often and sincerely. It’s a bit of extra work, but goes a long way in promoting best effort in some of the character traits we most desire our students to posses–kindness, engagement, and positivity.

Mother’s Day Silhouettes

This is definitely my most favorite Mother’s Day project! To be upfront, it takes a lot of work on the part of the teacher. Essentially, you need to take a profile pic of every student, resize, print, cutout against black cardstock with super fine-point scissors, (kids gluestick the image on white cardstock and write their names in cursive with a very fine black Sharpie below), open and clean packaged frames, frame each silhouette, (kids wrap and make the card). Like I said, LOTS of work for the teacher. However, the magic is worth the time and effort. I mean, these silhouettes look JUST like each kid!. After I cut them out of the black paper, I use my document camera and play a guessing game with the class. They can call out the name of the classmate in three seconds on less every time. So fun!

When it comes to wrapping, I like to purchase butcher paper with dainty patterns from The Dollar Tree. Since this project has a vintage feel, I try to keep the theme going. Two rolls is plenty for a class of 26 kids. The students fold a piece of construction paper in half and trace a hand with the pointer and thumb along the fold. After cutting out the double sheet, it makes a card that looks like a hand when folded, but opens up to two hands with a heart shape in the middle. It’s truly darling! If you want to take on this creative Mother’s Day craft, start at least one week early and plan to do a lot of cutting and framing in the evenings while you watch (mostly listen) to a TV show.

Plant Science – Inside & Out

Our school is quite fortunate. We have a lovely woodland area and flower garden behind the school. In my location, we just have to step outside our exterior door and walk a few feet to be surrounded by plants, seeds, and native creatures. So while science concepts are delivered via textbooks and videos, there is a lot to be said for being “in” science and “doing” science to discover and better understand the world around us. I try to have a good balance between hands-on, discussion, and research. Often times that means that we don’t cover as much of the yearlong content because we spend so much time digging deep. When the kids have questions or misunderstandings, we have to investigate, right? Plus, I like to include math and writing skills when appropriate, and that is worth the additional time. 

Spelling Centers

For a more exciting approach to practicing spelling (and handwriting), I offer my students center activities three days a week. I rotate them in/out throughout the year. Here are a few of their favorites.

  • Rainbow Words
  • Highlighter Words
  • Playdoh
  • Scented Markers
  • Magnetic Letters
  • Dry-Erase Boards
  • Gelboards
  • Sign Language
  • Wiki Sticks