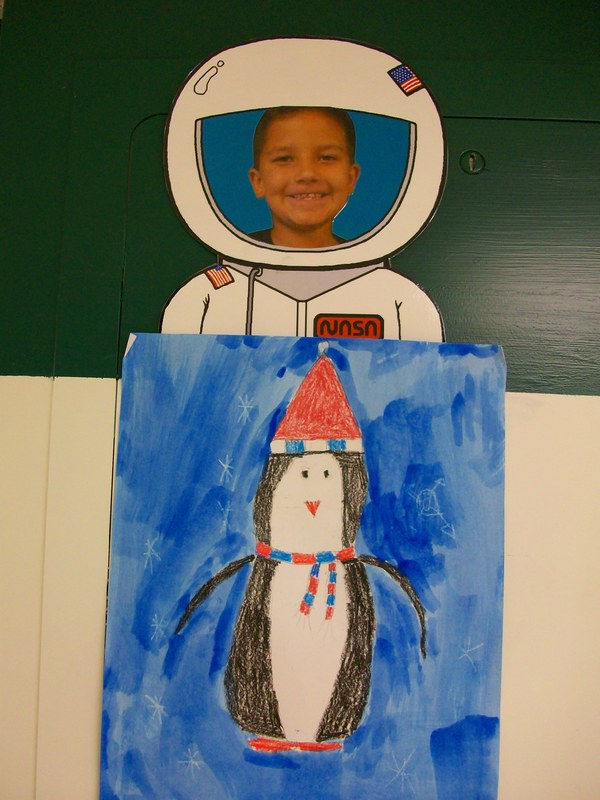
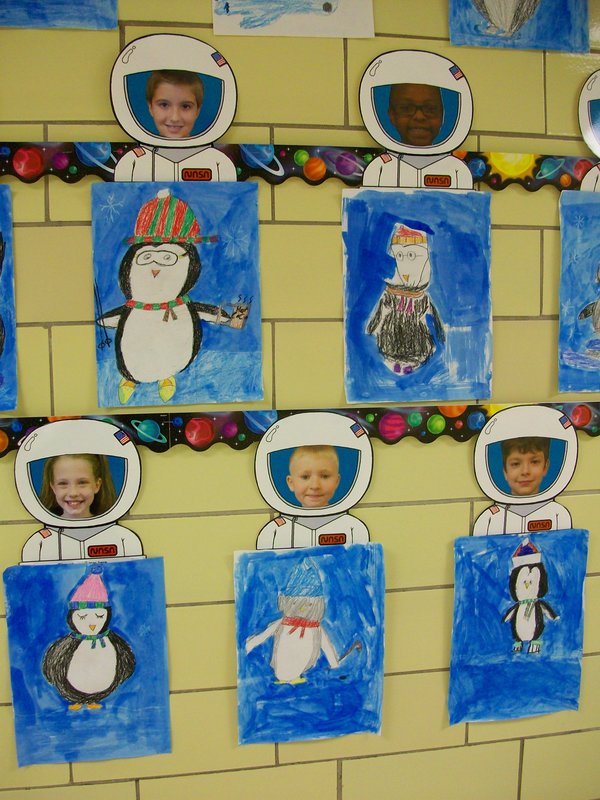
Listening skills + mystery drawing = art! These penguins are just adorable and truly reflect each student’s unique personality. It began as a directed drawing activity. The students didn’t know the final product would be this Antarctic bird. They had to listen to my directions (such as draw a large oval in the bottom half of your sheet or draw a triangle on top of the circle) and sketch with pencil. Eventually, they figured out that we were creating penguins. They had extra time to add accessories like a scarf and mittens. A few students included ice skates, glasses, etc. They colored using crayon and placed several snowflakes in the negative space. Finally, we used blue watercolor pain to create the wintery background and reveal the falling snow. After a night under our heavy dictionaries (so many uses), they were ready to display in the hall!
art
Winter Tree Collage

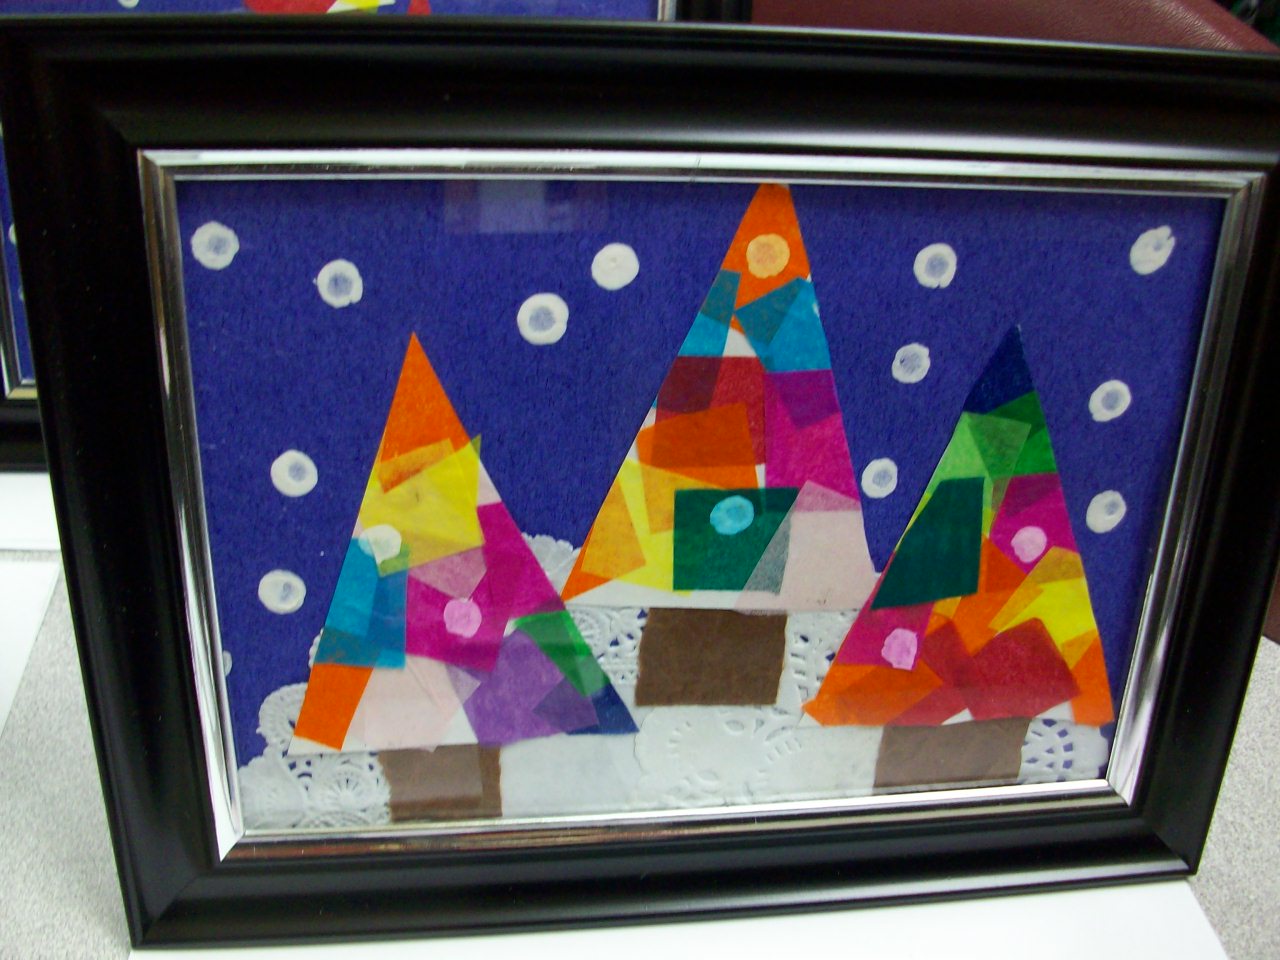
For our family gift, I guide my students in creating these collage winter scenes. Since there are a variety of religions represented in my classroom, I wanted to find something that wasn’t focused on Christmas. Even families that don’t celebrate any holidays can appreciate this craft. We start with making the blue watercolor background on white cardstock. As they dry, students use overlapping tissue paper squares (glue stick) on a large trapezoid shape of white construction paper that we later cut into the three trees. Torn and crumbled brown butcher paper makes the textured trunks. A small and mini doily cut in half make the snowy hills. And we finish off the collage with Q-tip dots of white tempera paint for the snowflakes. I prefer the kids use a glue stick rather than goopy glue on the construction. After a night under some heavy dictionaries, I frame each one ($1 each at The Dollar Tree). The students use a silver Sharpie marker to sign and date their works of art on the black cardboard frame backing. (Parents will want to remember the year and grade when looking at it in years to come.) The kids also wrap the gifts and create cards before taking them home the week before winter break. Colorful. Creative. Cute.
Mother’s Day Silhouettes

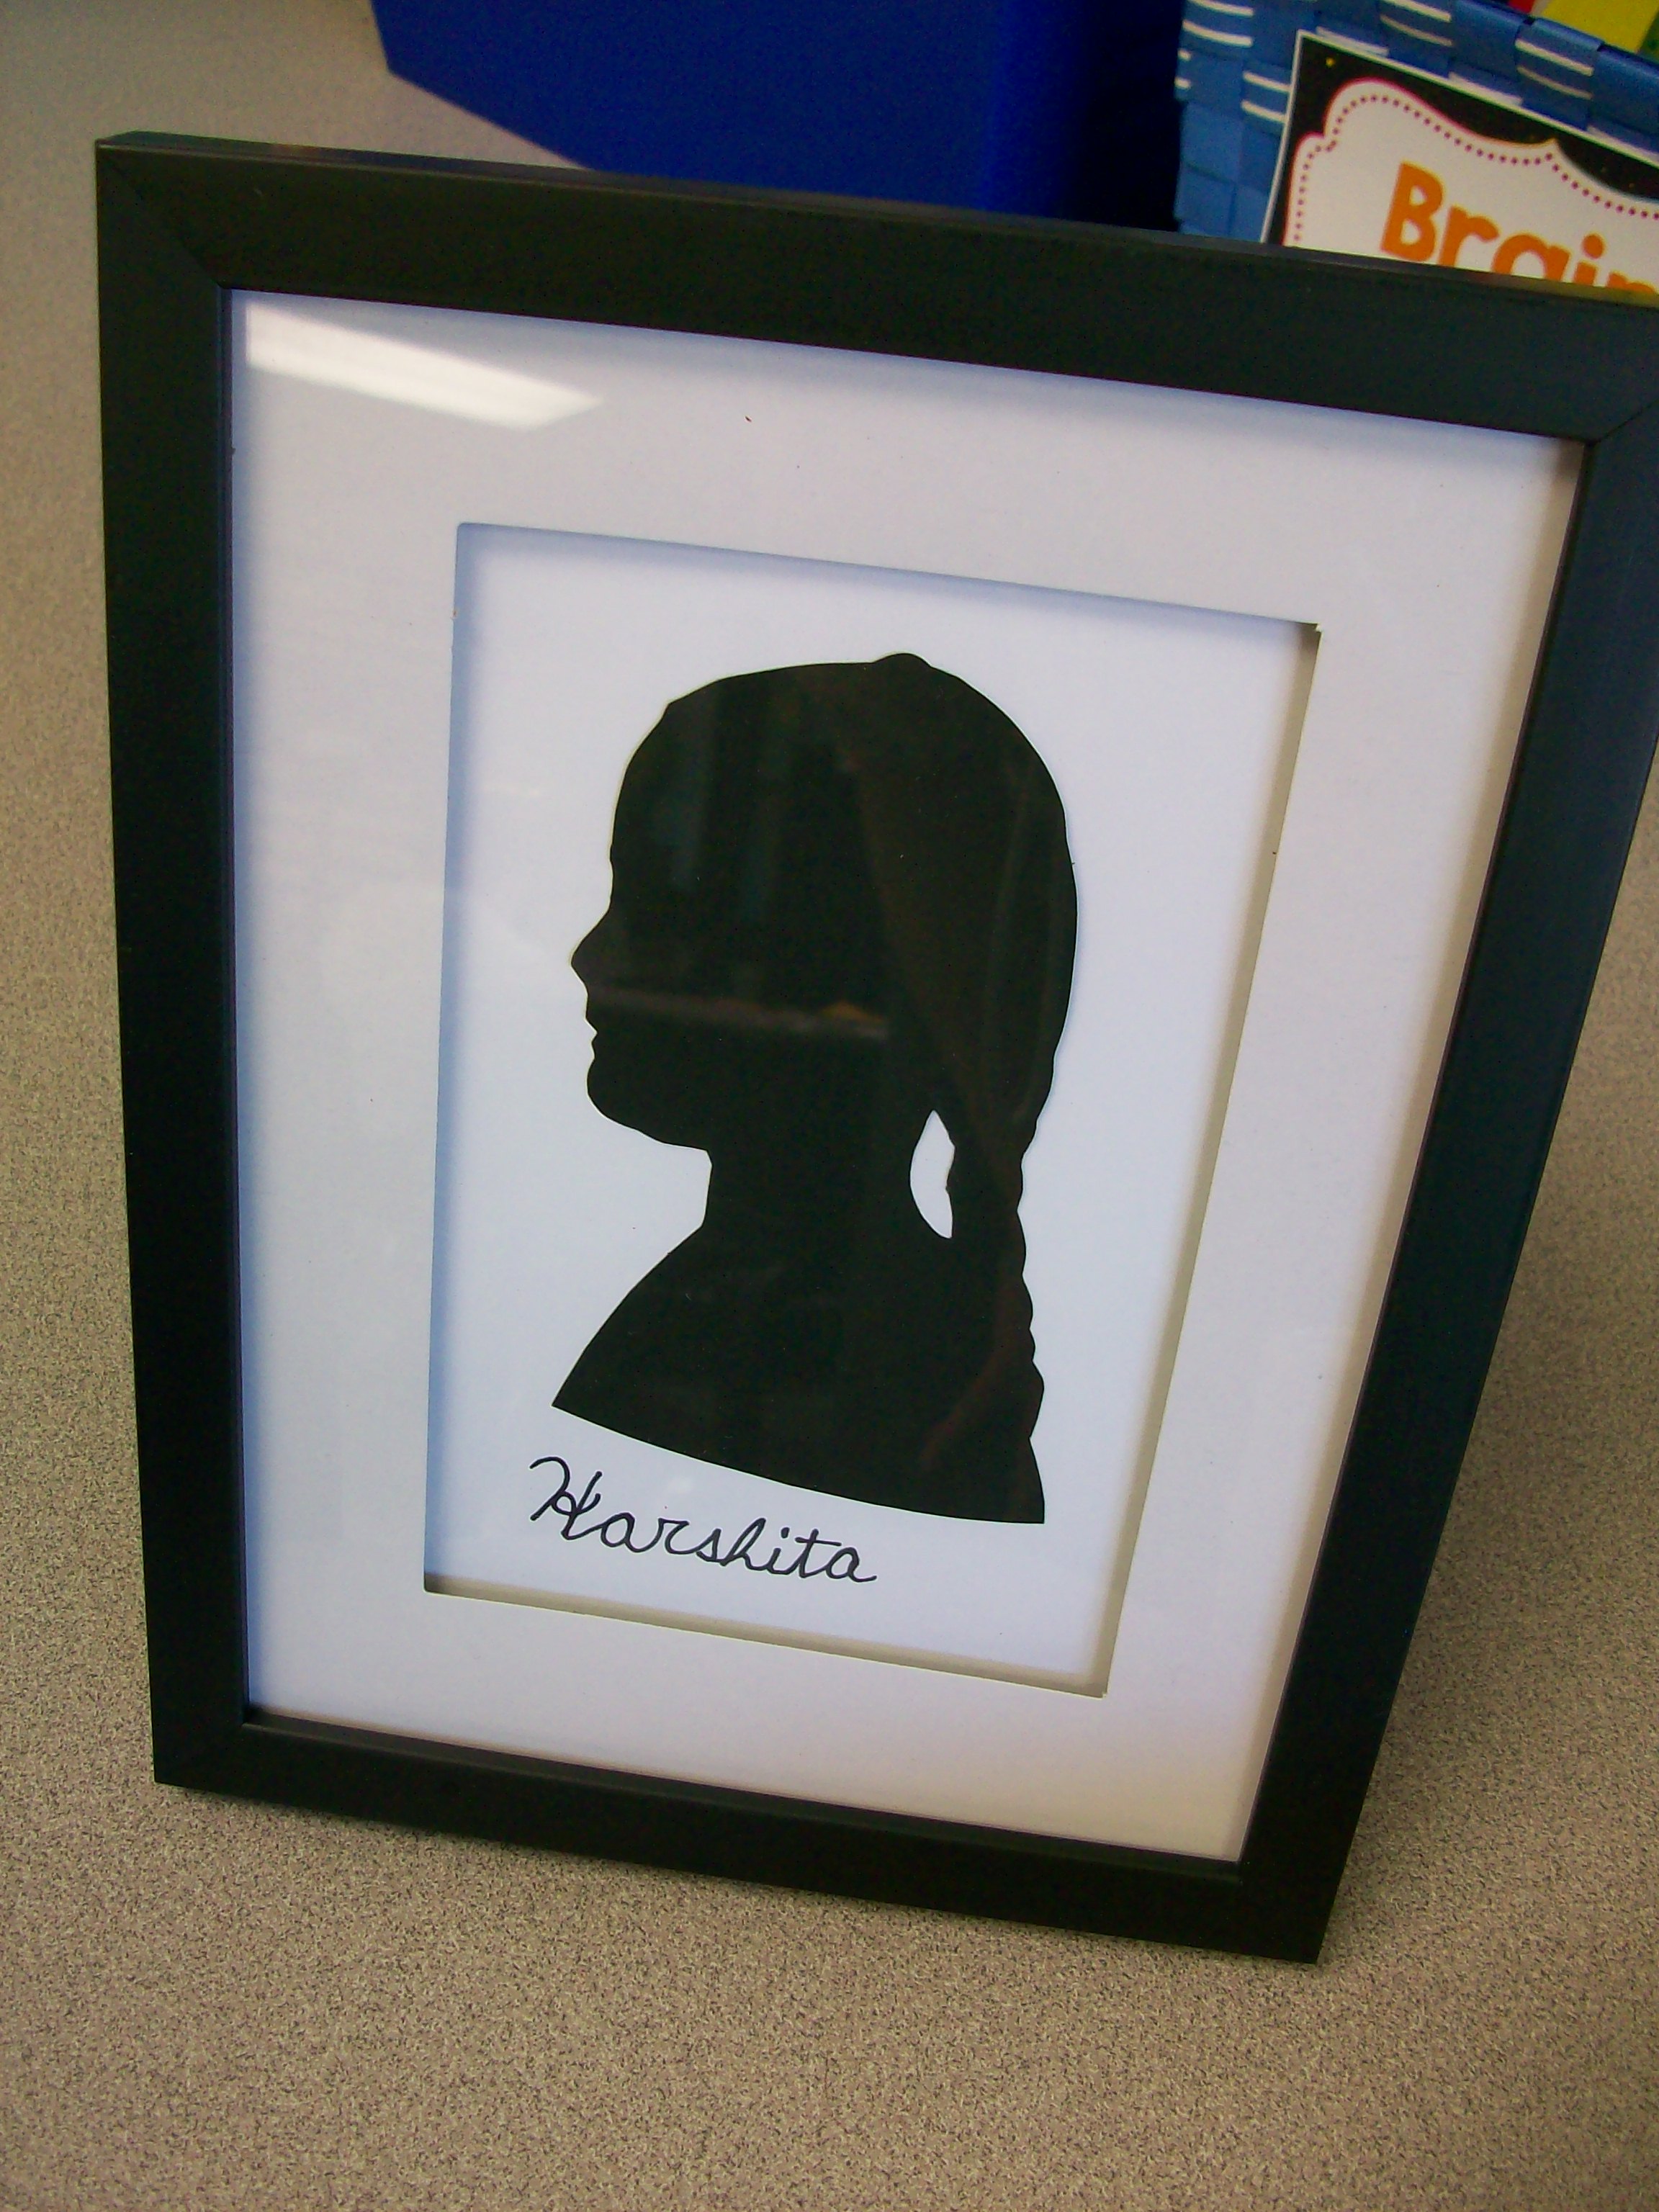
This is definitely my most favorite Mother’s Day project! To be upfront, it takes a lot of work on the part of the teacher. Essentially, you need to take a profile pic of every student, resize, print, cutout against black cardstock with super fine-point scissors, (kids gluestick the image on white cardstock and write their names in cursive with a very fine black Sharpie below), open and clean packaged frames, frame each silhouette, (kids wrap and make the card). Like I said, LOTS of work for the teacher. However, the magic is worth the time and effort. I mean, these silhouettes look JUST like each kid!. After I cut them out of the black paper, I use my document camera and play a guessing game with the class. They can call out the name of the classmate in three seconds on less every time. So fun!
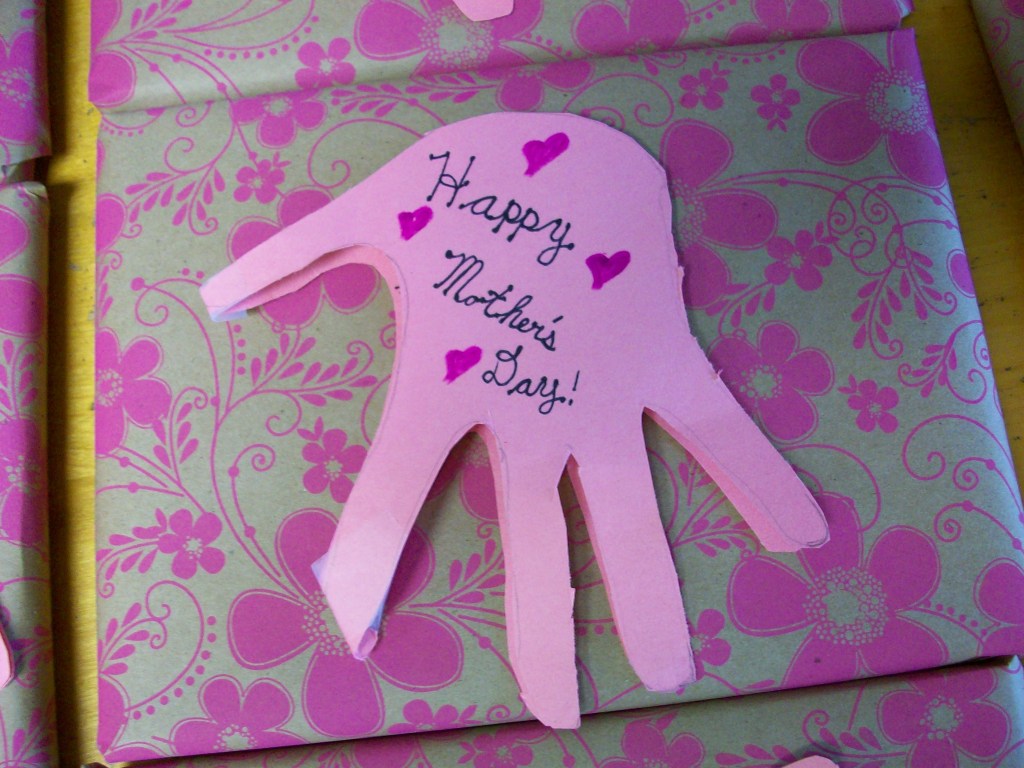
When it comes to wrapping, I like to purchase butcher paper with dainty patterns from The Dollar Tree. Since this project has a vintage feel, I try to keep the theme going. Two rolls is plenty for a class of 26 kids. The students fold a piece of construction paper in half and trace a hand with the pointer and thumb along the fold. After cutting out the double sheet, it makes a card that looks like a hand when folded, but opens up to two hands with a heart shape in the middle. It’s truly darling! If you want to take on this creative Mother’s Day craft, start at least one week early and plan to do a lot of cutting and framing in the evenings while you watch (mostly listen) to a TV show.
BrainPOP

Let Tim and Moby escort you and your students on a topical adventure! Use these approximately two- to five-minute animated videos at BrainPOP to enhance your reading, writing, English, math, science, social studies, art, music, technology, etc. lessons. The best feature is the ten-question multiple-choice quiz that follows each video. Get all of your students involved in responding to these comprehension checks! Activity ideas and worksheets accompany each topic as well. This is one of my favorite sites to support the skills and topics of study I teach. While you’ll need to purchase a subscriptions to fully take advantage of this site (and its partner sites BrainPOP, Jr. and BrainPOP, Espanol), there are several free videos. Click on “Free Stuff” to see it all. BrainPOP, Jr. is intended for K-3 grades and BP is geared toward 3-12 grades. Preview the video you think you’d like to show before airing it. Sometimes the vocabulary and content is too challenging for my third graders, so not all videos are appropriate to show. You’ll also want to register for the free “BrainPOP Educators.” Gain access to all of the activity pages, various graphic organizers, ideas for using BrainPOP in your classroom, and a lot more!
