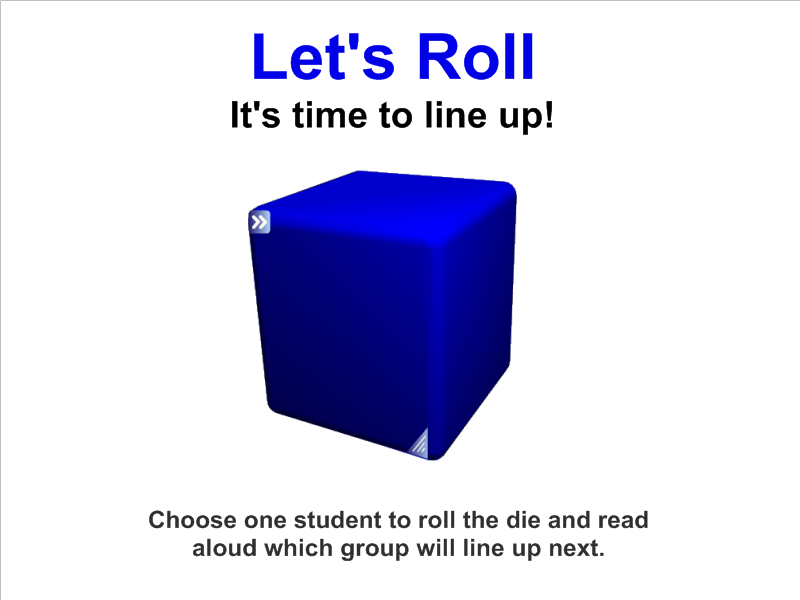
One of the greatest challenges for teachers is smooth transitions between activities. We often loose control of the class to chatter and chaos when we ask them to move from one location to another. In the SMART Notebook gallery, you will find a variety of dice. Choose one that can be edited. I prefer to label the six sides with table 1, table 2, table 3, etc. A student helper taps the die, and the next group to line up is decided. The students remain quiet as they anticipate the next roll. Movement is done in small chunks and so much time and energy is saved! Give it a roll in your classroom. You’ll just “die” for these smooth transitions!
classroom management
Checklists
Think about all of the things you repeatedly say throughout the week. Think about all of the kids who are visual learners. Now think about how much time and breath you’ll save by making simple to do lists or checklist for your students using SMART Notebook! I prefer to use 3-5 simple statements coupled with a clipart image for each. The students will become so use to seeing and following the routine directions that you’ll smile and pat yourself on the back.
Group Generator
I love the random group generators available in the SMART Notebook gallery. After searching “random,” look under the “multimedia” category. I use the one pictured above and include student numbers rather than names. Since this grouping tool is part of many different SMART files (reading, math, science, writing), I want to keep it general enough to be used year after year. After entering number/names, chose the number of groups you’d like to make. Then “generate” to see the random groupings. If a student is absent and you want to remove his/her number/name, do this on the first page before generating. Then be sure you don’t leave an empty fields. The function will only group the students prior to the open slot. The quick fix it to move the last number/name of your class into the empty spot.
Seating Chart
Do you still make paper and pencil seating charts? Now with SMART™ Notebook, you can create a template of your classroom floor plan and manipulate the students’ names whenever you feel it’s necessary to switch things up. It also eliminates the need for the teacher to move the desks after school. Let the students view the setup and work with a partner to move desks to the new arrangement.
The First Way to Bulid Your Seating Chart
- Use the square drawing tool to make a desk. Add a fill color (tan) to the square, if you’d like. Use the infinite cloner option by clicking on the drop-down arrow of the first desk. Drag 24 (or the maximum number of students in your room) squares from the original. Remove infinite cloner from the first square. Position the desks in the arrangement you would prefer. Lock them in place so that they don’t move accidently when you attempt to adjust the name textboxes later on.
- Add shapes for necessary furniture, the SMART™ Board, or the classroom door if you’d like.
- Make one textbox with your longest students’ name. Use the “Infinite Cloner” option by clicking on the drop-down arrow of the textbox. Drag 24 (or the maximum number of students in your room) textboxes from the original. Remove infinite cloner from the first name. Position the names on each desk. Double-click on each textbox to change the name.
The Second Way to Build Your Seating Chart
- Use the square drawing tool to make one desk. Add a fill color (tan) to the square, if you’d like. Use the infinite cloner option by clicking on the drop-down arrow of the first desk. Drag 4 (or the maximum number of students in a table group or row) squares from the original. Remove infinite cloner from the first square. Position the 4 desks in the table or row arrangement you would prefer. Group the table or row of desk by marquee selecting them all, choosing one of the drop-down arrows, and selecting “Grouping” and the sub category of “Group.” Infinitely clone this group of desks until you’ve filled the page with the maximum number of tables or rows you need. Position them before marquee selecting all of the tables or rows and “Locking” them in place so that they don’t move accidently when you attempt to adjust the name textboxes later on.
- Add shapes for necessary furniture, the SMART™ Board, or the classroom door if you’d like.
- Make one textbox with your longest students’ name. Make 4 textboxes by using the “Infinite Cloner” option. Position the 4 textboxes in one of the table or row arrangements. Group these four textboxes (not the desks) marquee selecting them all, choosing one of the drop-down arrows, and selecting “Grouping” and the sub category of “Group.” Infinitely clone this group of 4 textboxes until you’ve filled the page with the maximum number of names you need. Remove infinite cloner from the first group of textboxes. Position the textboxes (grouped) on each table or row before selecting “Grouping” and “Ungroup.” Double-click on each textbox to change the names.
Lunch Count
One of the first pages I created to help facilitate classroom management was a lunch count page in SMART Notebook™. As the students enter the classroom each morning and begin their morning tasks of turning in homework and notes, putting away their bags and coats, sharpening pencils, etc. they take 3 seconds to read the hot lunch option and drag the textbox with their name to the meal they’d like for the day. When the students have settled into their seats to work on spelling, I can glance at the SMART Board™ and clearly see how many students selected each lunch option and who is absent.


