
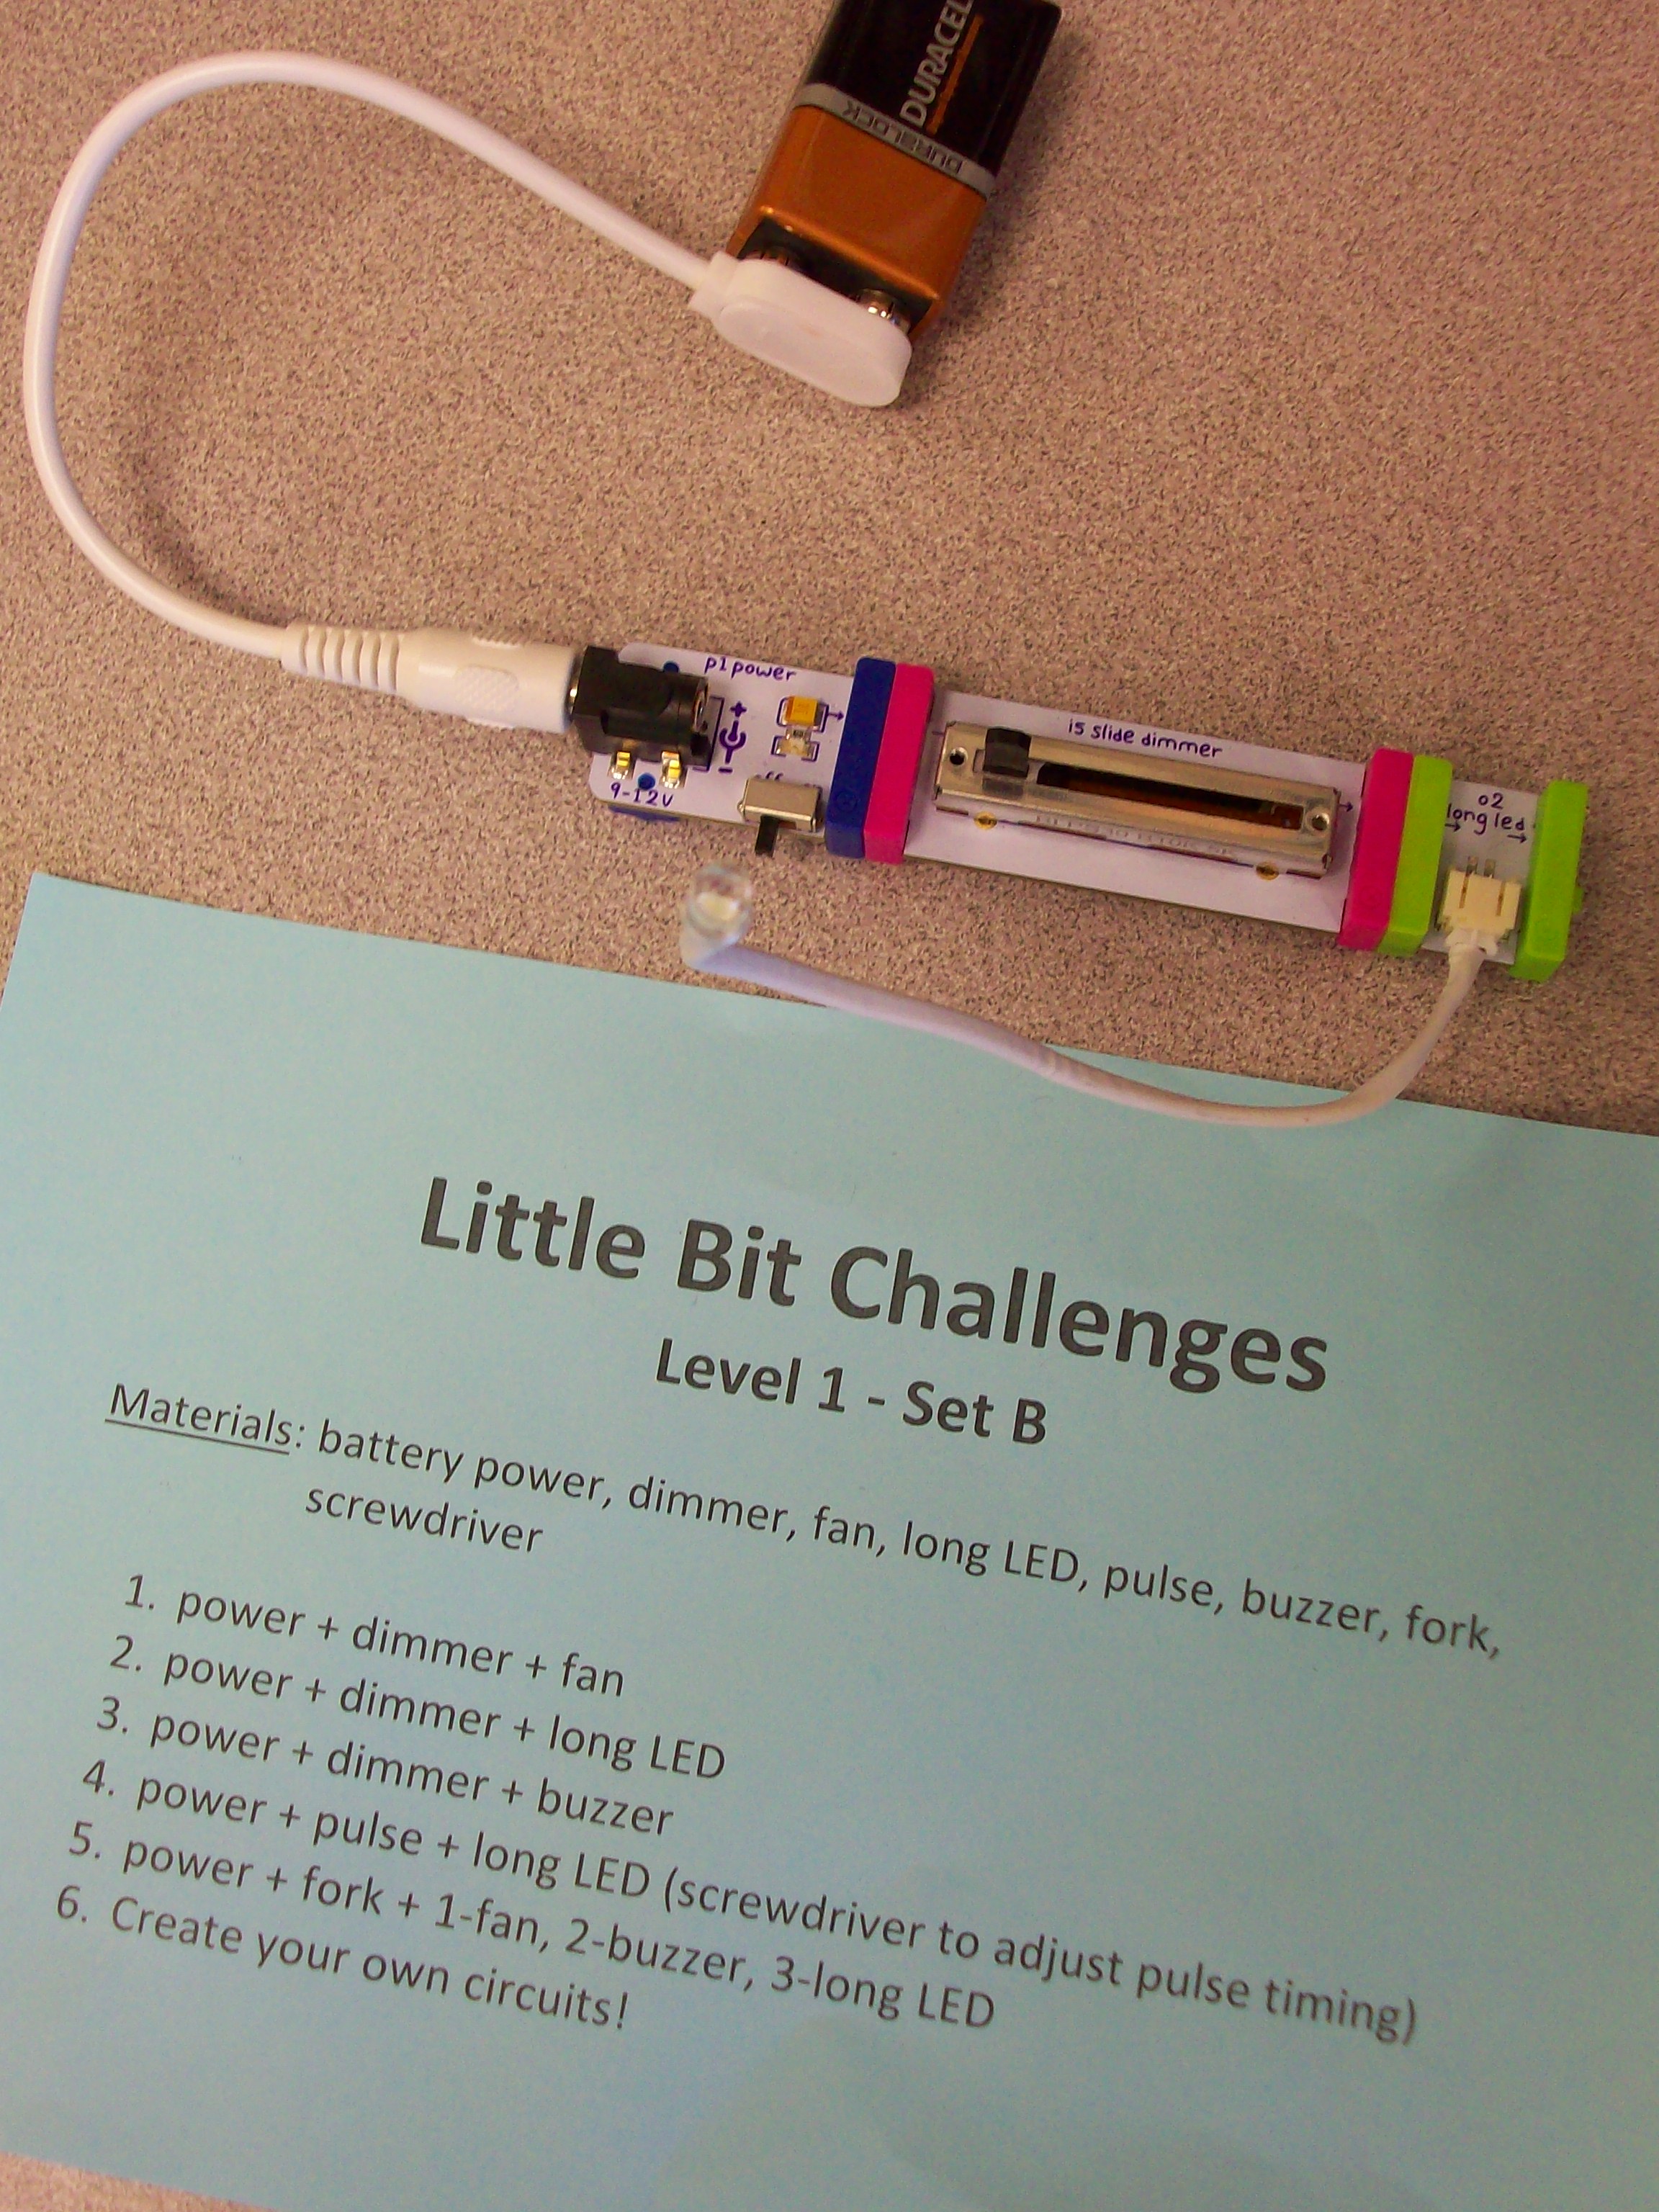
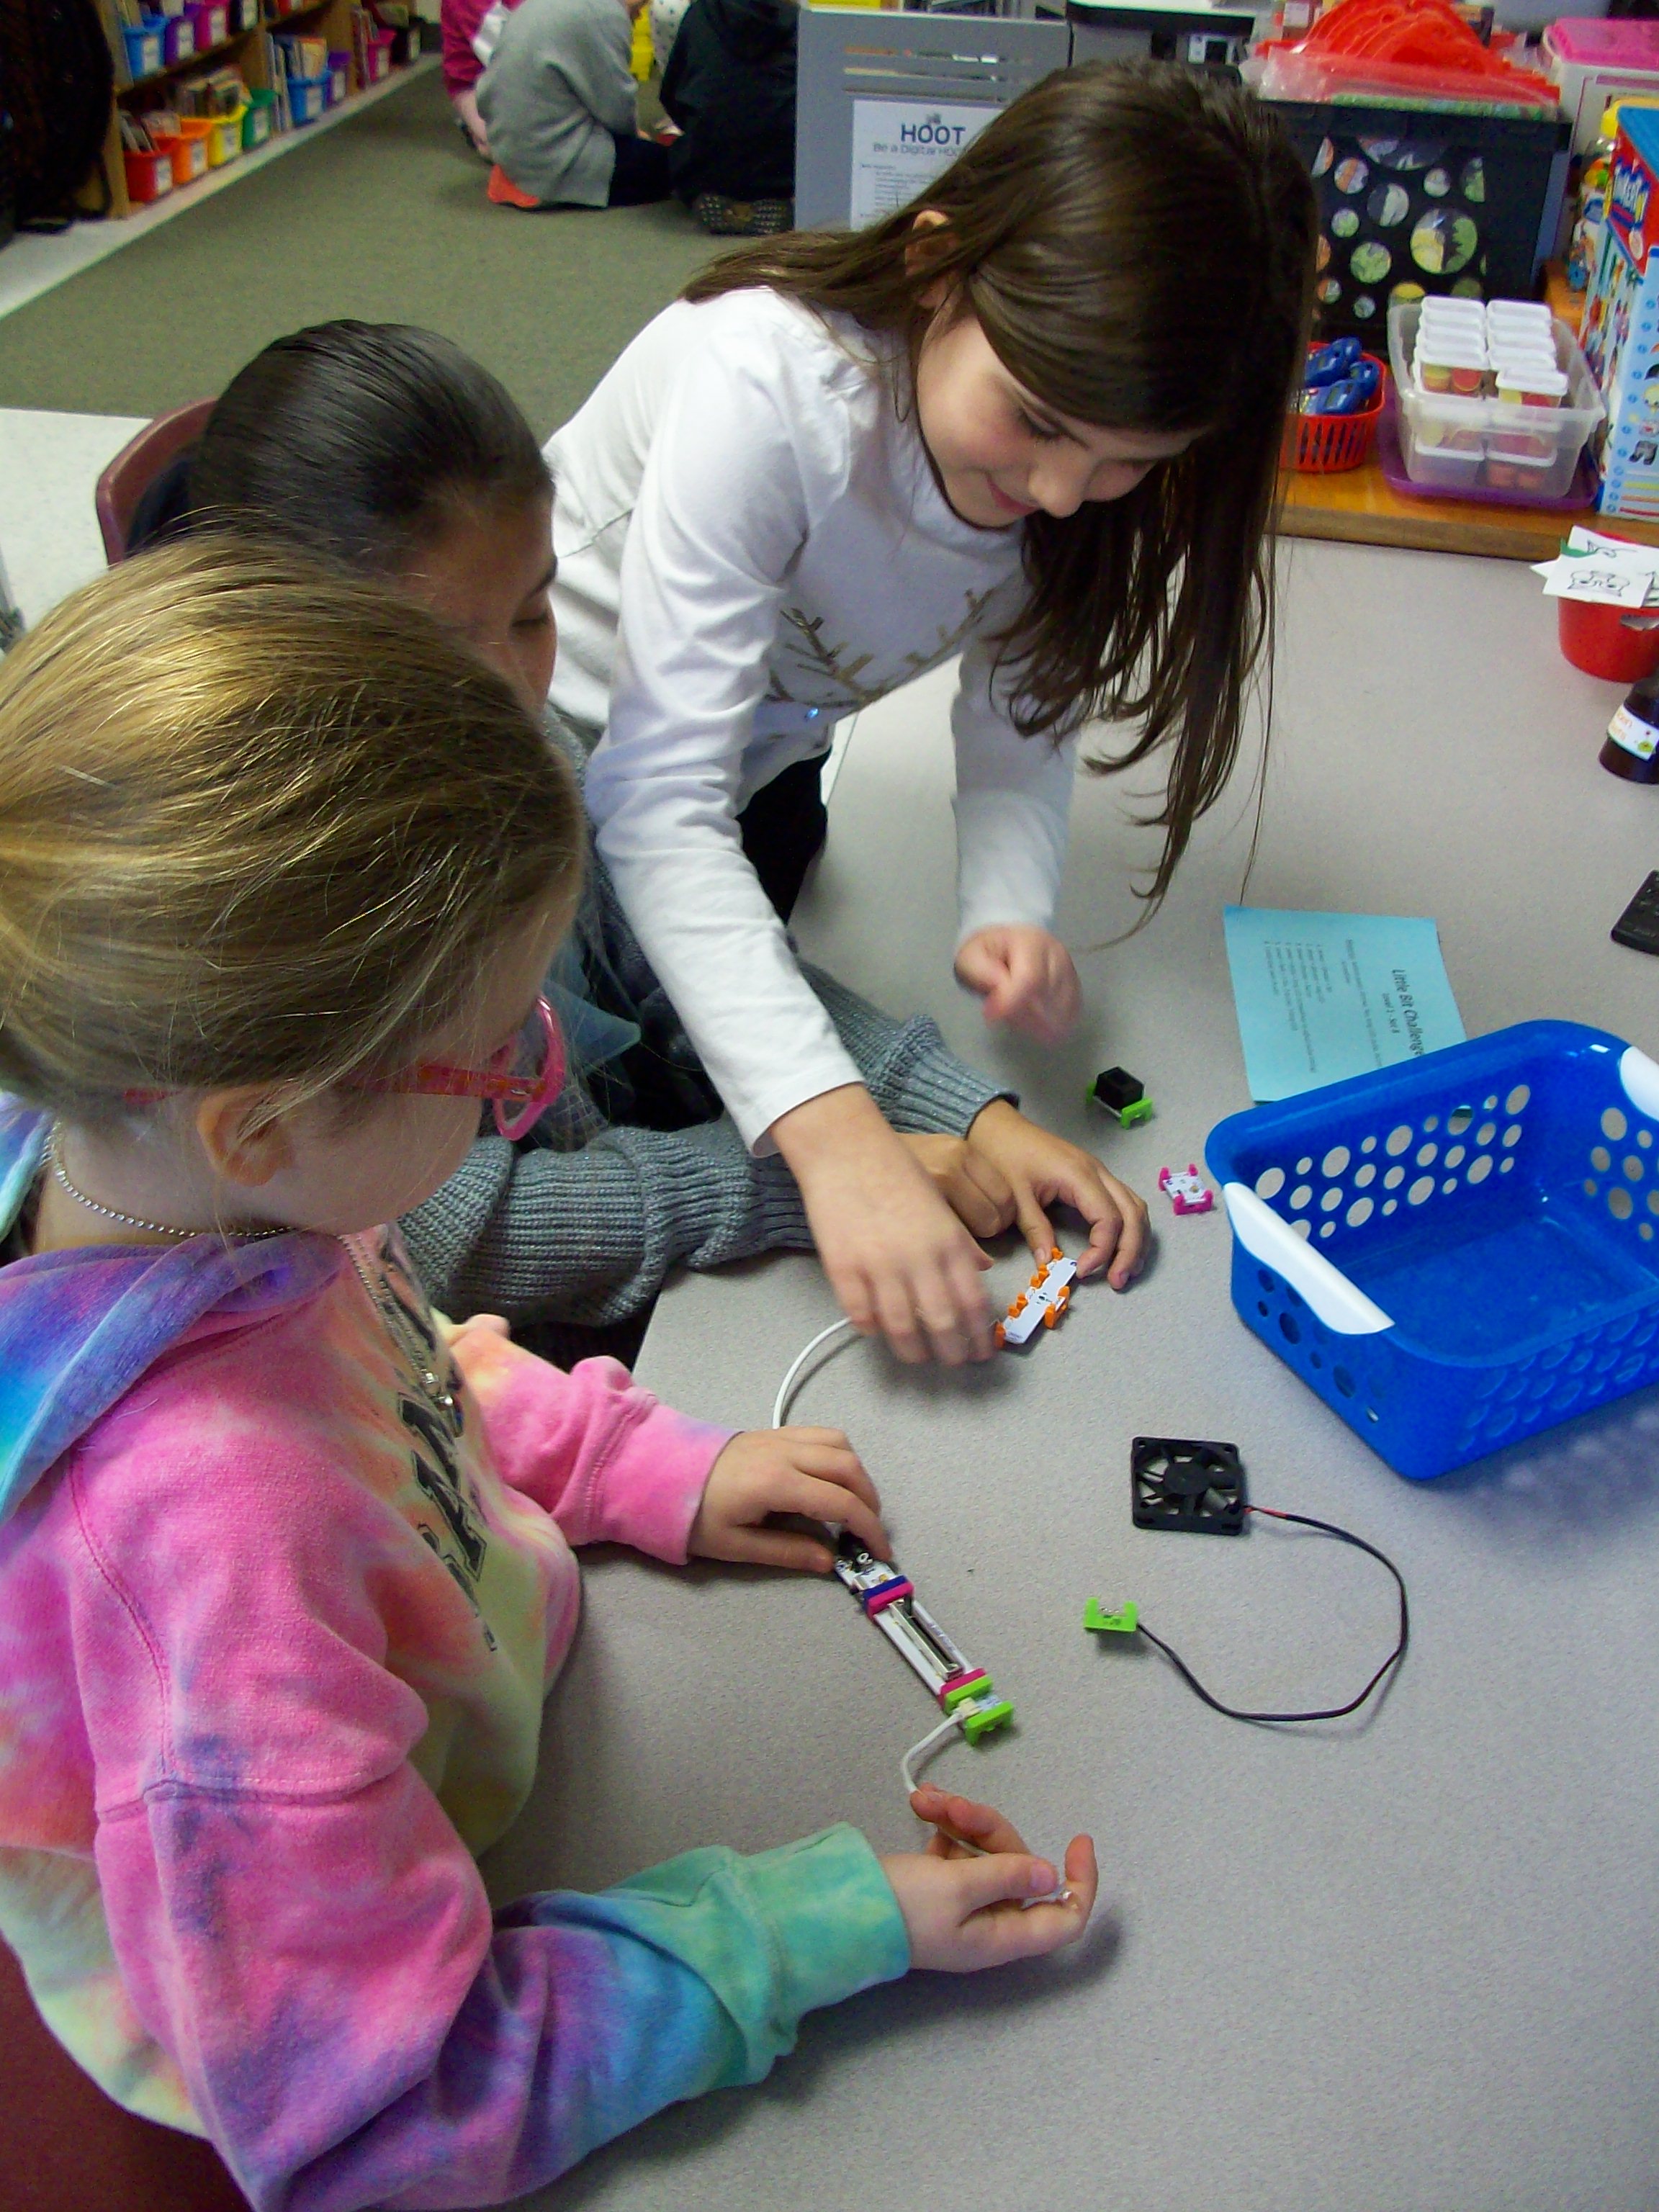
Little Bit kits are amazing for teaching electrical circuits and engineering, but also provide students with opportunities to wonder and explore. The miniature pieces snap together with a magnetic system. Students start with a power source (electrical cord in an outlet or 9-volt battery) and add on switch (dimmer, pulse, etc.) and mechanical device (fan, buzzer, light, etc.) Once they learn the basics of how the circuit works, kids can take on Little Bit challenges to build all kinds of inventions! I had 4 Little Bits kits to work with 26 students, so I prepped baskets with the materials my groups of 3-4 kids would need along with a direction card I created. Every group needed a power source, and since I had 4 kits that each have a wall outlet or battery, I was able to make 8 baskets. Half of them were Level 1 – Set A challenges with the wall outlet and half of them were Level 1 – Set B challenges with the 9-volt battery. Since it was their first time using these materials, the tasks where outlined for them with simple circuits building up to more intricate ones. When done with the 5 challenges I had set, groups were given time to explore with their pieces. The next time we swapped A and B baskets and investigated more with the new blocks. And for our third experience with Little Bits, teams were given invention challenges. We used the instruction booklets that came with the kits, but the Little Bits website has many resources and project ideas. Get ready for fun!
electricity
Makey-Makey
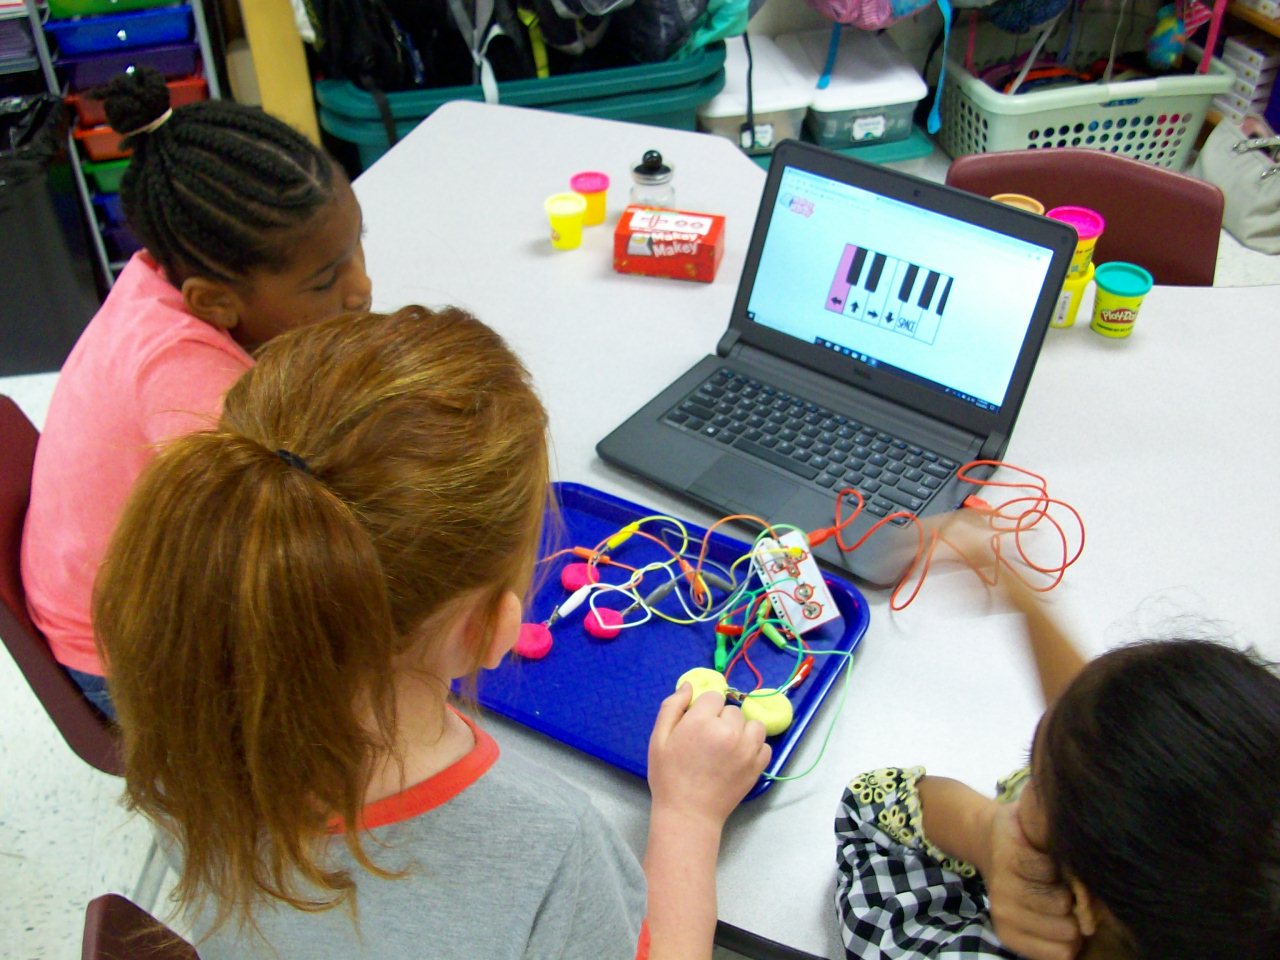

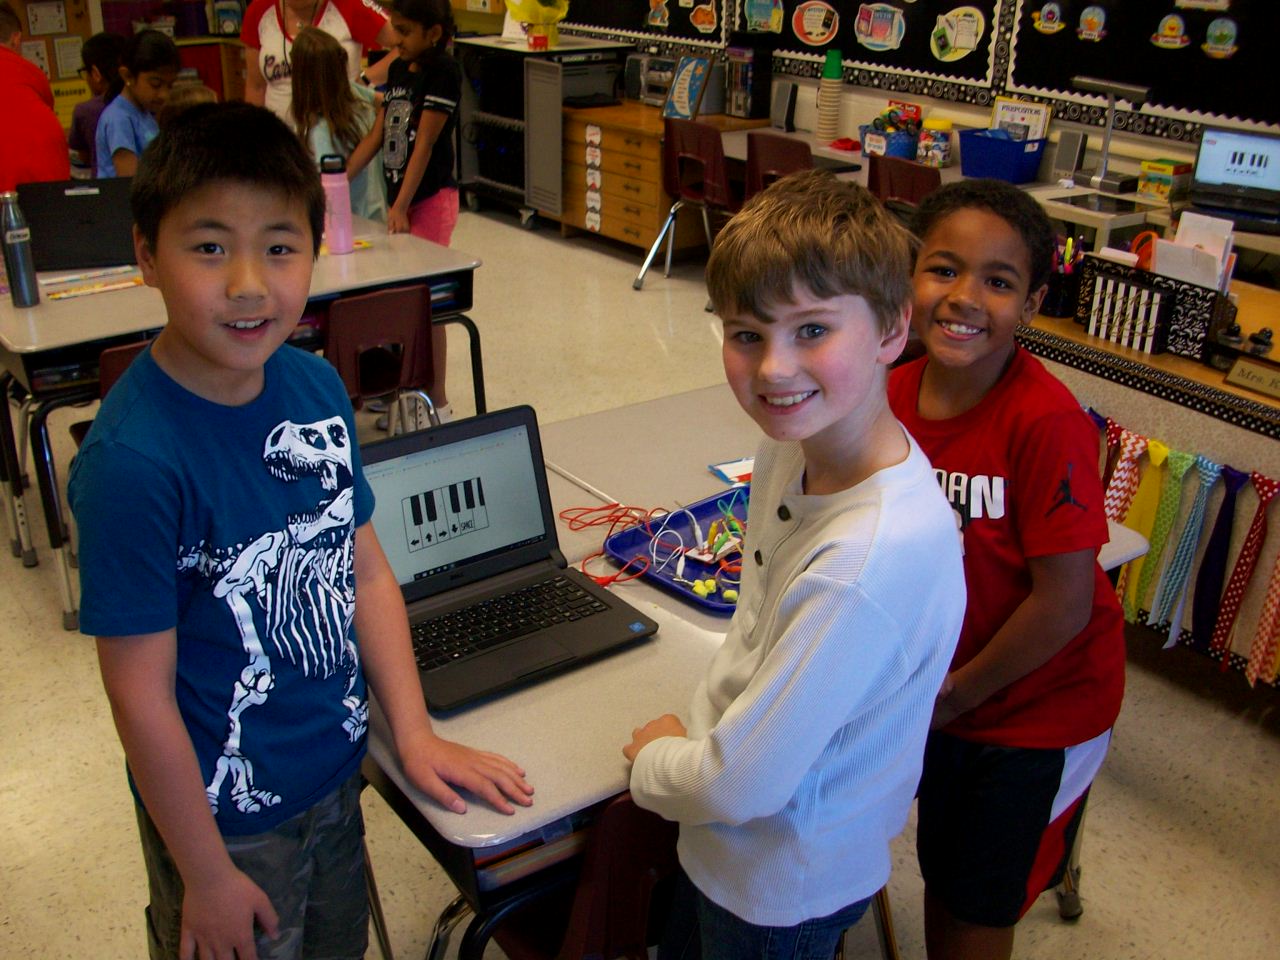
Makey Makey is the coolest! The small box contains a motherboard, wires with alligator clips on either end, and a USB cord to connect a laptop. What’s so special about these materials? In the right configuration with conductive materials (Playdoh, bananas, etc.), you can take over control of the keyboard and mouse. I introduced the Makey Makey kits with a Mrs. Foley talent show performance. Act 1: Comedy. I made a SMART Notebook file with several banana jokes. Each time I delivered the punchline, I tapped the bananas I had attached to the hidden motherboard and the bongo app I had opened played my “bu-dum-dum” rhythm. The kids saw me tap the bananas, but heard a bongo. They were confused. Seeing as how my jokes were sub par, I decided to up my game and impress the class with my classical music talents. Act 2: Piano. So I switched over to the piano app and played “Ode to Joy” on the bananas. Beautiful. Still, the kids were perplexed and I thought my performance needed to be more in line with their interests. Act 3: Video Game Master. So I pulled up the original Super Mario Bros. video game and attached a different motherboard with Playdoh chunks. Start game. Tap the Playdoh. Avoid the goombas, turtles, and ledges. Pass level 1. And soak up the cheers and laughter. This is when the class was fully on board. Because I had the motherboard and wires covered with a cloth, the kids didn’t understand what was happening. So when I revealed the devices, they were soooo curious and wanted to check it out themselves. Each team of 3 was given a box with the Makey materials, 2 containers of Playdoh, and paperclips (to keep the alligator clips from getting covered in the clay. (I opted not to give every group 5 bananas, but let them try out my set up.) They began with the bongo app and moved on to the piano app and eventually the Mario Bros. game. After the exploratory part, I asked the students to help explain how it all worked. It led into a fun discussion on electrical circuits and conductors. NOTE: The circuit only works if the “player” holds onto the “earth” alligator clip so the loop is complete. We had the best time and an hour passed in what seemed like seconds. The students were completely engaged and loved the fact that they played Super Mario Bros. at school! (I hope they explained the purpose to their parents when they boasted about their video game experience that night.)
