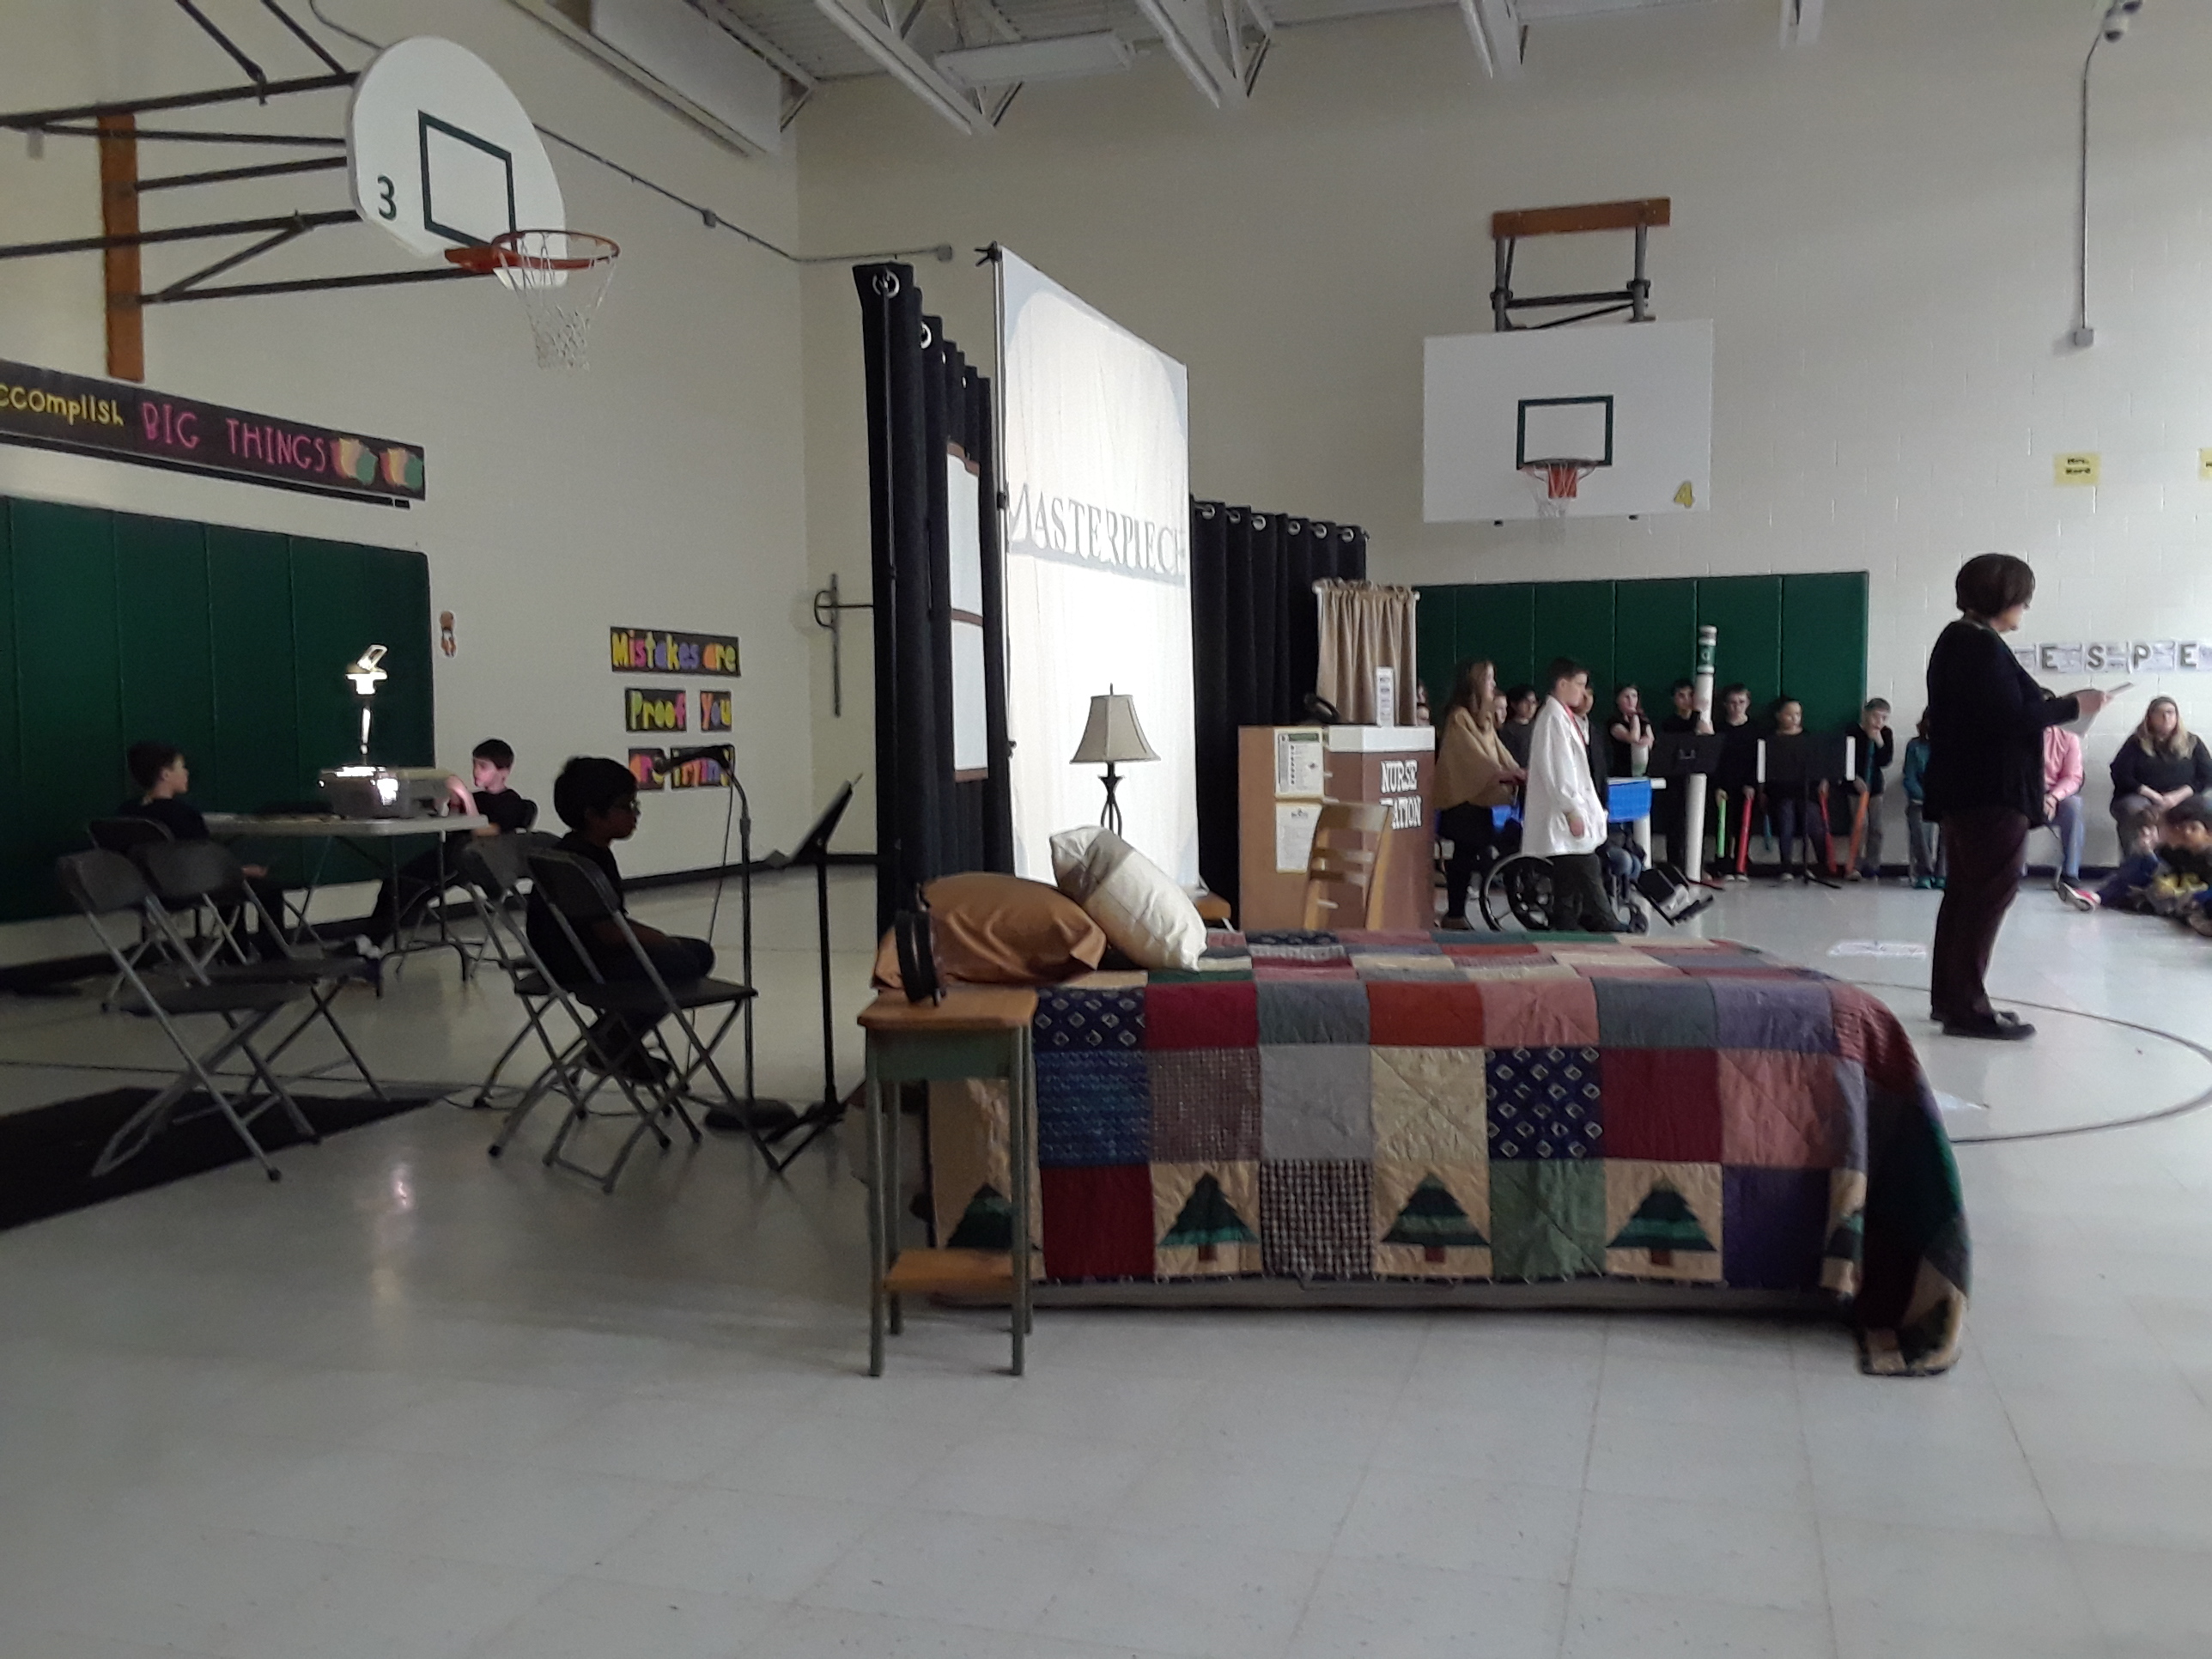
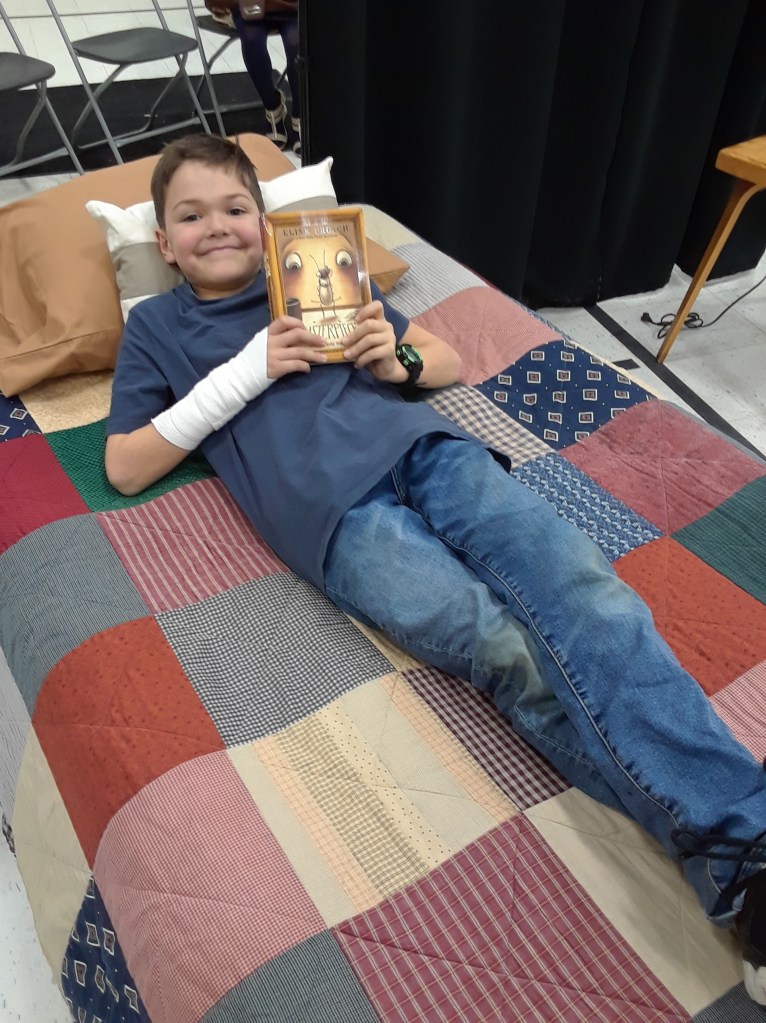
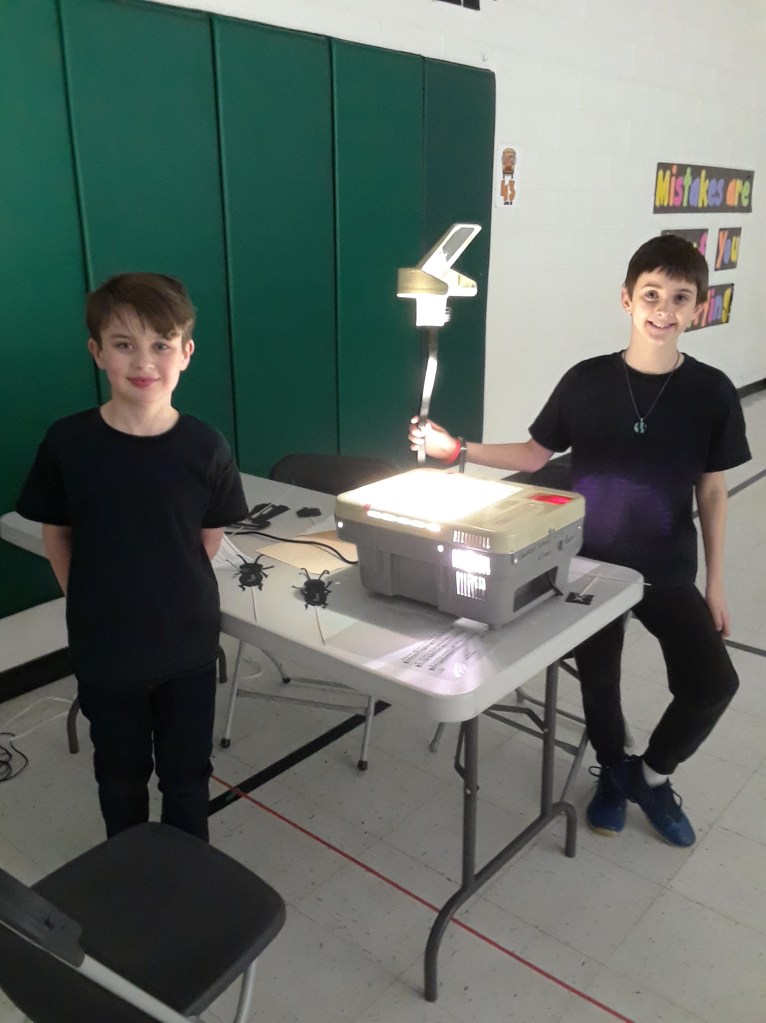
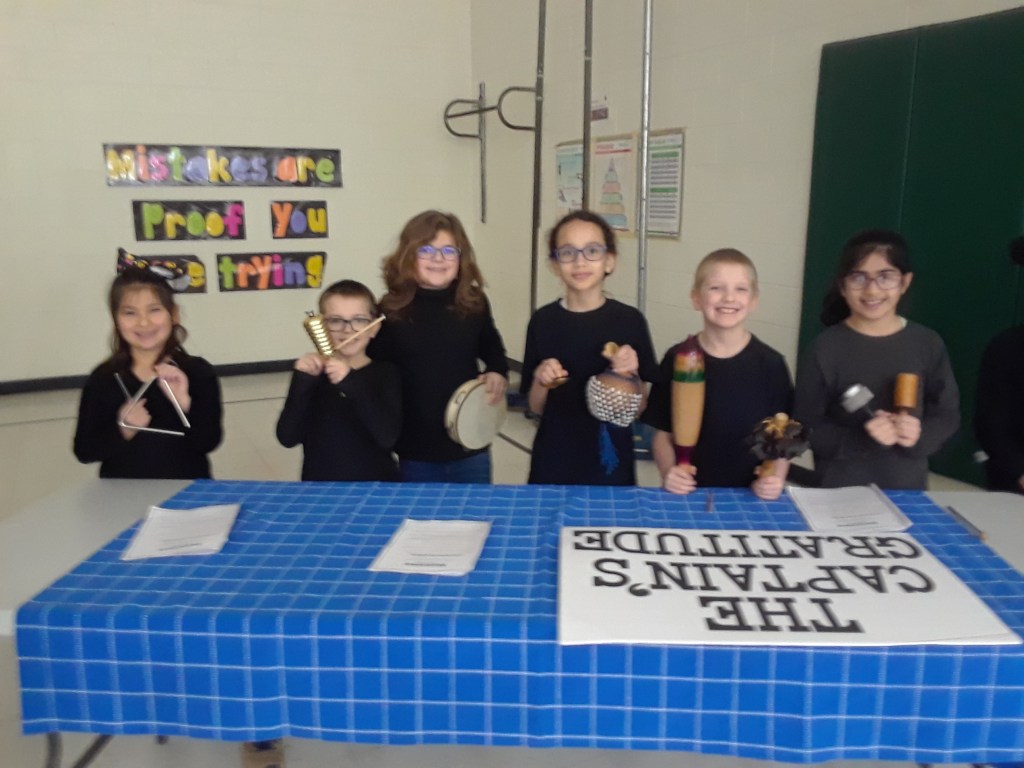
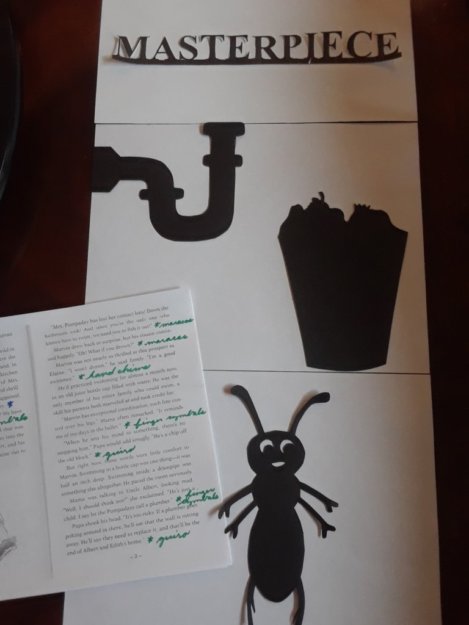
As our five-week whole-school novel study came to a close, we wanted to celebrate as a community. So again this year we orchestrated a readers’ theatre of the final chapters. My third graders continue to amaze me. And I really challenged them this time! Not only was there acting and instruments, I also added shadow puppetry! We had 3 narrators, 12 musicians, 3 puppeteers, and 7 actors. The addition of the black curtains and frames helped hide the puppeteers and voice actors who played the beetles. I was able to purchase those thanks to a Thrivent Action Teams grant. Oh, and the music teacher and I collaborated on an original song for Masterpiece! I wrote the lyrics and she set it to a melody. Listen to it here. (My 6th-grade daughter played it on her guitar.) The kids played and sang this chorus several times during the play. And since the music teacher taught it to all of her classes the week of our performance, the audience was able to sing along. Our first sing-along play! This was a readers’ theatre with lots of new elements. I absolutely LOVED the challenge and chance to be creative! Finally, every student was surprised with a gift–their very own sketchbook and felt-tip pen, like James in Masterpiece, though he had an ink set. That would have been a little to messy and expensive for all 480 students. Again, a big thanks to a Thrivent Action Teams grant for the purchase of the sketchbooks. What a thrill!
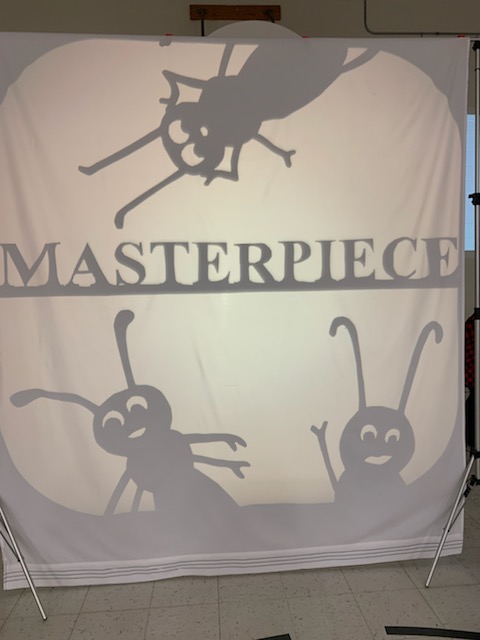
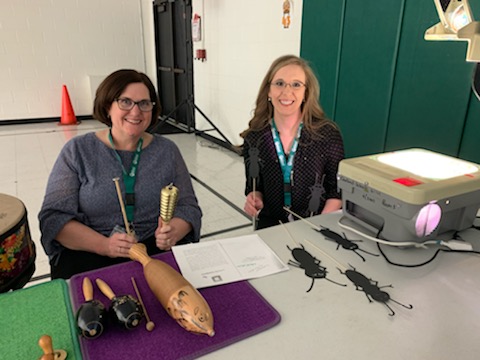
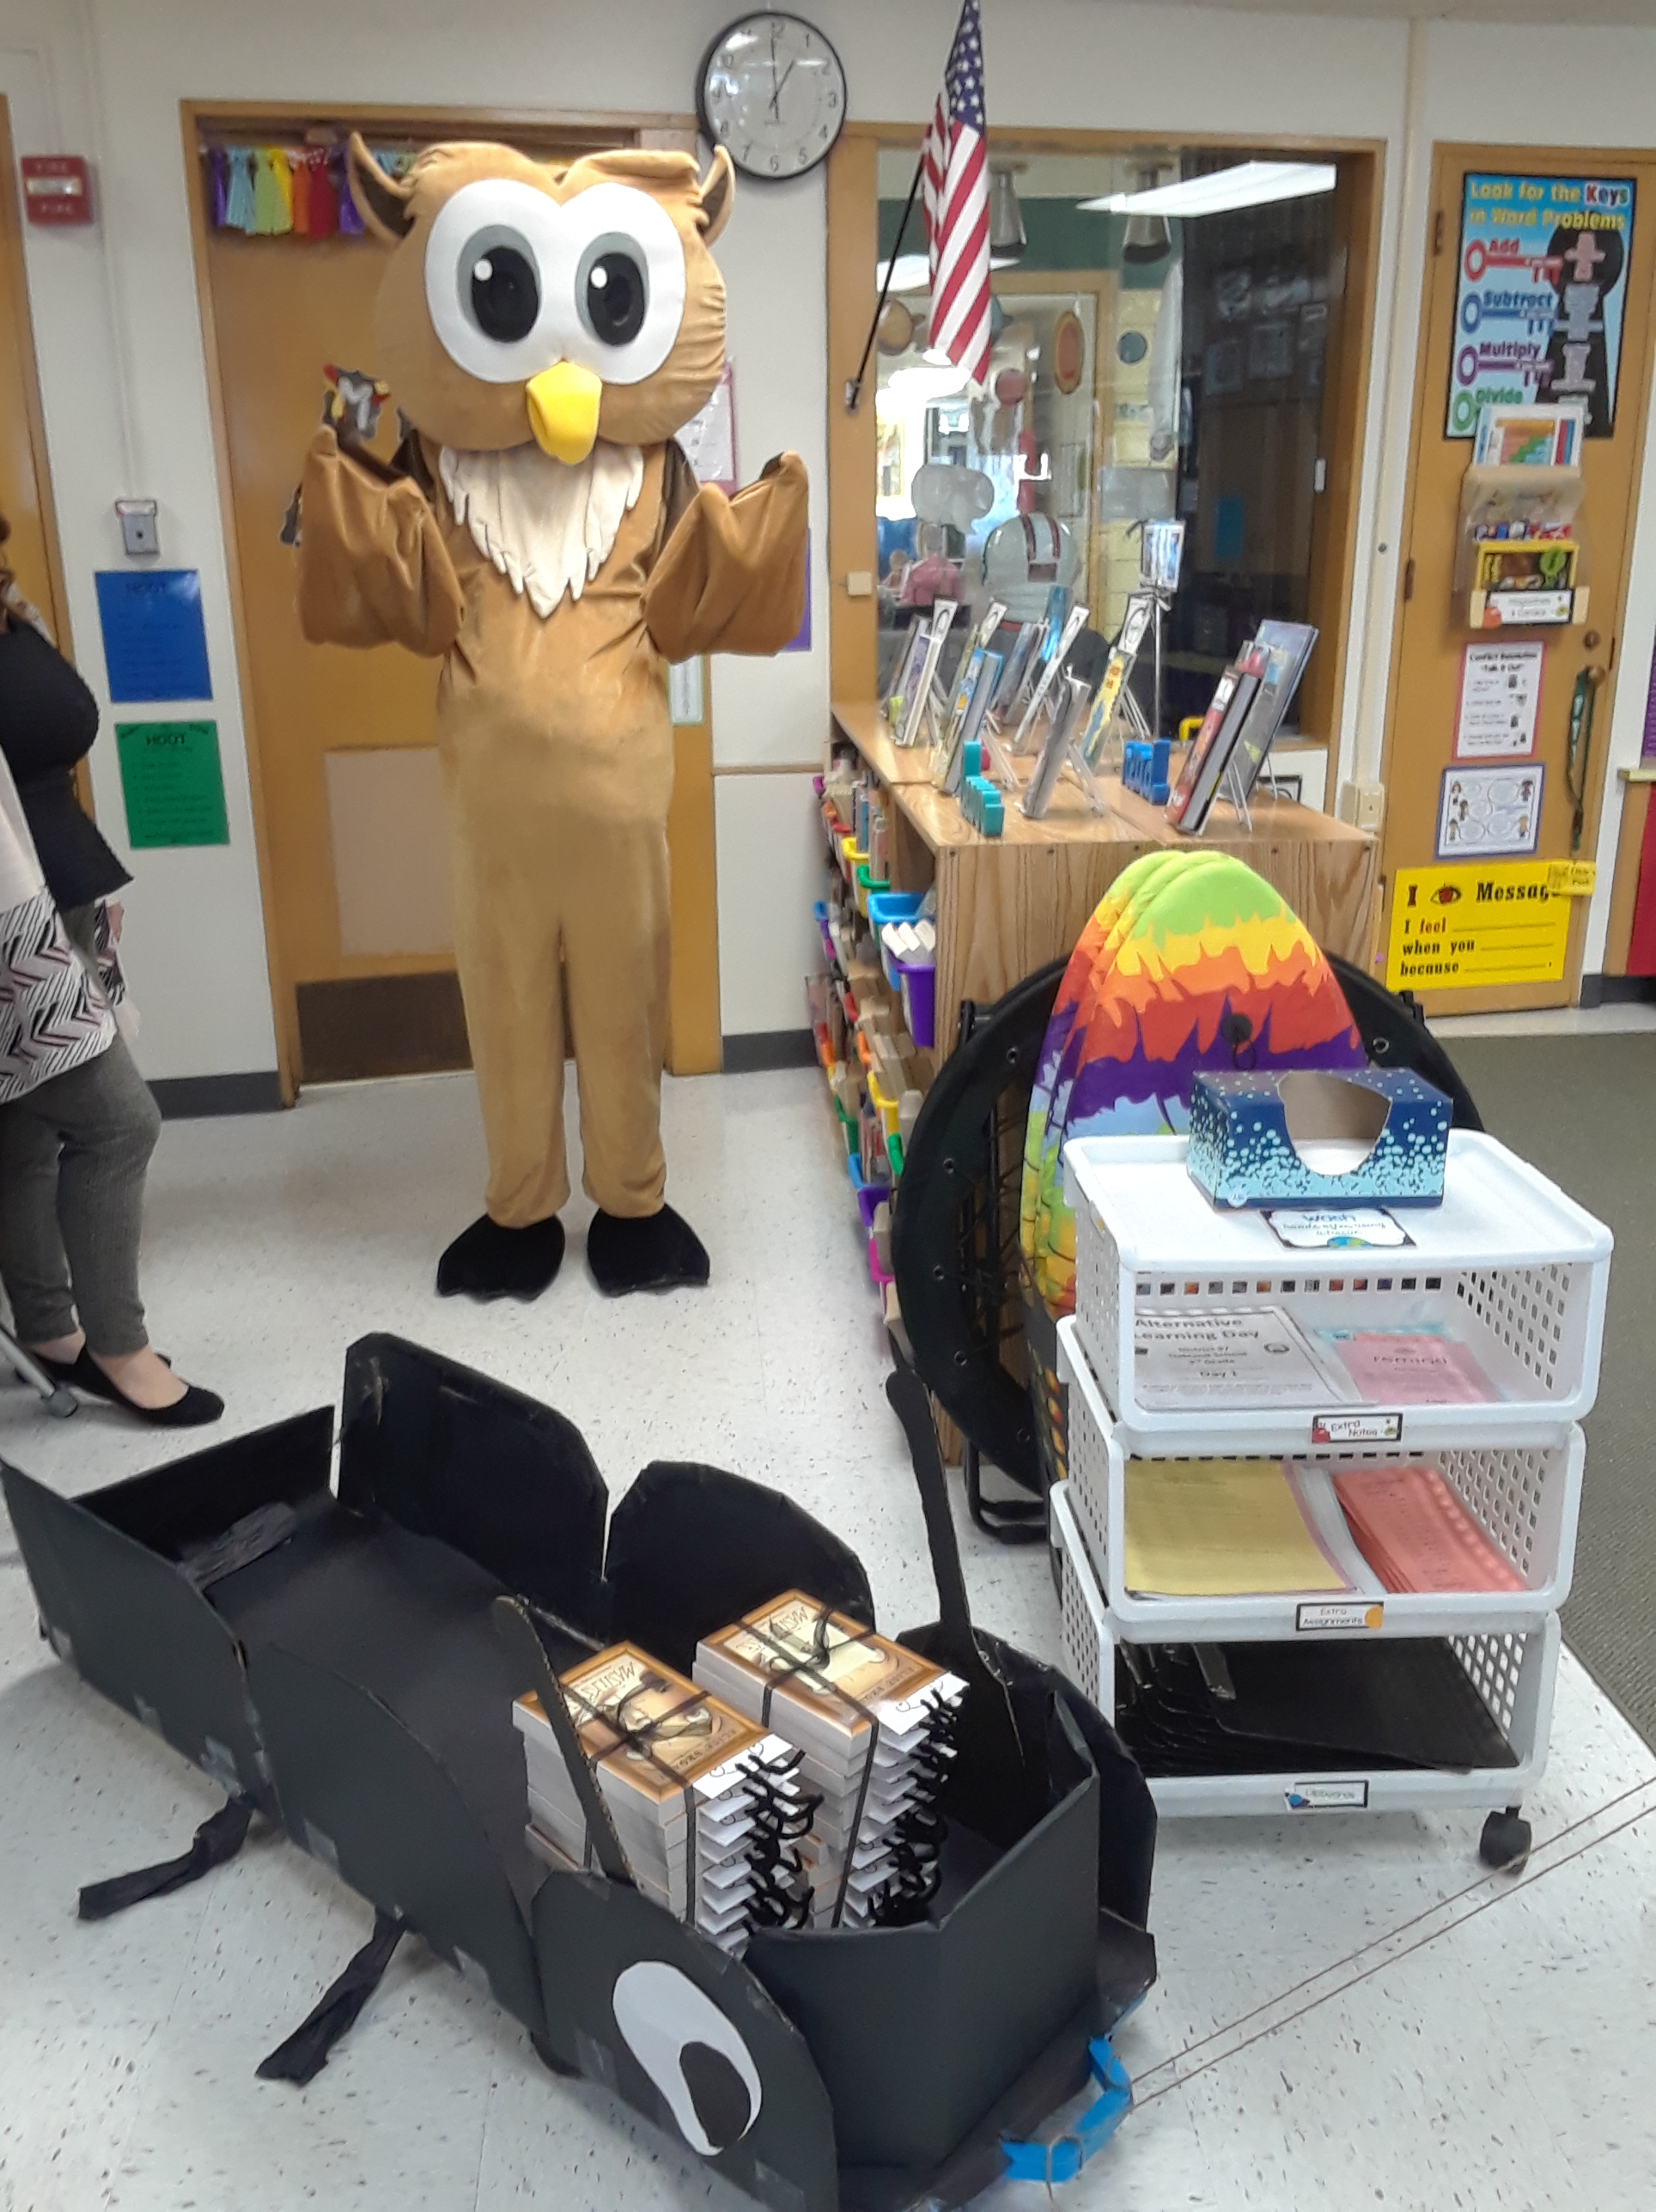
For the third year in a row, our students participated in an all-school novel study. This year’s title was Masterpiece by Elise Broach. For our opening assembly, the student body was introduced to the characters with a shadow puppet show. Yes! We amateurs pulled off a shadow puppet show of chapter 1 for 500 people. How did we do it? An old overhead projector, white sheet, greenscreen frame, and 2-D paper characters. And, of course, I had to add musical instrument sound effects! Another teacher and I hid behind the screen. I managed the puppets and she added the sounds–one for each character and others as needed. Other staff members joined in on the fun. Our librarian narrated the chapter and our art teacher painted an amazing owl (our mascot) in the style of Durer (the focus artist in the book). Following the assembly, Okie and a Marvin-style cart (the beetle in Masterpiece) made the rounds to each classroom to deliver a stack of novels, one for every student. Isn’t the teacher-created bookmark also adorable! Our team when all out again this year to get kids excited for the “One School, One Book” 5-week adventure.
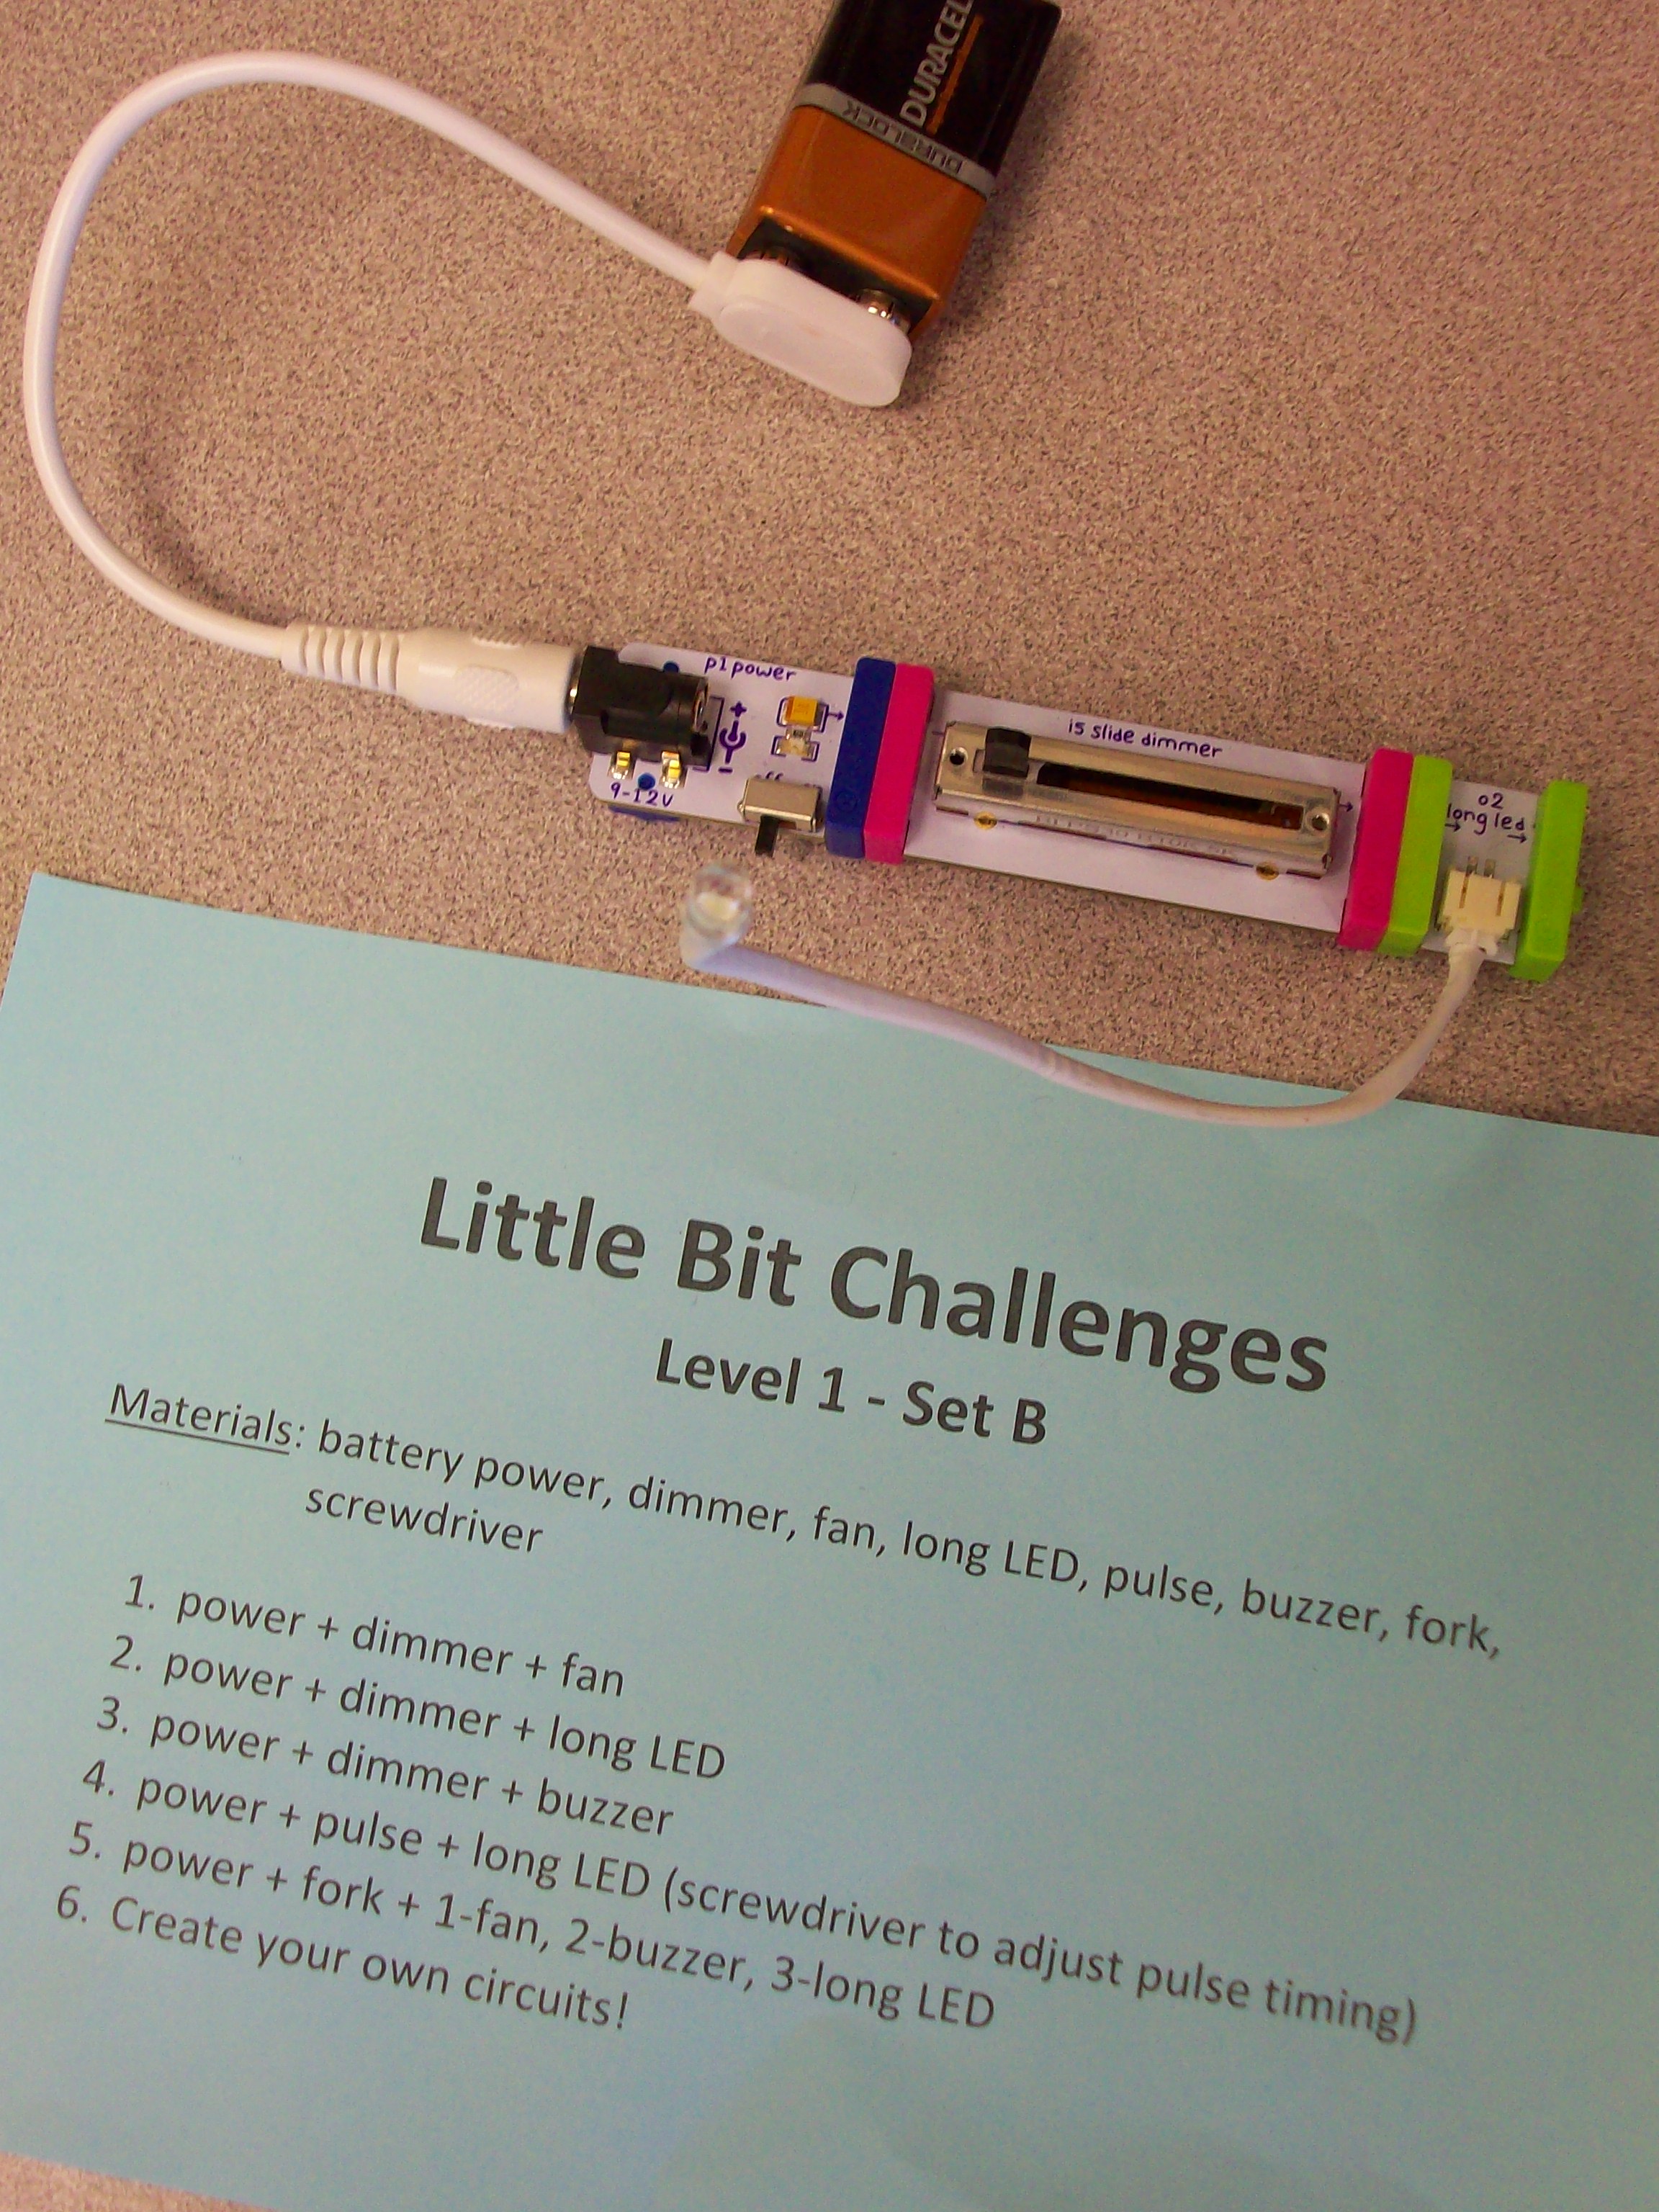
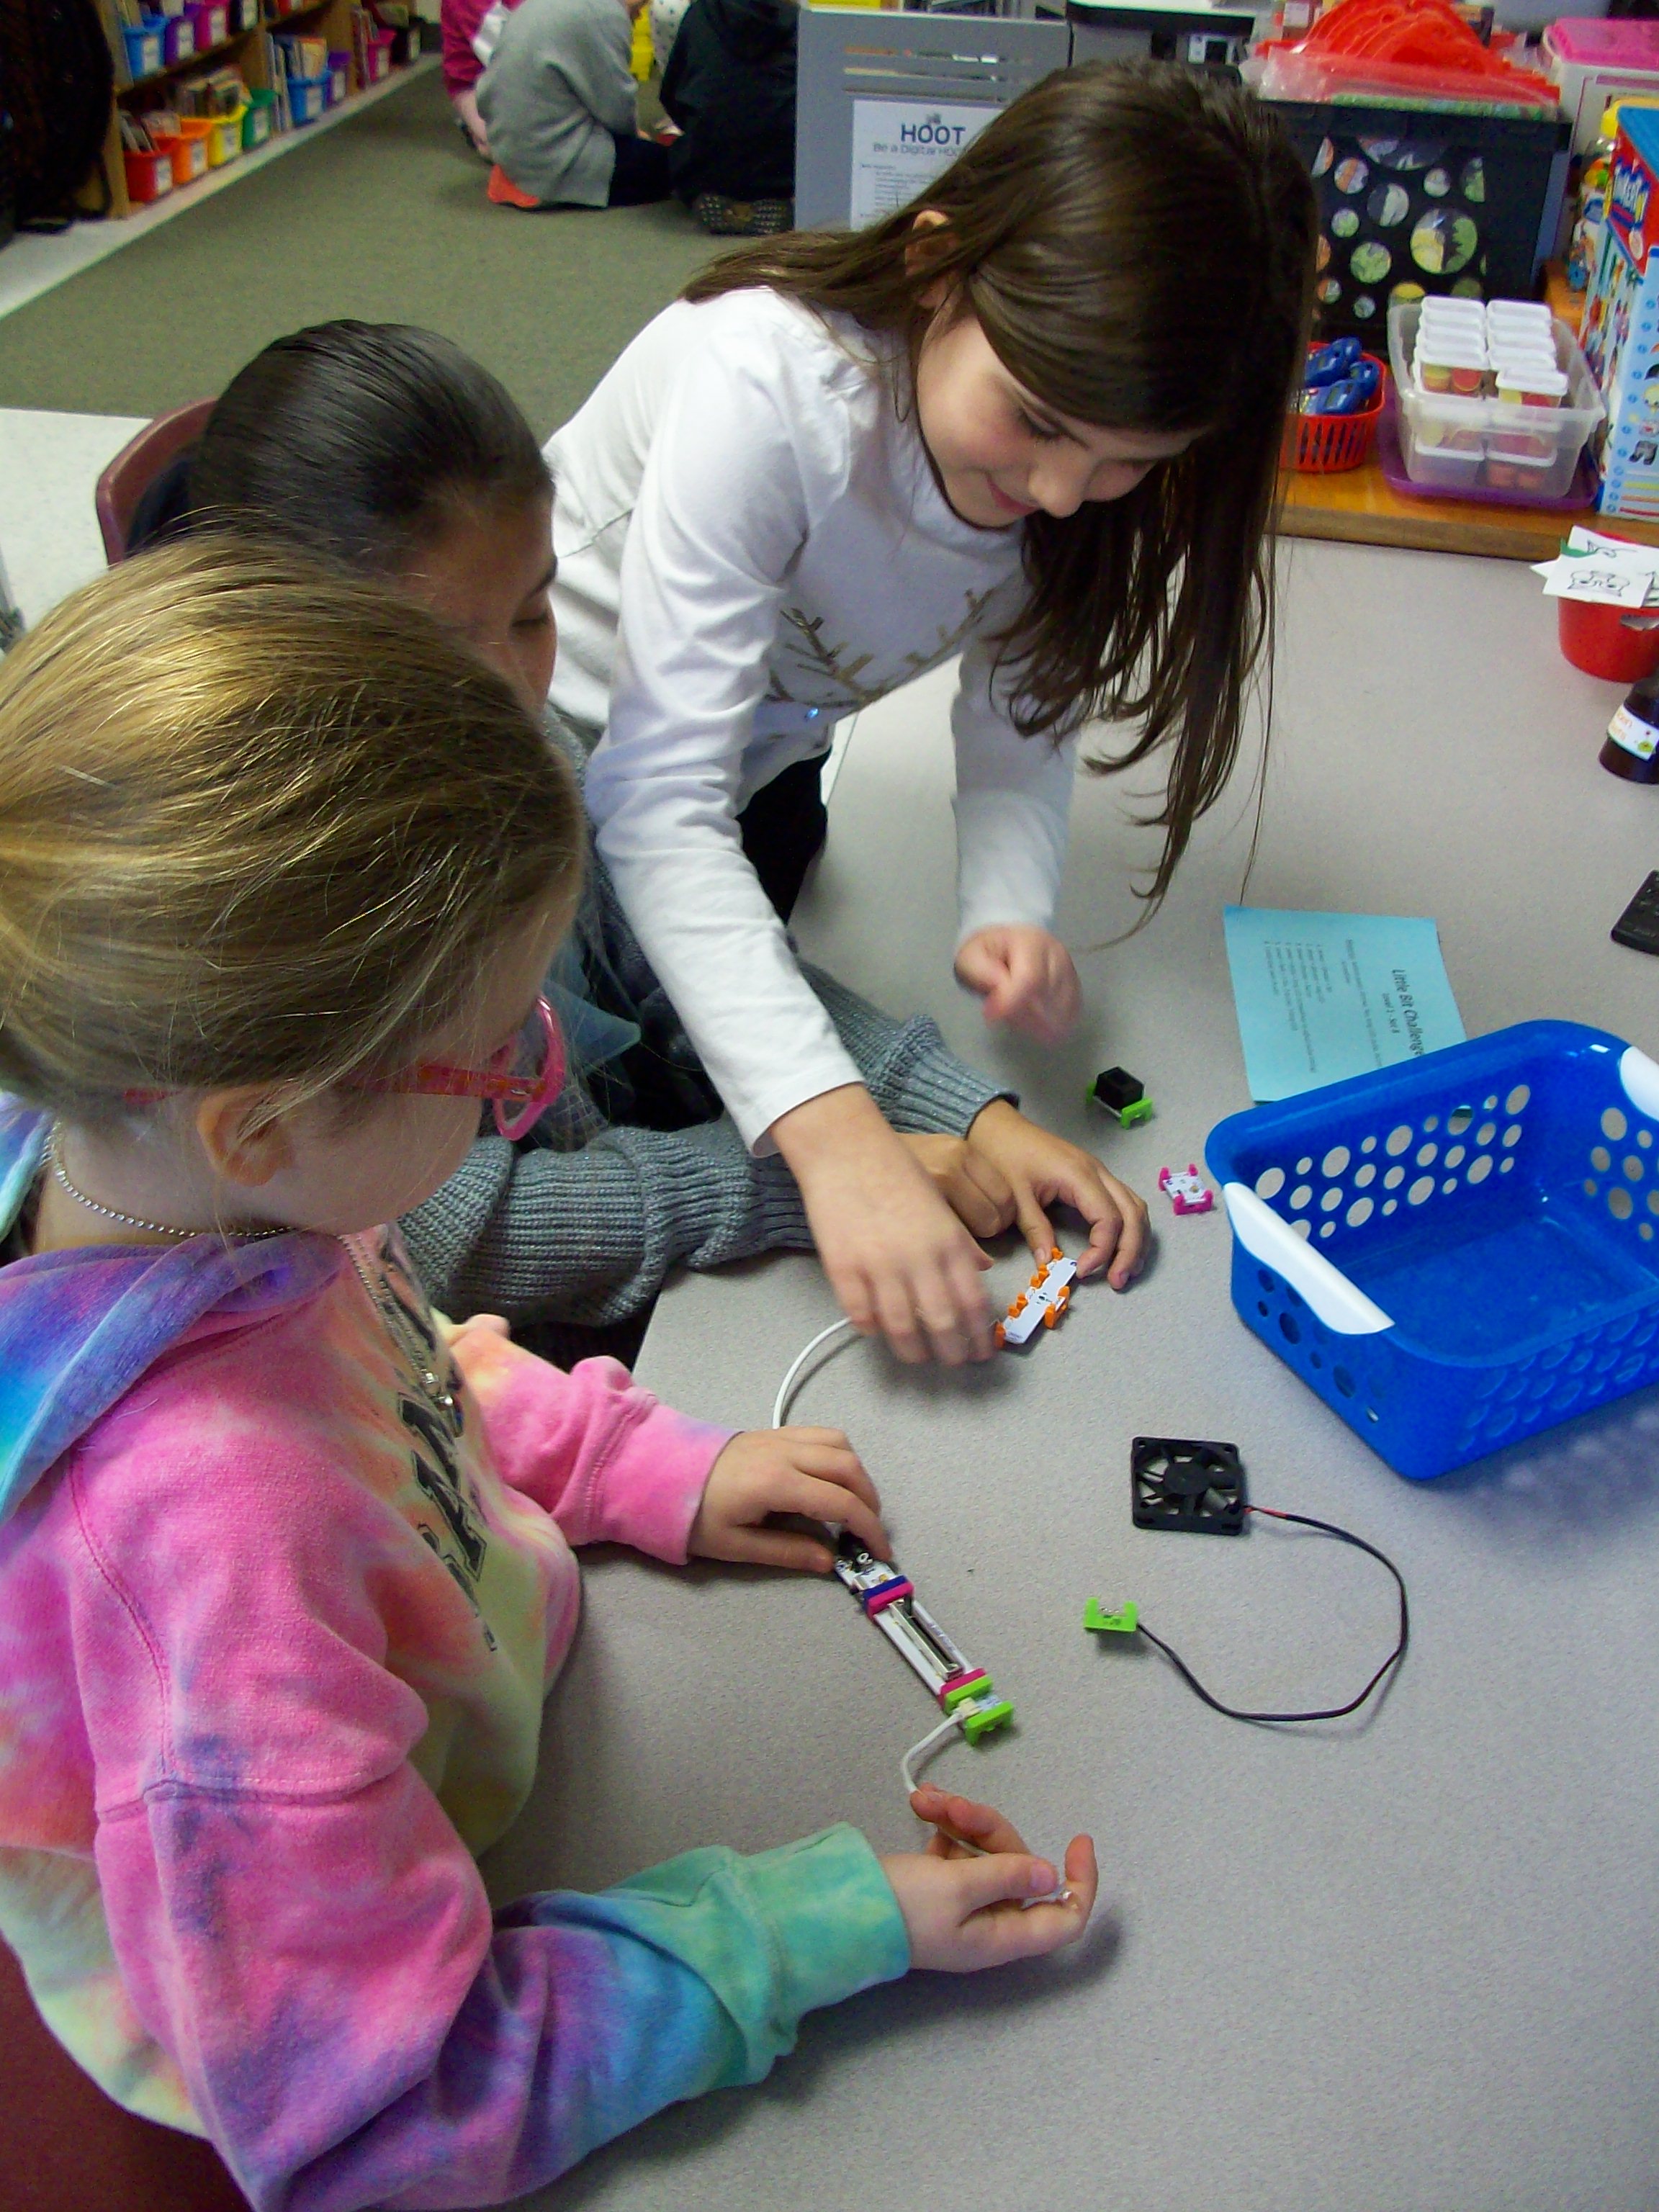
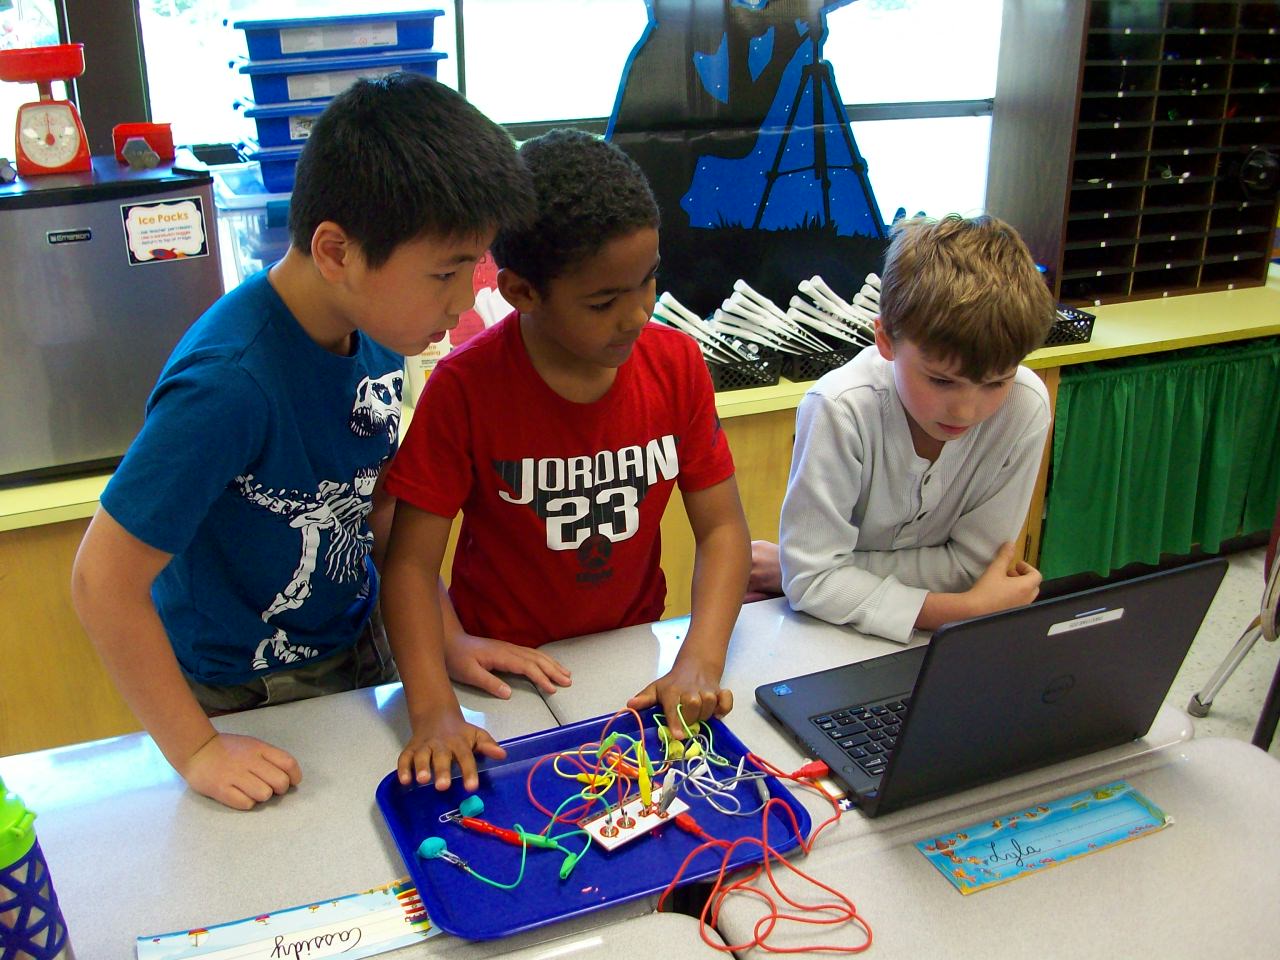
Little Bit kits are amazing for teaching electrical circuits and engineering, but also provide students with opportunities to wonder and explore. The miniature pieces snap together with a magnetic system. Students start with a power source (electrical cord in an outlet or 9-volt battery) and add on switch (dimmer, pulse, etc.) and mechanical device (fan, buzzer, light, etc.) Once they learn the basics of how the circuit works, kids can take on Little Bit challenges to build all kinds of inventions! I had 4 Little Bits kits to work with 26 students, so I prepped baskets with the materials my groups of 3-4 kids would need along with a direction card I created. Every group needed a power source, and since I had 4 kits that each have a wall outlet or battery, I was able to make 8 baskets. Half of them were Level 1 – Set A challenges with the wall outlet and half of them were Level 1 – Set B challenges with the 9-volt battery. Since it was their first time using these materials, the tasks where outlined for them with simple circuits building up to more intricate ones. When done with the 5 challenges I had set, groups were given time to explore with their pieces. The next time we swapped A and B baskets and investigated more with the new blocks. And for our third experience with Little Bits, teams were given invention challenges. We used the instruction booklets that came with the kits, but the Little Bits website has many resources and project ideas. Get ready for fun!
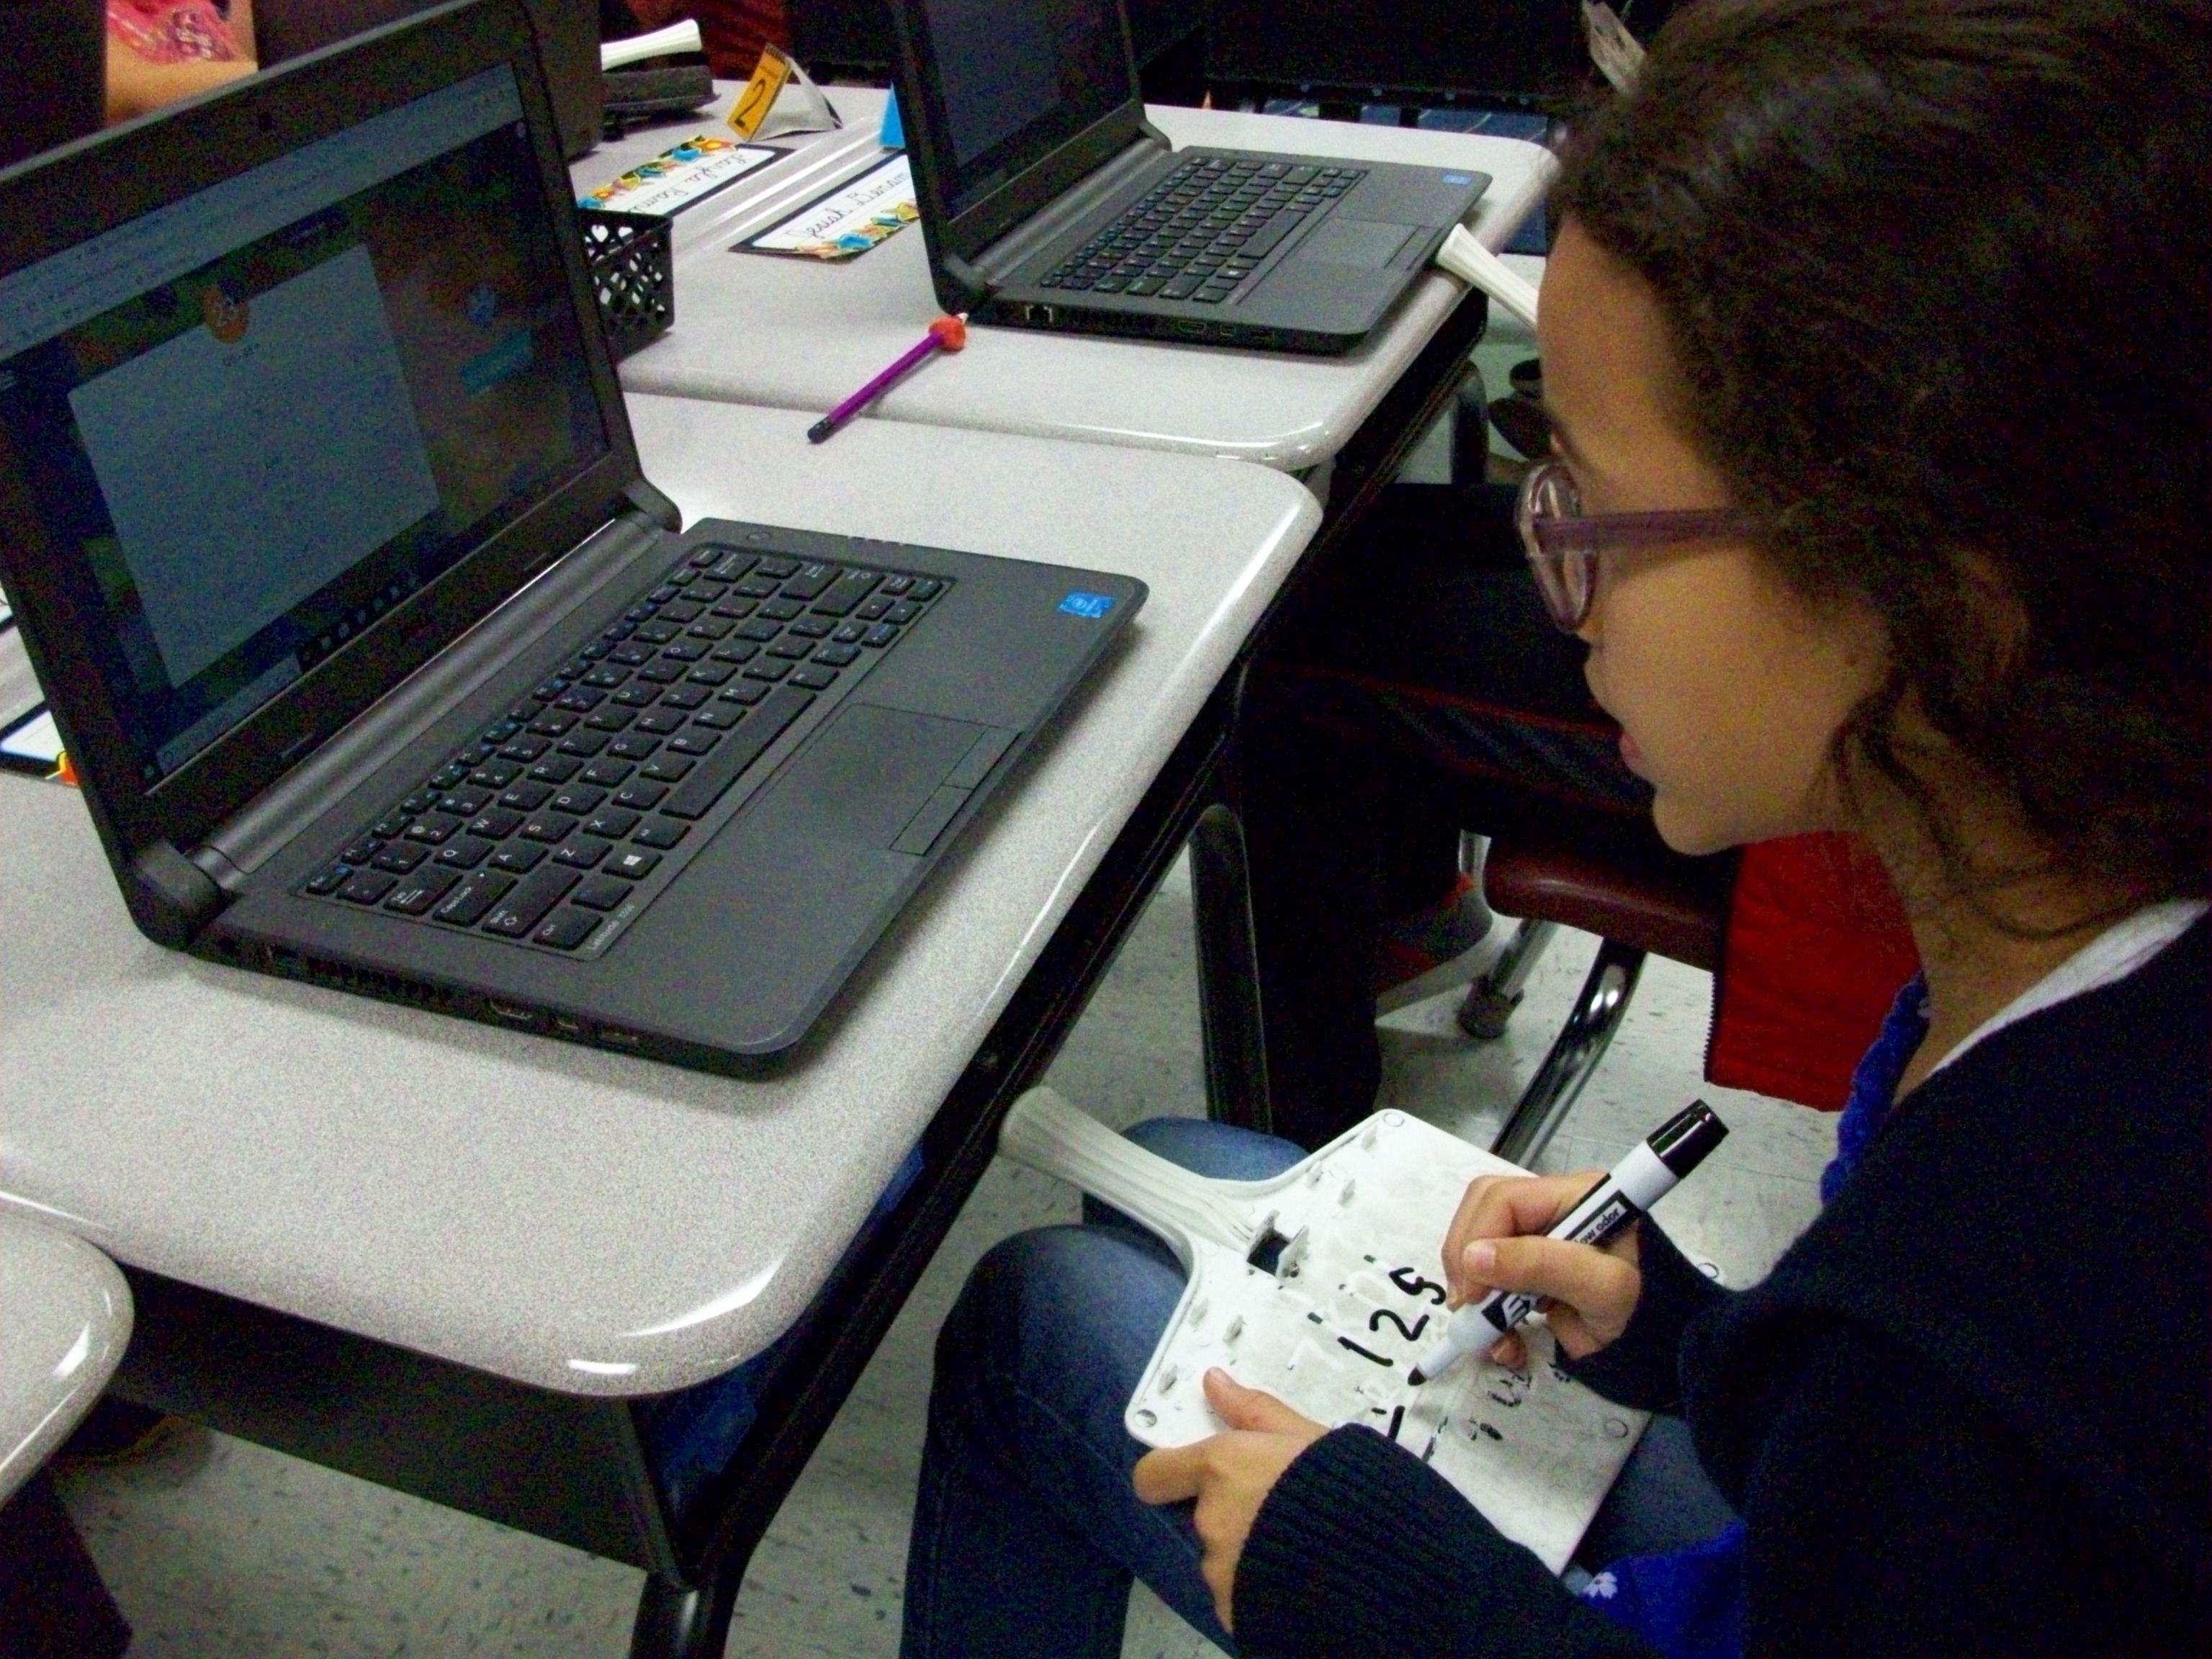
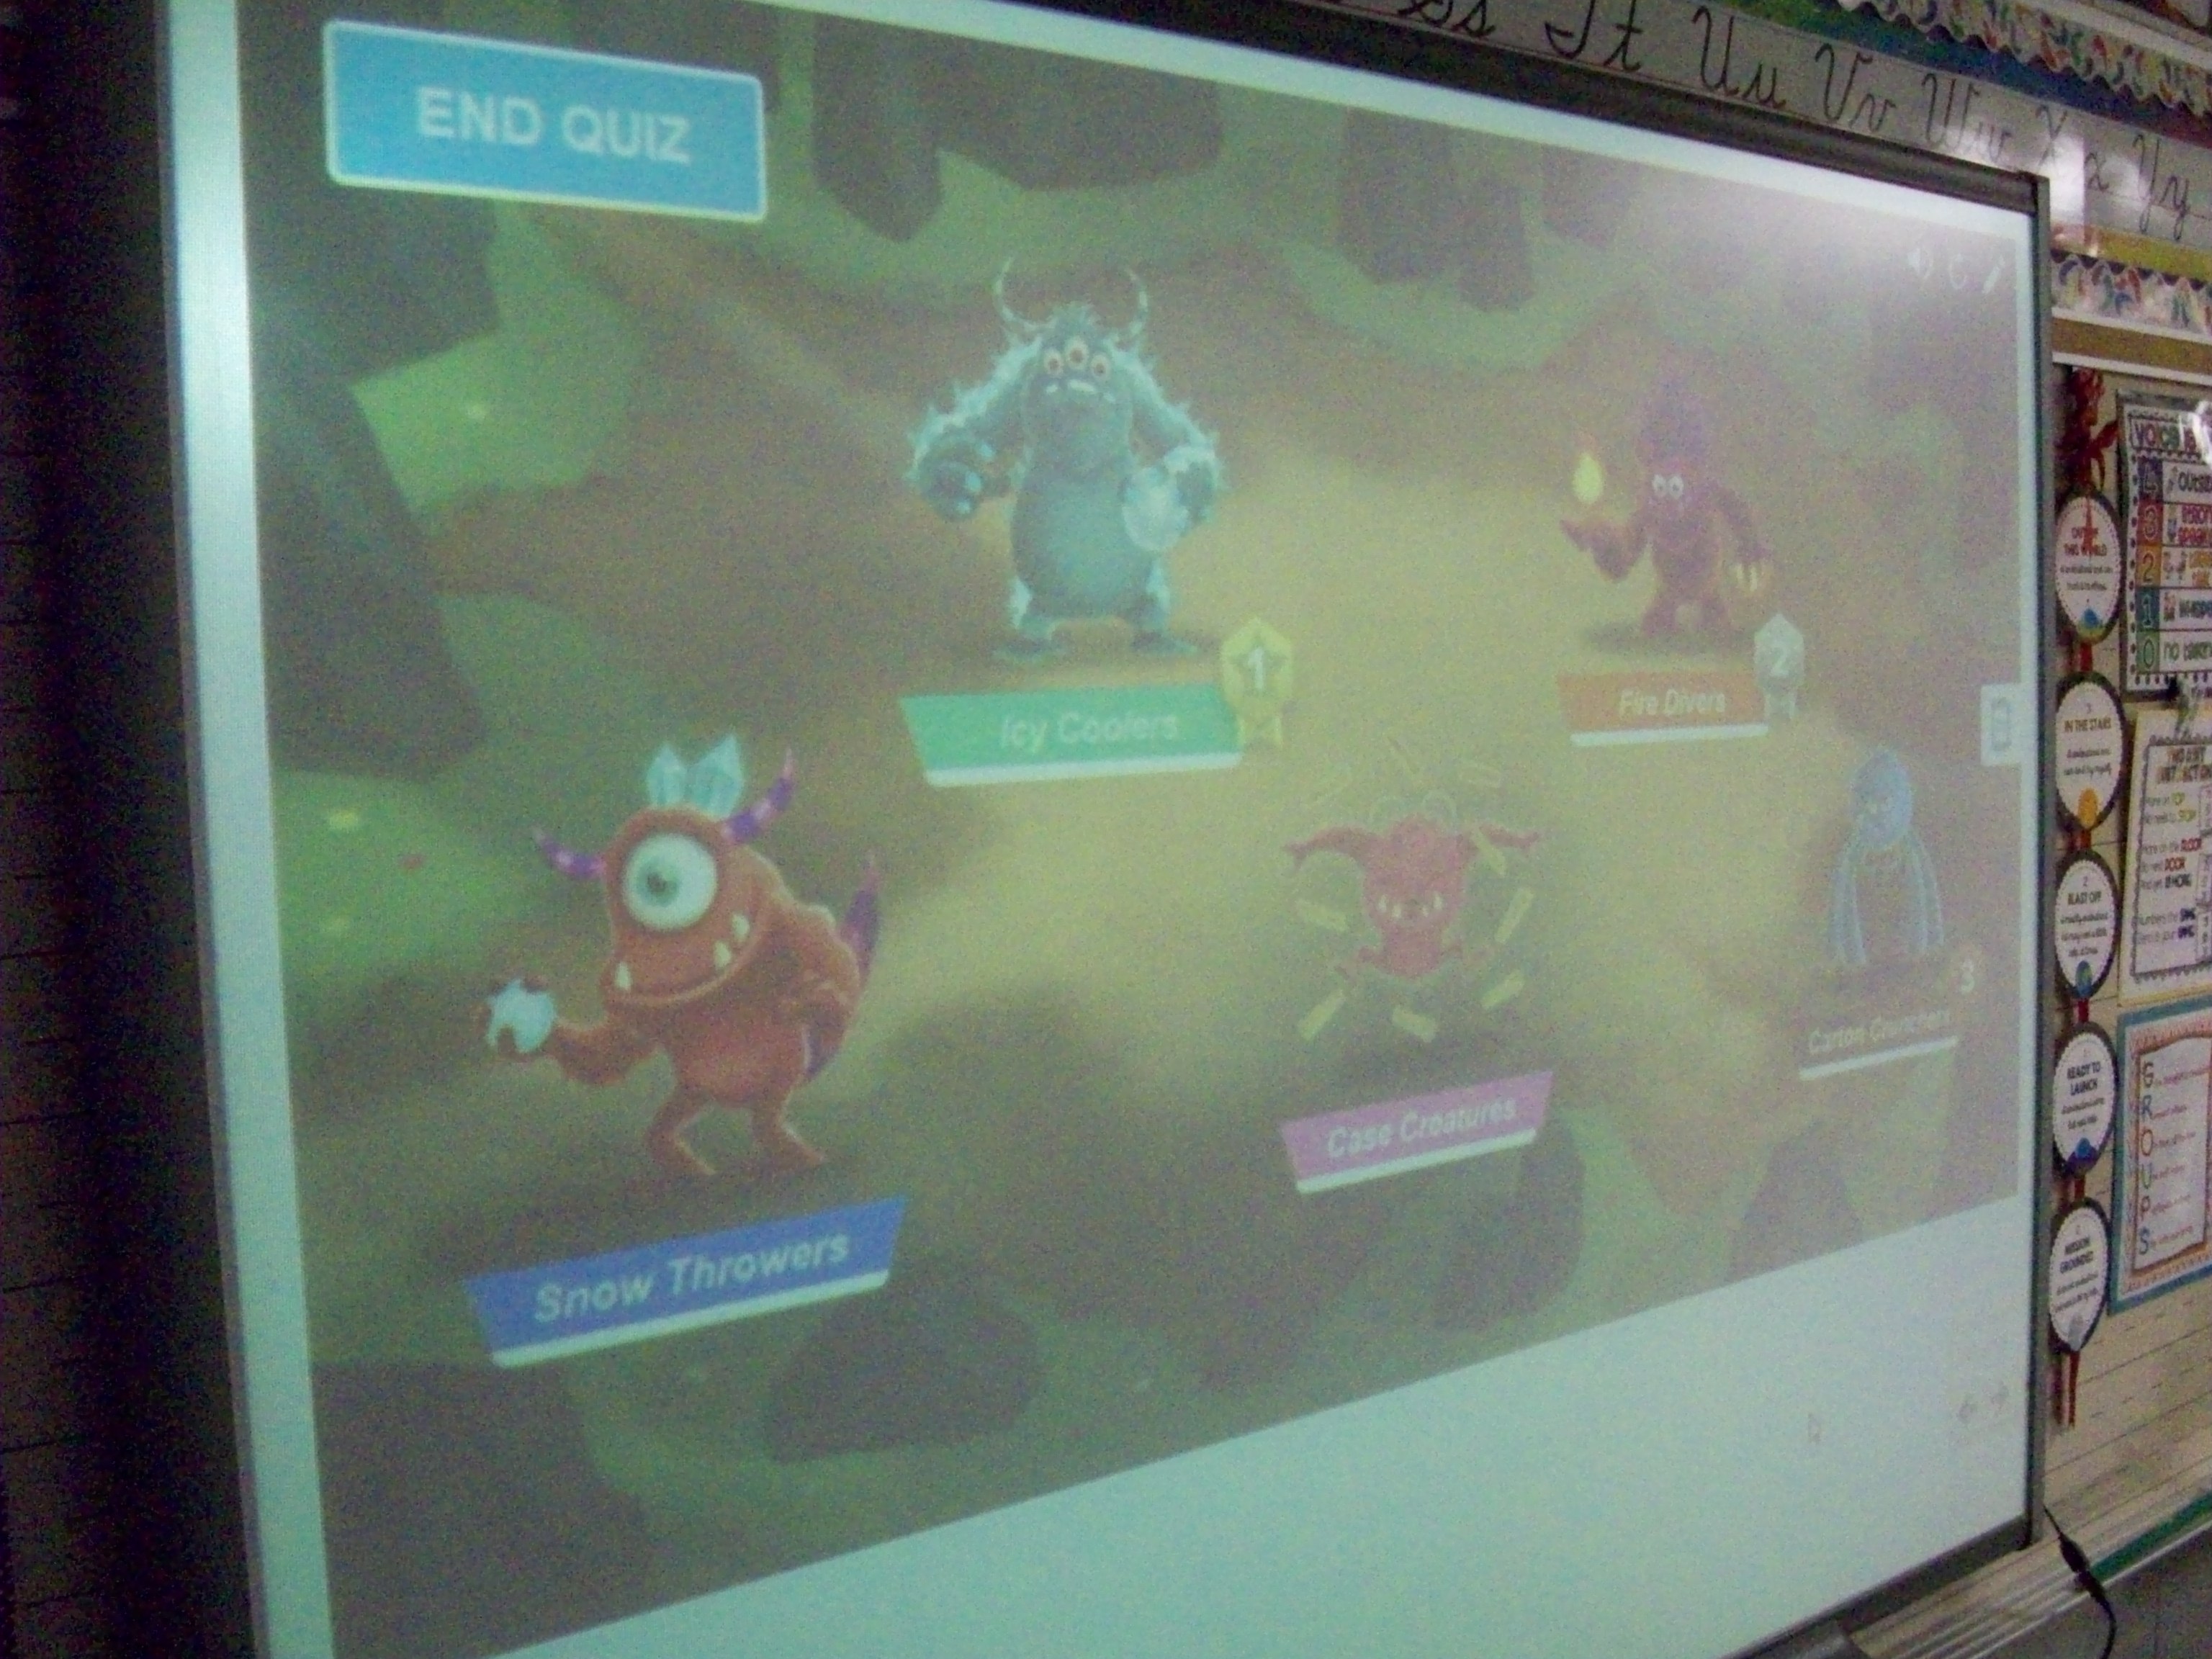
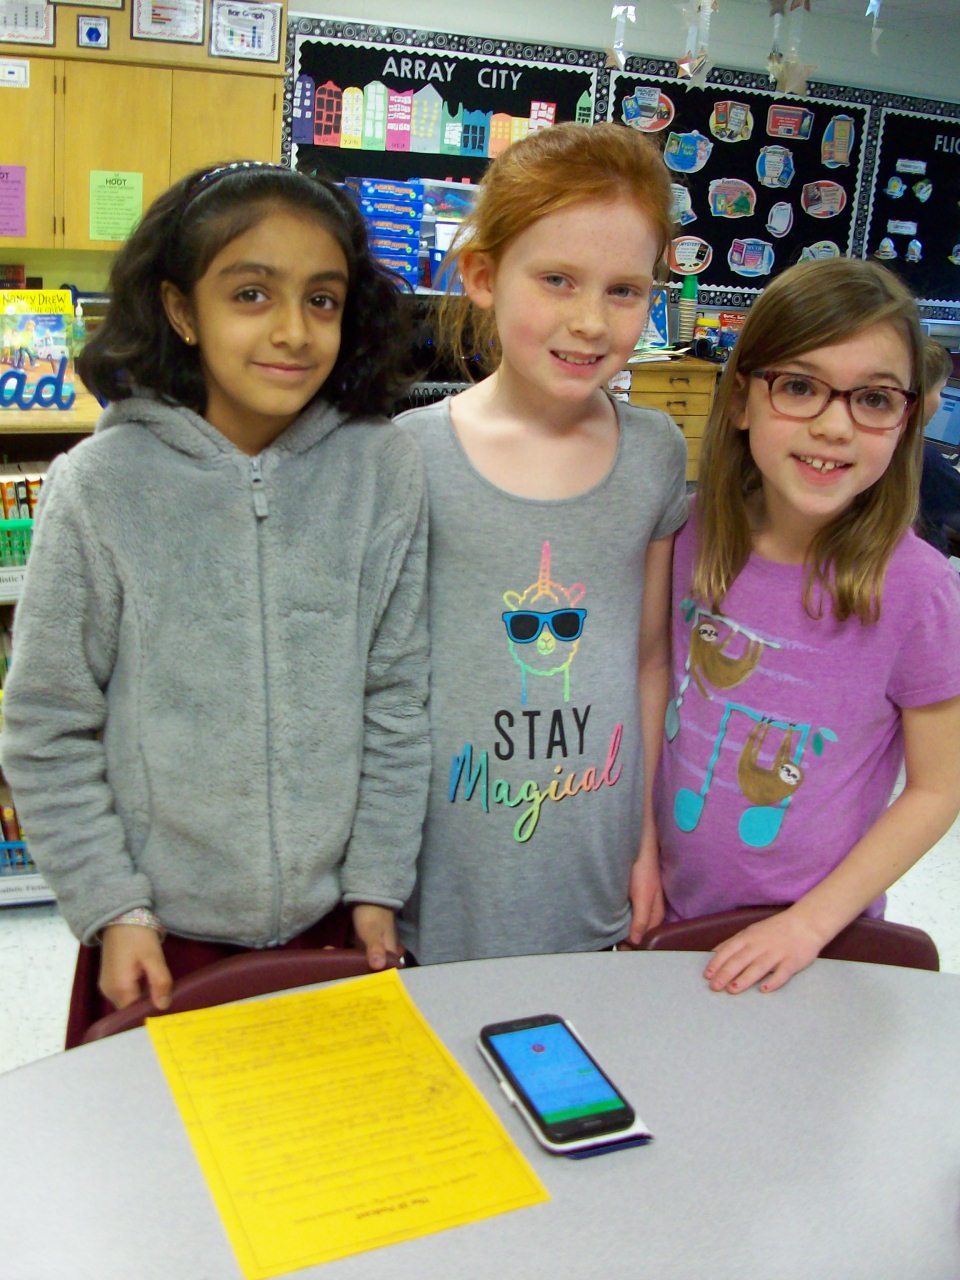
SMART Lab has several great game templates (shout out, match, sort, etc.). One that is perfect as a team review game is Monster Lab. I created 10 multiple choice questions for three-digit addition and subtraction. Each student logged onto hellosmart.com and entered his/her name. I had the program randomly sort them into 5 teams. (Teachers have the option of rearranging the members if they want better balance before the challenge starts.) Every student also had a dry-erase board and marker to work out the sums and differences. The kids were so focused during this 15 minutes that you could hear a pin drop! Though there were several quiet bursts of joy when students and saw their team monster begin to burst from the shell with every correct answer. I know they enjoyed this activity a lot because many asked to do it again. So it looks like Monster Lab review games are a winner!
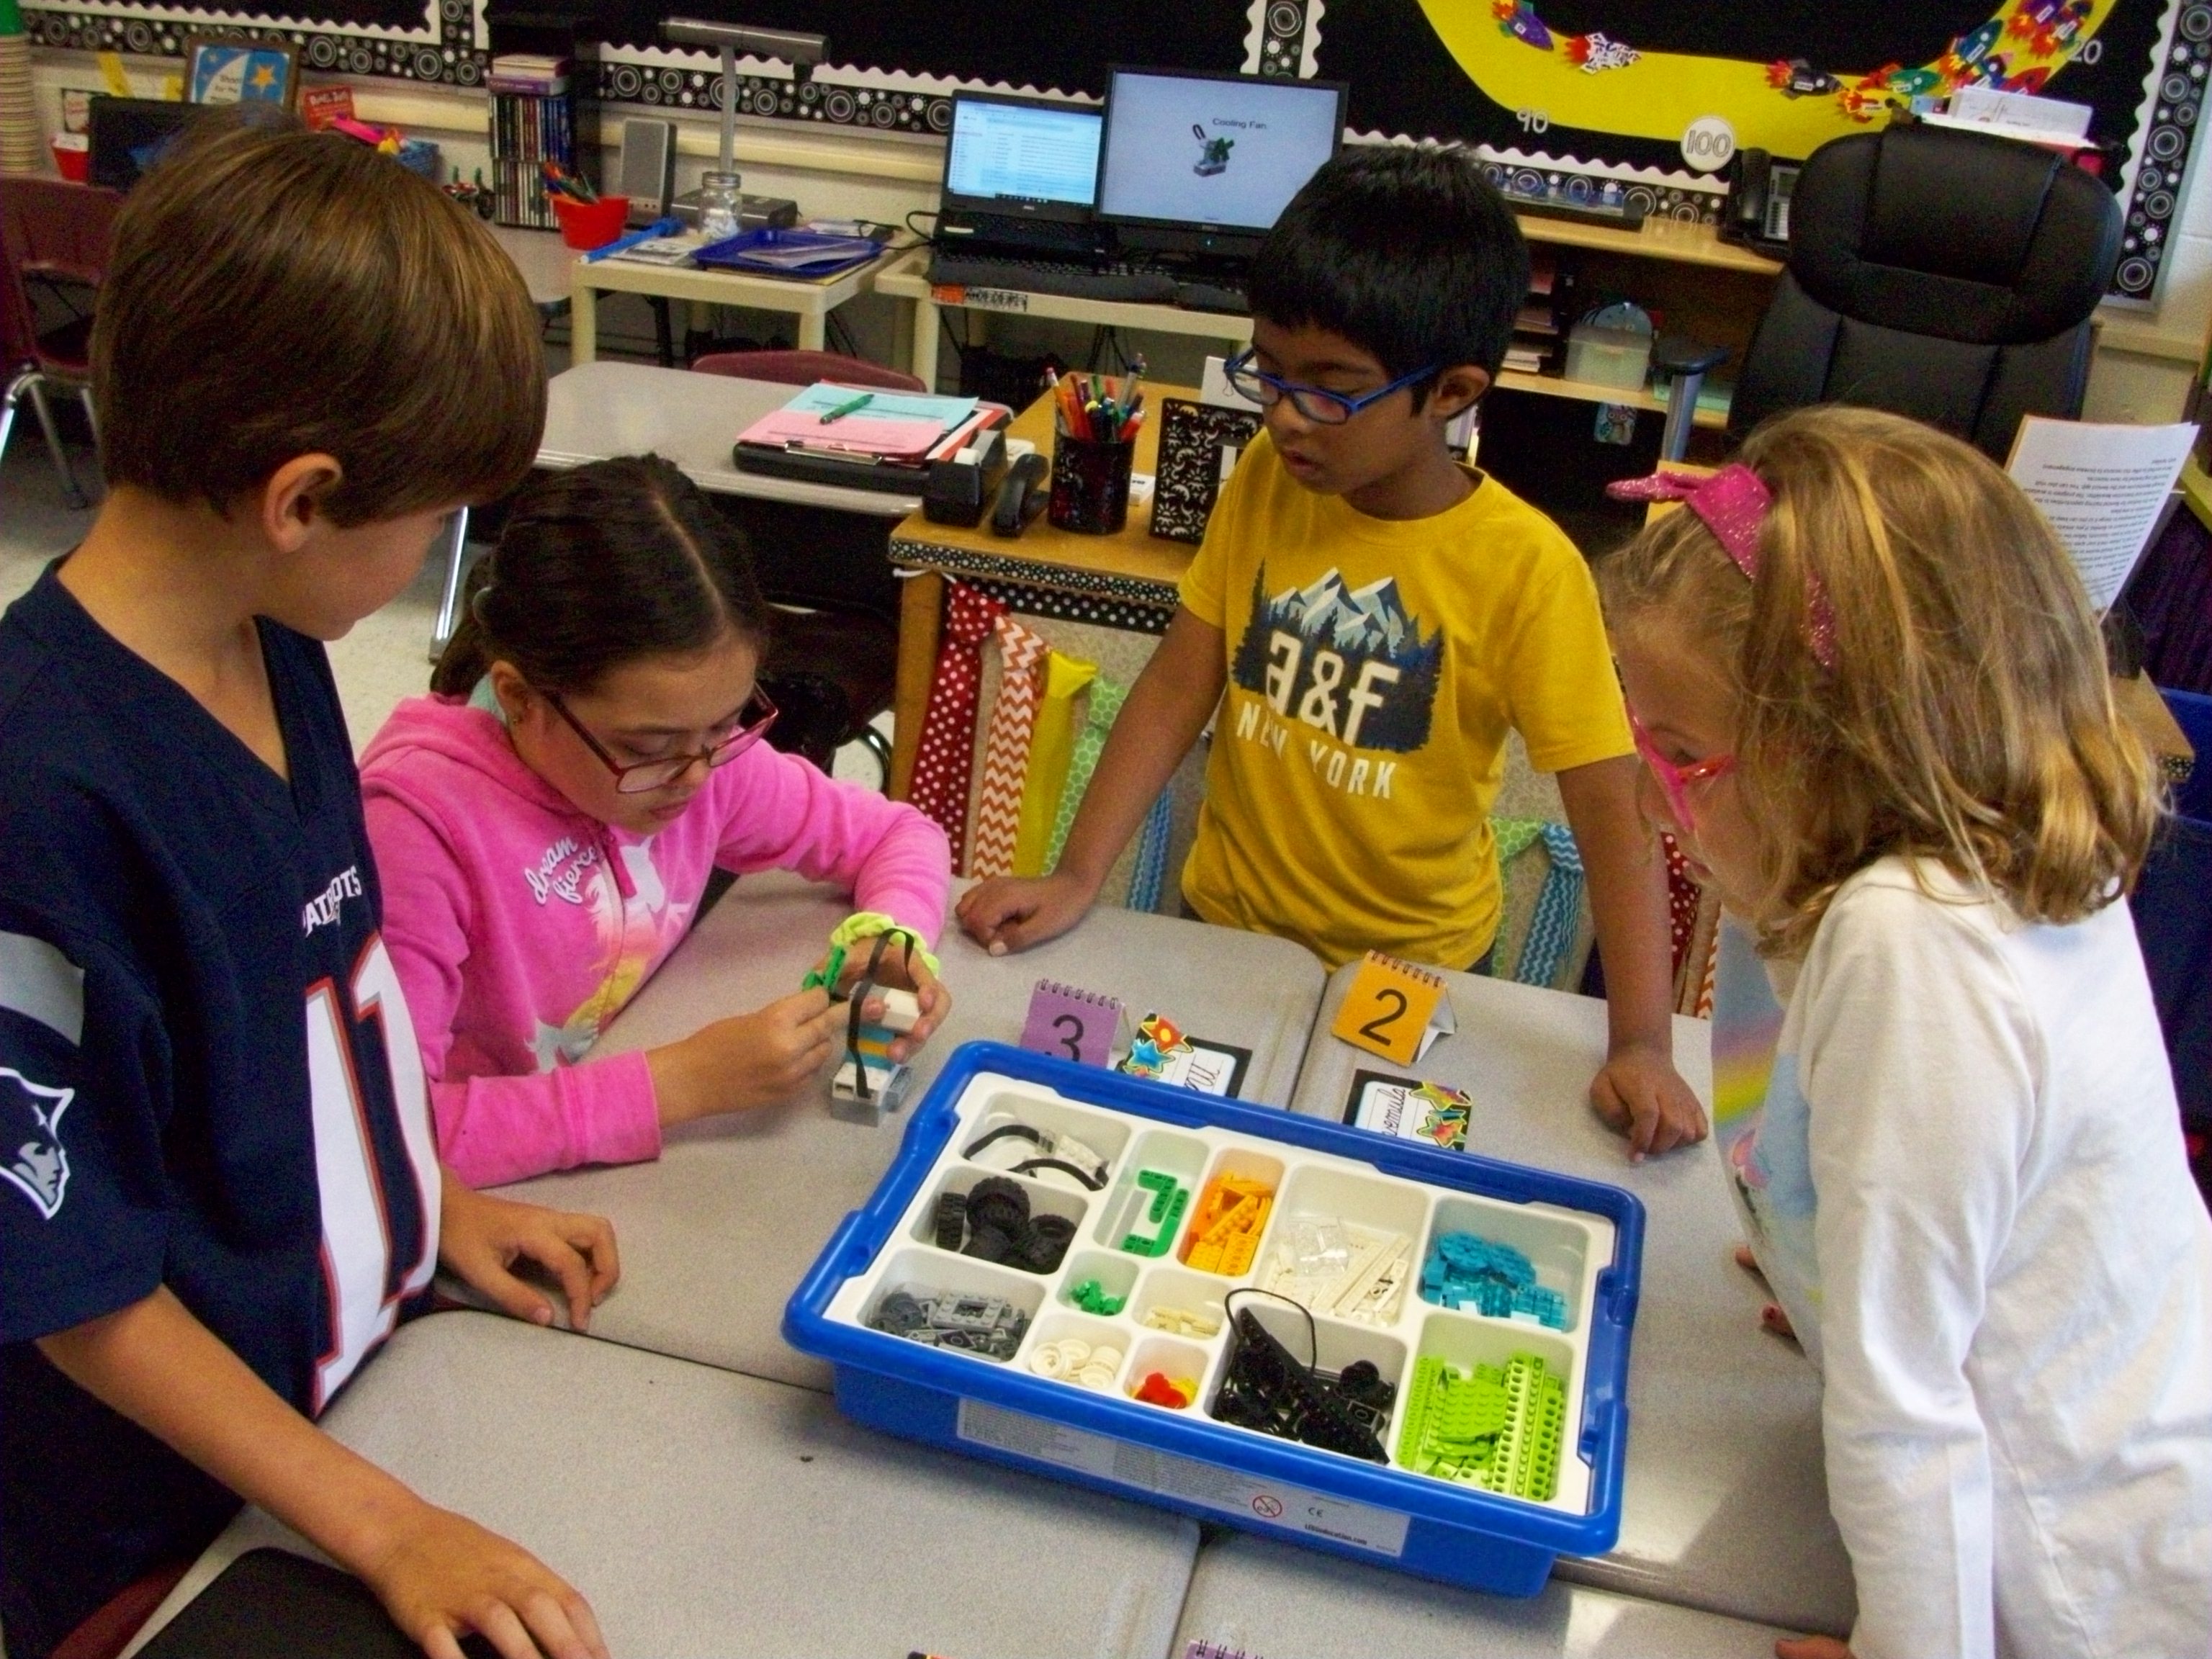
Legos in school are ok by me! Especially when they are the Lego WeDo 2.0 kits that encourage engineering, science, and collaboration. I borrowed 8 sets from our district supply for 6 weeks. Each Thursday the kids were given a task, beginning with introductory ones (fan, snail, satellite, and robot) and eventually leading to Milo and his multitude of variations. There are also more advanced challenges that align with various science learning standards. Max and Mia, two Lego characters, lead students through the steps of exploring, creating, documenting, and sharing.
When planning for the first lesson, take the time to download the Lego WeDo 2.0 software (free) on the laptops you will use (1 per group) from your app store. Or plan to walk your teams through these steps. Then be sure to use the same laptops the next time your class works with the kits. This program provides step-by-step guides and coding software.
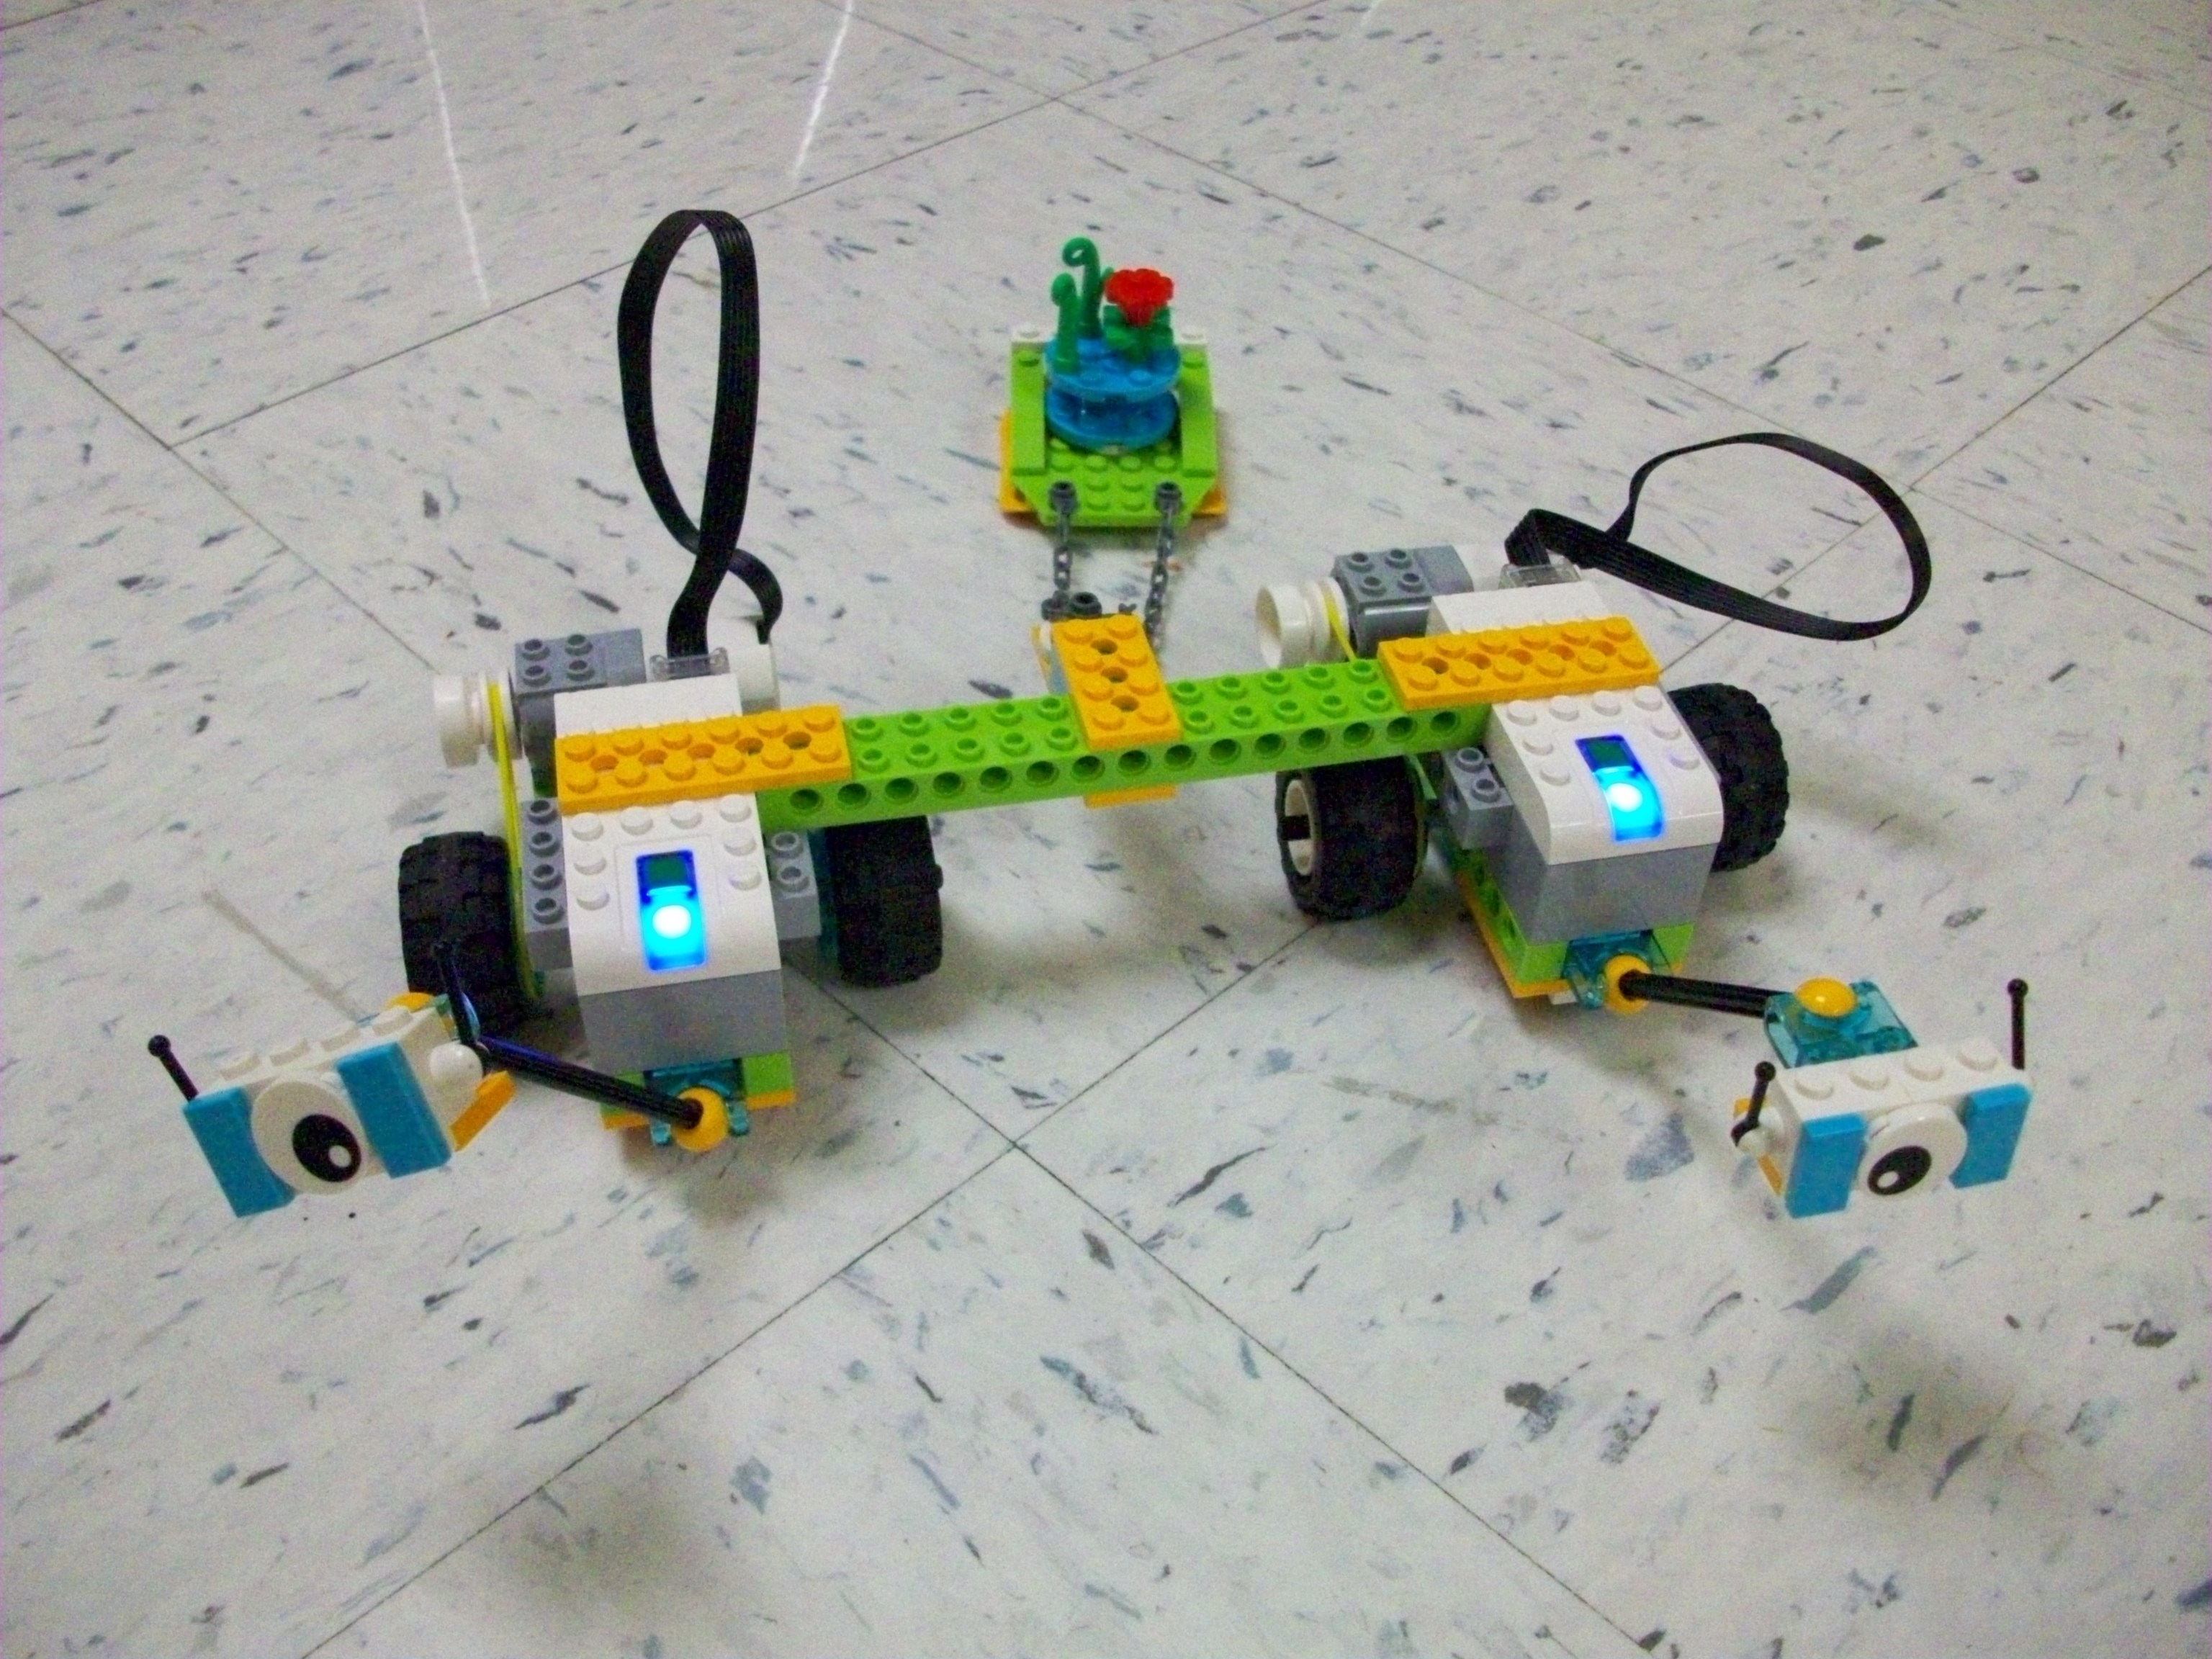
My biggest suggestion is to space out the groups so the Bluetooth signals of the Smarthub and laptop can clearly communicate. Sometimes there can be interference between teams. Also, make sure you have a fresh set of 2 AA batteries in the Smarthub (main device with the light). To open the compartment, slide the top. (I had to look it up online because I assumed they would pop apart and wasn’t having success.)
Honestly, learning how to use the kits and deciding how to manage the groups and troubleshoot confusion or tech issues seemed overwhelming for me. However, I watched some videos online and played around with the tasks (along with some help from my school-aged daughters) before introducing them to my class. The issues of interference and weak batteries were lessons I learned in the process with my students. And though I often prefer to not have issues during instruction, I think these obstacles taught us all how to react to problems with perseverance.
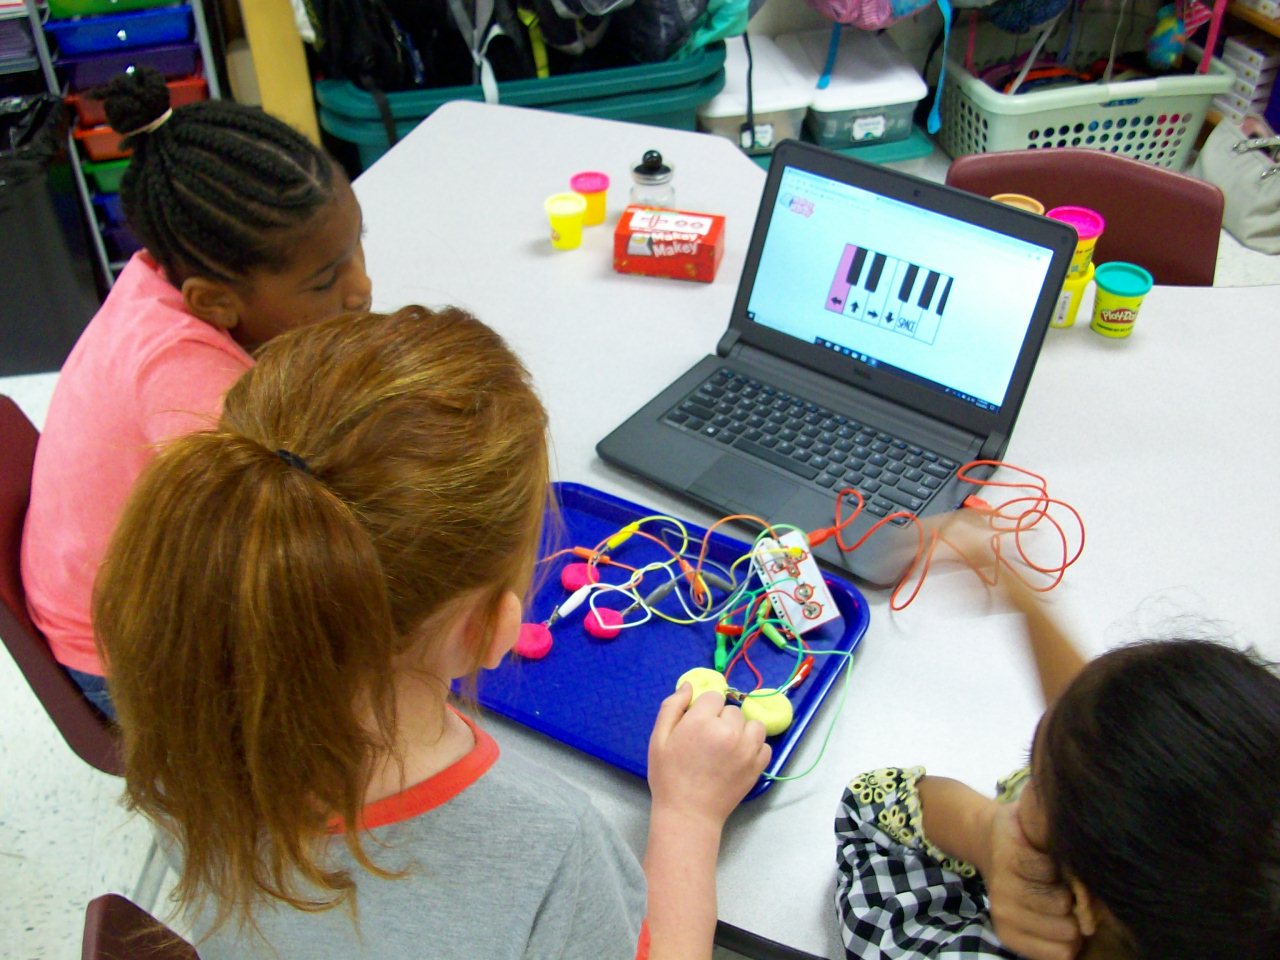
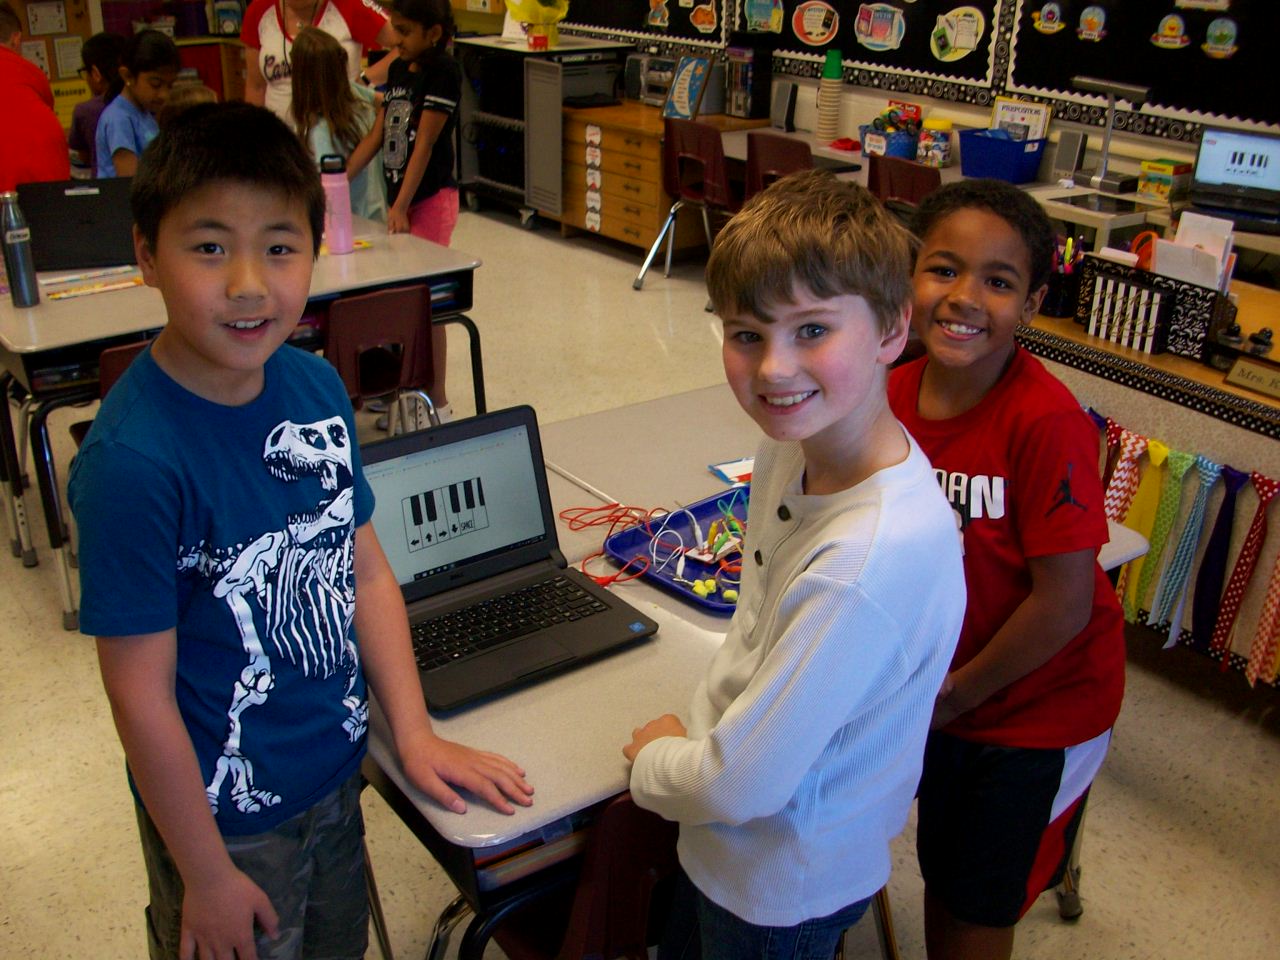
Makey Makey is the coolest! The small box contains a motherboard, wires with alligator clips on either end, and a USB cord to connect a laptop. What’s so special about these materials? In the right configuration with conductive materials (Playdoh, bananas, etc.), you can take over control of the keyboard and mouse. I introduced the Makey Makey kits with a Mrs. Foley talent show performance. Act 1: Comedy. I made a SMART Notebook file with several banana jokes. Each time I delivered the punchline, I tapped the bananas I had attached to the hidden motherboard and the bongo app I had opened played my “bu-dum-dum” rhythm. The kids saw me tap the bananas, but heard a bongo. They were confused. Seeing as how my jokes were sub par, I decided to up my game and impress the class with my classical music talents. Act 2: Piano. So I switched over to the piano app and played “Ode to Joy” on the bananas. Beautiful. Still, the kids were perplexed and I thought my performance needed to be more in line with their interests. Act 3: Video Game Master. So I pulled up the original Super Mario Bros. video game and attached a different motherboard with Playdoh chunks. Start game. Tap the Playdoh. Avoid the goombas, turtles, and ledges. Pass level 1. And soak up the cheers and laughter. This is when the class was fully on board. Because I had the motherboard and wires covered with a cloth, the kids didn’t understand what was happening. So when I revealed the devices, they were soooo curious and wanted to check it out themselves. Each team of 3 was given a box with the Makey materials, 2 containers of Playdoh, and paperclips (to keep the alligator clips from getting covered in the clay. (I opted not to give every group 5 bananas, but let them try out my set up.) They began with the bongo app and moved on to the piano app and eventually the Mario Bros. game. After the exploratory part, I asked the students to help explain how it all worked. It led into a fun discussion on electrical circuits and conductors. NOTE: The circuit only works if the “player” holds onto the “earth” alligator clip so the loop is complete. We had the best time and an hour passed in what seemed like seconds. The students were completely engaged and loved the fact that they played Super Mario Bros. at school! (I hope they explained the purpose to their parents when they boasted about their video game experience that night.)
So, I’ve wanted to do green screen projects with my students for awhile now. But managing it seemed impossible. Until I came up with what I thought was a smaller-scale activity. As it turns out, this adventure took just as much time and effort as a full-scale human actor green screen video. But we still had a blast! Let me share what I learned along the way.
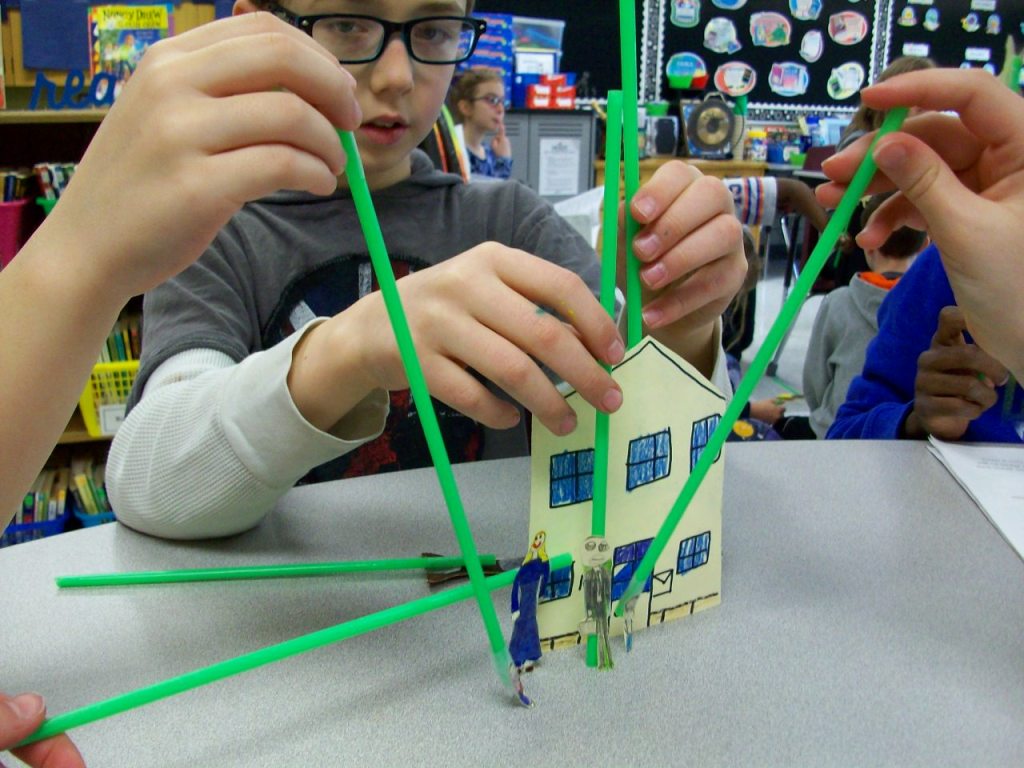
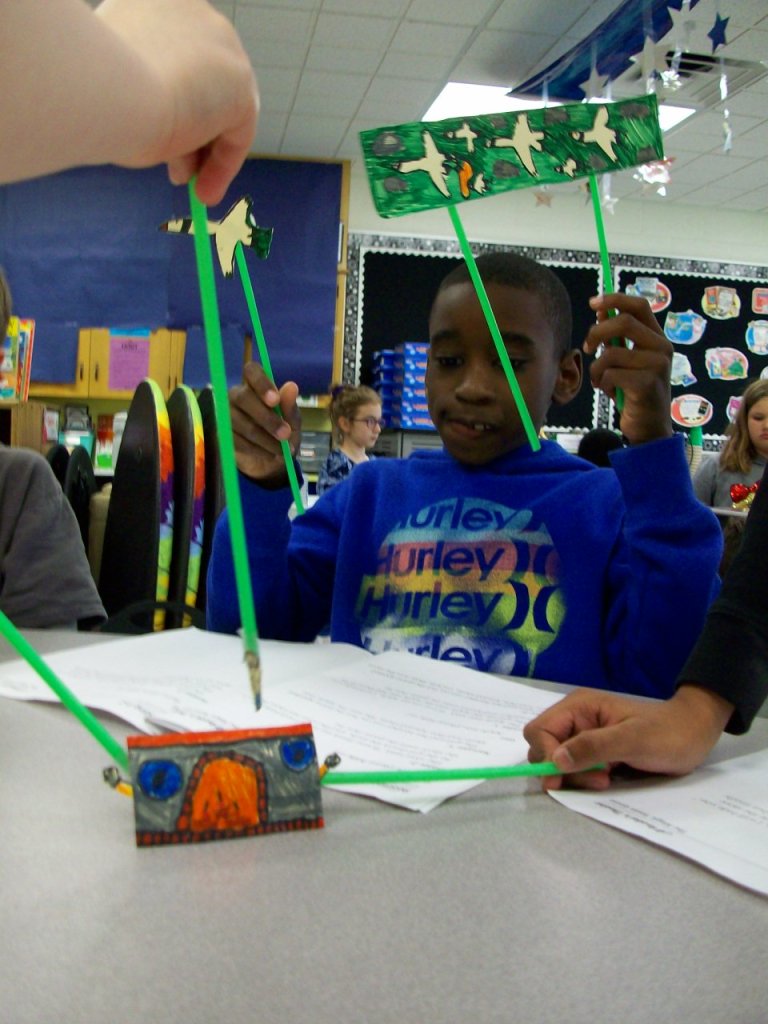
First, I do think stick puppets is the way to go over kids acting. It reduces pressure and self-consciousness. I found five folktale plays and began with groups reading independently for comprehension and then choosing parts and practicing fluency. Next, they created the puppet characters and props on a thick cardstock. TIP: Avoid green when coloring your puppets, because that part will take on the background image. If you really need green, use a different shade from your fabric. However, if you had small areas around an puppet that would be difficult to cut around, just use green and the background images should appear in that space. One of my groups were pure geniuses with this. They needed a flock of birds, but instead of making 6 individual birds, they colored green marker around the birds and cut them out as a big set. So clever! We attached green straws that matched the green background color. TIP: It’s easier to find different shades of green in fabric, so purchase your straws first, then bring one to the store and hold it up to each bolt of cloth. You’ll want them to be a very close match in order for the straws to disappear on screen.
Then the groups practiced fluency in conjunction with maneuvering the stick puppets. Since it was a small space, they had to work in close quarters. TIP: I stretched the fabric across a rolling clothes rack I typically use to hold pocket charts. Some students held puppets from either side and others reached over the top or came up from the bottom. I also let the teams pick their virtual backgrounds. We used free images from www.pixabay.com. A few groups only needed a single image for the story, but others required 2 or 3. Our district has Zoom video conferencing which has a recording option. That worked perfectly for inserting the virtual background and filming. TIP: A smooth fabric screen and good lighting is key to the virtual image looking crisp and the straws disappearing into the background. Any wrinkles in the greenscreen or an overcast day can negatively impact the quality. We often tightened the fabric and did all of our recording near our wall of classroom windows.
While one group was filming, the others had independent reading time. We had to have absolutely silence since the Zoom recording was able to pick up a lot of background sound. Some students enjoyed watching the other groups rather than reading, and I was fine with that. When all teams finished, we had a whole-class screening and shared compliments with each group. It was certainly a learning process for me, but I feel the students learned a lot about what goes into a production. For some of them, this might have been their first experience with performing arts or this kind of technology. And perhaps it opened a new door for those who most enjoyed it.
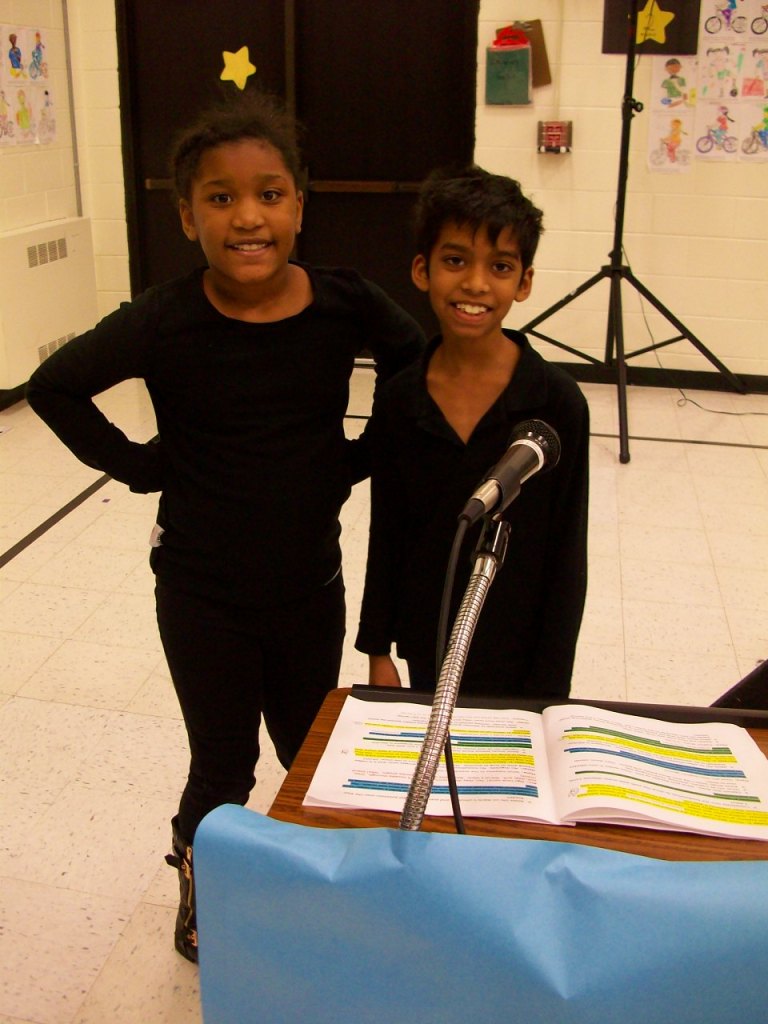
I don’t think I’ve challenged myself enough this school year. Why not try a podcast? Ok! It sounded very involved, but once I decided on using www.podbean.com (free), the rest was business as usual. As a class we brainstormed topics to highlight our all-school novel study of The Adventures of a South Pole Pig (fun characters, closing assembly play, trivia, family events, etc.) The kids chose their groups and chatted about what to include. I provided each team with a template. The worksheet had them think of a unique opening for their segment (onomatopoeia, single word, song, etc.), share 5-8 details, and wrap up with a creative closing. We used my cell phone as our recording device, and I saved each section as separate files that I later merged into one podcast on the app. I was excited to have a real audience for this project (mostly parents) and incorporate writing and speaking goals. Kids can do such grown-up things!
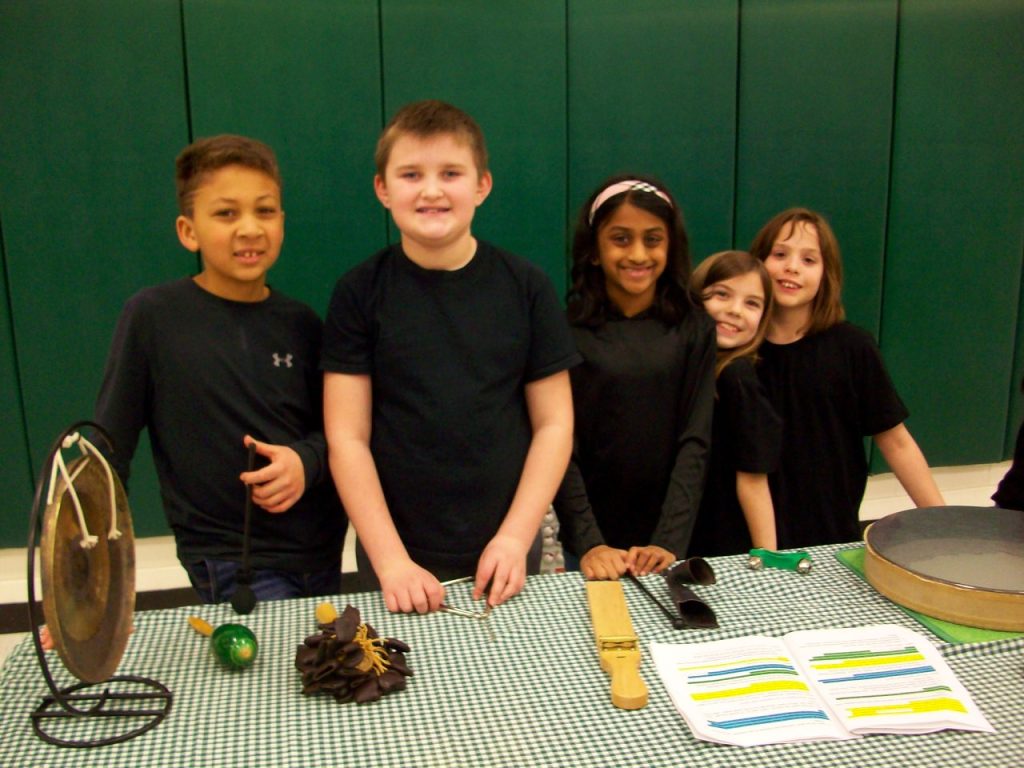
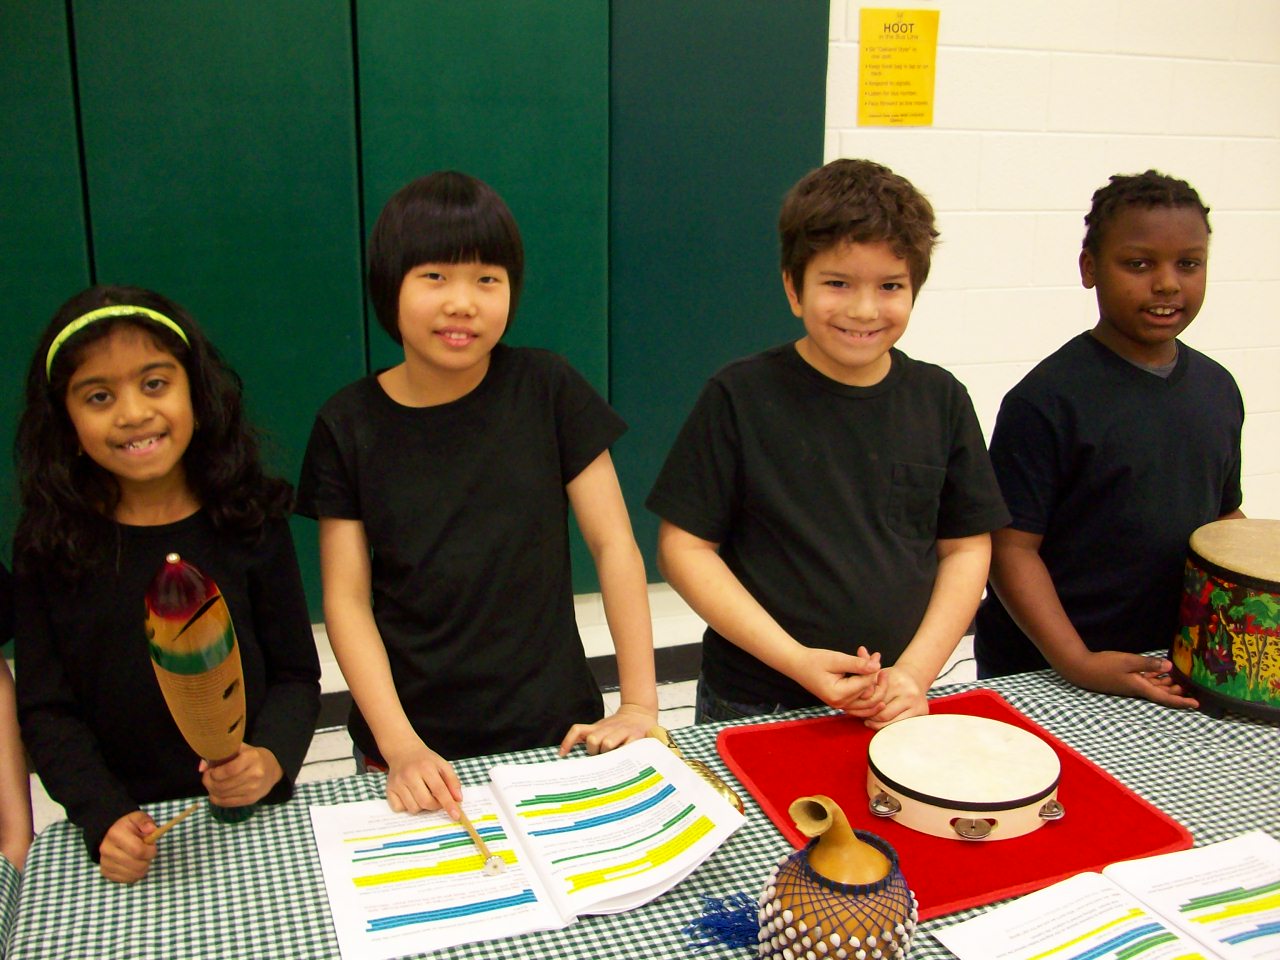
Readers’ theatre plays are my JAM! It is so much fun to take a story (in this case a 288-page novel) and turn it into a play for kids to perform. Yes, it is very time consuming–script creation, costumes, props (full-size working sled!), scenery, musical accompaniment, choral song, and choreography. Plus with the timing of it all, there is a quick turnaround for the students to learn the parts because the closing assembly is right as everyone finishes the book. (I had to read the last week’s chapters on Monday and Tuesday in order to give my students time to practice the final pages of the script prior to the performance on Friday afternoon.) Two parents volunteered to make their children’s costumes, and that helped a lot! And our wonderful music teacher took my lyrics and set them to a beautiful melody. This production was quite a feat, but so magical! Aren’t they the cutest!
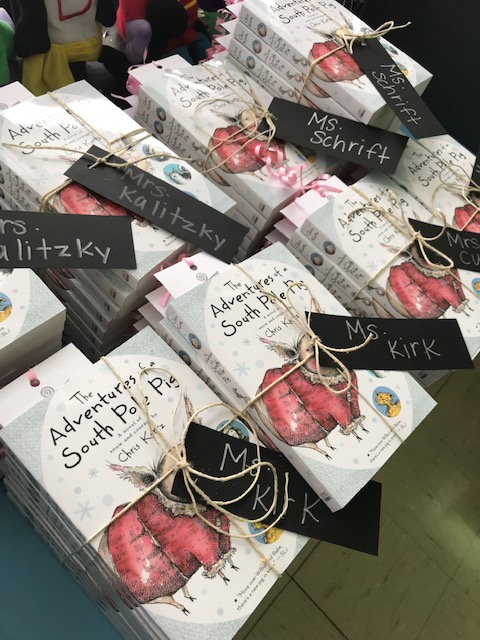
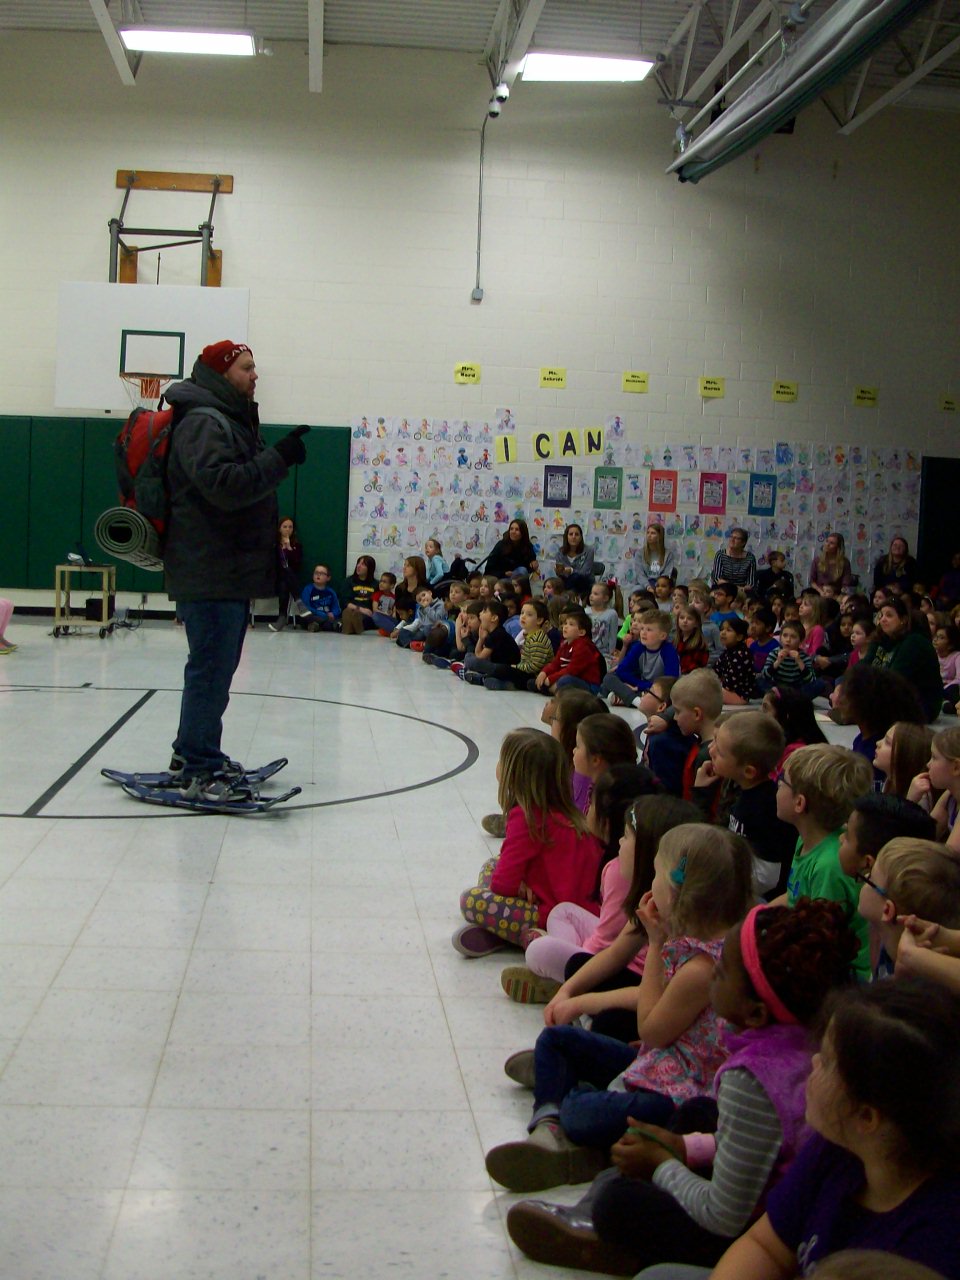
Our OSOB committee are creative rockstars! This was our second year participating in an all-school novel study. The Adventures of a South Pole Pig by Chris Kurtz is a sweet book about friendship and perseverance. With lush vocabulary, endearing characters, and an exciting locale (Antarctic), we had a winner. We kicked off the big event with a whole school assembly complete with a jumbo character puppet show of chapter 1 and a visit from Yukon Cornelius (ode to the Rudolph holiday cartoon). Once students return to their rooms, Yukon hauled the novel packages on his sled to every classroom.
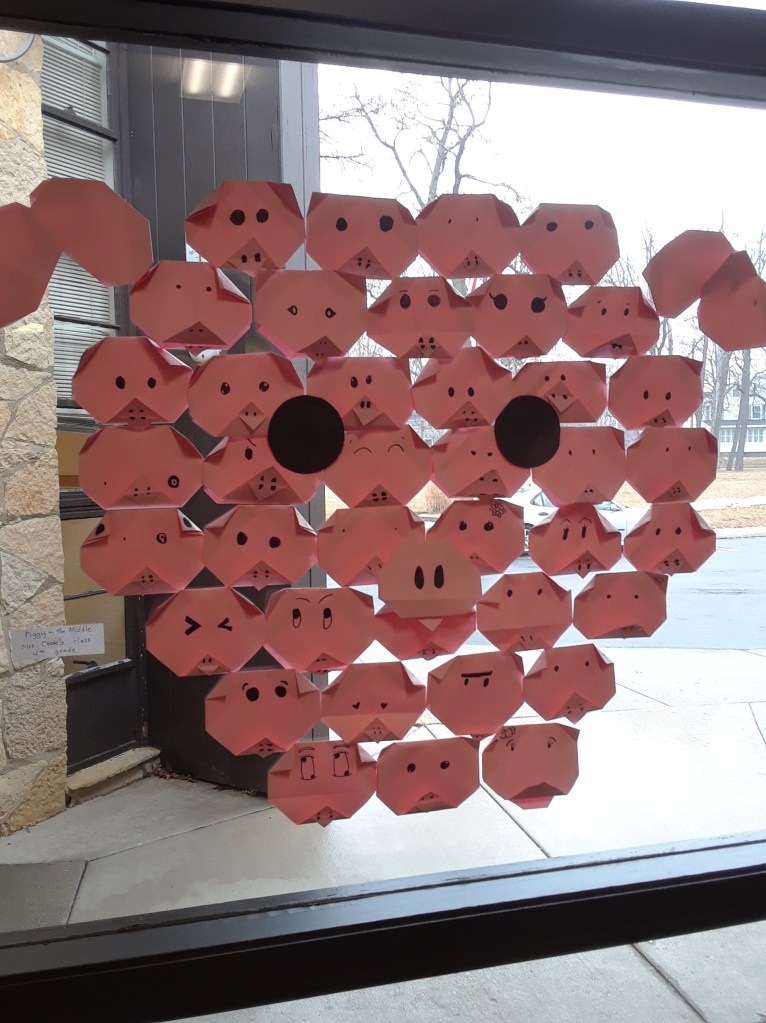
The entire school building was transformed during our five-week event. Check out the large world map that documented Flora’s travels. My co-worker marked new places each week as we read the story. As visitors came to the lobby, they could see just where we were in the journey. What a great geography connection, right? That same outstanding teacher make vocab displays in several locations throughout the building for mini-lessons on context clues. The art teacher helped students construct adorable origami pigs that collaged into this full-size window display. We also had chapter trivia questions and a weekly trivia video. Every day students hunted for our stuffed Flora hiding somewhere in the school. Check out this Adobe Spark video I created to summarize the entire experience!