Classroom Awards

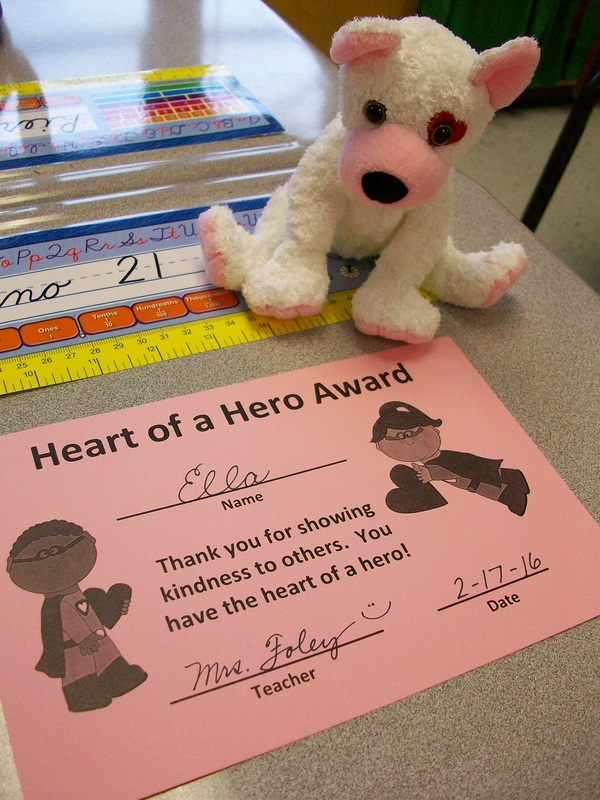
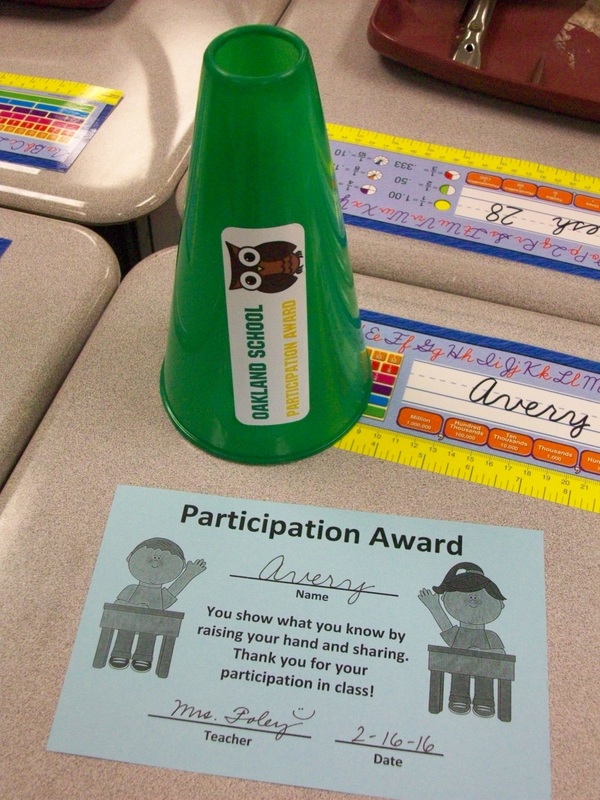
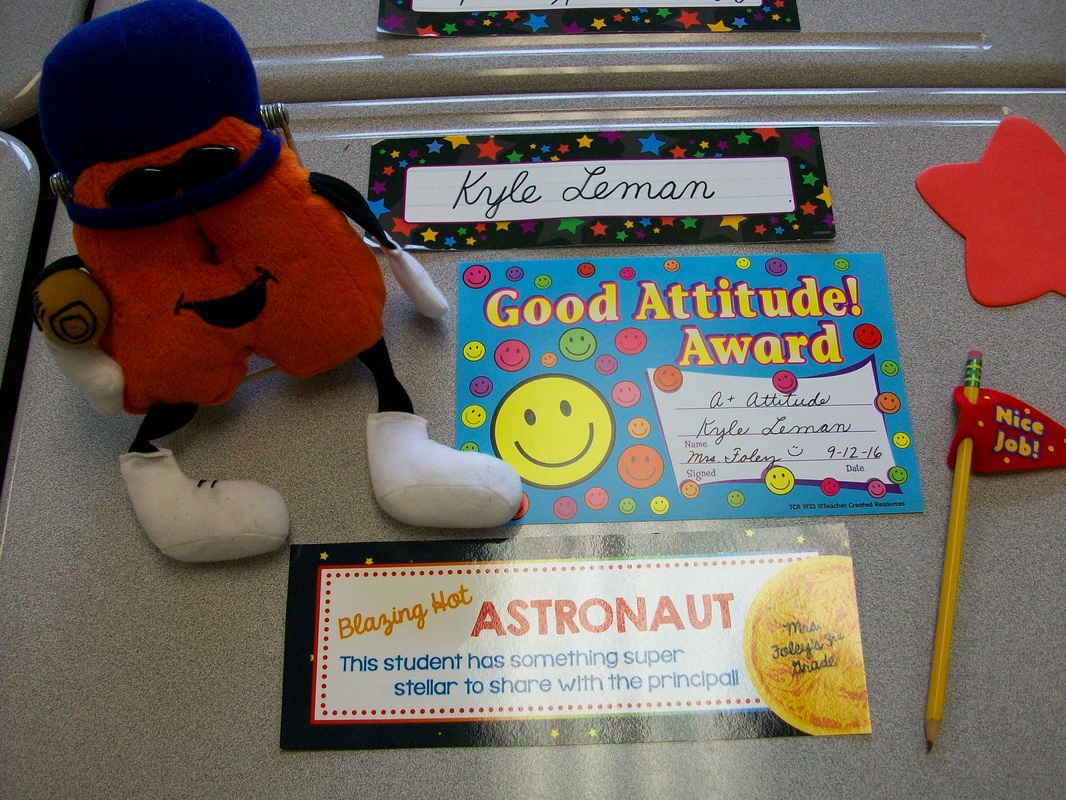
Recognition. I think that’s very important. So many students work at 100% and really go above and beyond, but don’t see many accolades, particularly for good behaviors. In my classroom, I like to celebrate students who show kindness, good participation, and a positive attitude each week. So on Friday after school, I think back on each student’s achievements in these areas and decide which kiddos will walk in on Monday morning to these goodies (certificate, pencil, and stuffy mascot) on their desks. As part of our morning meeting, I share the reasons these students were selected and everyone joins in a special “clap” or chant. Then those three kids take their awards to the office to share the good news with our principal. The recipient can keep the mascot on his/her desk all week if desired, and I take them home on the weekend to wash.

In addition to these weekly acknowledgements, I also give daily awards. As I walk around the room and notice awesome effort, I mix both verbal and nonverbal praise. So while the class is busy working quietly, I might place a plastic trophy or “caution” sign on the corner of a stellar student’s desk. These remain on their desks all day, and when were are wrapping up at 3:00, award winners return the desk awards to the top of my filing cabinet for reuse the next day. And, yes, it is possible for a student to get more than one award in a single day.

This isn’t “big” stuff. But I don’t think we need to give kids big stuff. I prefer to do it often and sincerely. It’s a bit of extra work, but goes a long way in promoting best effort in some of the character traits we most desire our students to posses–kindness, engagement, and positivity.

Mother’s Day Silhouettes

This is definitely my most favorite Mother’s Day project! To be upfront, it takes a lot of work on the part of the teacher. Essentially, you need to take a profile pic of every student, resize, print, cutout against black cardstock with super fine-point scissors, (kids gluestick the image on white cardstock and write their names in cursive with a very fine black Sharpie below), open and clean packaged frames, frame each silhouette, (kids wrap and make the card). Like I said, LOTS of work for the teacher. However, the magic is worth the time and effort. I mean, these silhouettes look JUST like each kid!. After I cut them out of the black paper, I use my document camera and play a guessing game with the class. They can call out the name of the classmate in three seconds on less every time. So fun!

When it comes to wrapping, I like to purchase butcher paper with dainty patterns from The Dollar Tree. Since this project has a vintage feel, I try to keep the theme going. Two rolls is plenty for a class of 26 kids. The students fold a piece of construction paper in half and trace a hand with the pointer and thumb along the fold. After cutting out the double sheet, it makes a card that looks like a hand when folded, but opens up to two hands with a heart shape in the middle. It’s truly darling! If you want to take on this creative Mother’s Day craft, start at least one week early and plan to do a lot of cutting and framing in the evenings while you watch (mostly listen) to a TV show.

Plant Science – Inside & Out

Our school is quite fortunate. We have a lovely woodland area and flower garden behind the school. In my location, we just have to step outside our exterior door and walk a few feet to be surrounded by plants, seeds, and native creatures. So while science concepts are delivered via textbooks and videos, there is a lot to be said for being “in” science and “doing” science to discover and better understand the world around us. I try to have a good balance between hands-on, discussion, and research. Often times that means that we don’t cover as much of the yearlong content because we spend so much time digging deep. When the kids have questions or misunderstandings, we have to investigate, right? Plus, I like to include math and writing skills when appropriate, and that is worth the additional time. 

Spelling Centers

For a more exciting approach to practicing spelling (and handwriting), I offer my students center activities three days a week. I rotate them in/out throughout the year. Here are a few of their favorites.

  • Rainbow Words
  • Highlighter Words
  • Playdoh
  • Scented Markers
  • Magnetic Letters
  • Dry-Erase Boards
  • Gelboards
  • Sign Language
  • Wiki Sticks

Poetry

I think that writing poetry is a great way to provide mini-lessons (syllables, vivid verbs, adjectives, prepositional phrases, rhythm, imagery, etc.) that can be immediately applied to a short, yet important task. In our poetry unit, we read and interpret poems, but I also teach the kids to create their own using some formulaic styles. Each year we try our hands at acrostic, color, senses, and cinquain. If we can squeeze in haikus and couplets, that’s a big win. Rhyming can be a challenge at this age, but some kids are ready and eager to take that leap. Ultimately, I want the kids to be creative and take at least one poem through the writing process for publication in our class poetry book.

Die for Smooth Transitions

Lining Up Die

One of the greatest challenges for teachers is smooth transitions between activities.  We often loose control of the class to chatter and chaos when we ask them to move from one location to another.  In the SMART Notebook gallery, you will find a variety of dice.  Choose one that can be edited.  I prefer to label the six sides with table 1, table 2, table 3, etc.  A student helper taps the die, and the next group to line up is decided.  The students remain quiet as they anticipate the next roll.  Movement is done in small chunks and so much time and energy is saved!  Give it a roll in your classroom.  You’ll just “die” for these smooth transitions!

Flexible Seating

I’m not one of those teachers that removes all traditional seating from the classroom and replaces it with IKEA furniture. No offense to any who do this. However, it doesn’t work for me. I prefer to keep individual student desks, which allows kids a place of their own for their own supplies. (I only collect the basic community materials such as tissues and disinfectant wipes.) And while our room is set up in pods of four desks, there is still plenty of space for flexible seating. I have a kidney table, two large carpeted areas, six bungee chairs ($20 each on sale at Target), four surfboards ($5 each at Five Below), two ottomans, and some garden kneelers ($1 each at The Dollar Tree). All of the movable items stowaway very neatly. I use a tall laundry basket ($5 at Five Below) for the surfboards and kneelers. The foldable bungees stand up nicely between my counter and laptop cart. When I first introduce flexible seating at the beginning of the year, we work together to create an expectations poster “HOOT with Flexible Seating.” Using and returning materials is mostly a smooth process. You’ll always contend with a few students who rush, grab, or don’t put items away. These are good opportunities to review expectations and have kids reflect on their actions. I think the class enjoys the freedom of selecting where they do their work and who may be nearby just as much as adults do.

Student Desk Organization

“A place for everything, and everything in its place!” From day one, my students are given ideas for staying organized at school. Books on the left with spine out (to read the titles), folders on the right in rainbow order, supplies in the box in just the right arrangement. Why? First of all, it makes for quick transitions and maximum use of our learning time. Second, it eliminates student stress and teacher frustration because items aren’t “lost” . . . and replacements aren’t needed. Yeah! And what teacher doesn’t cringe at the sight of cesspool desks bubbling over with crumpled papers and random supplies. Well, I certainly can’t ignore it! So, we altogether avoid it. Being disorganized just isn’t an option. I want students to take pride in their learning spaces and feel empowered to take charge. A little extra effort goes a long way in this case.

Checklists

LMC Checklist

Think about all of the things you repeatedly say throughout the week.  Think about all of the kids who are visual learners.  Now think about how much time and breath you’ll save by making simple to do lists or checklist for your students using SMART Notebook!  I prefer to use 3-5 simple statements coupled with a clipart image for each.  The students will become so use to seeing and following the routine directions that you’ll smile and pat yourself on the back.

Participation Flip Charts

Who else has the same 3 to 5 students doing ALL the participating in a lesson? This was a problem I struggled with for a long time. I tried to give wait time, encourage new voices, include think-pair-share, and a variety of other strategies. When I came across these little flip charts at ReallyGoodStuff.com, I wanted to give them a try. Students place these on their desktops with one side facing me and one side facing them. Each time an individual participates (volunteers), he/she can flip a page and change the 3 into a 2, or the 2 into a 1, or the 1 into a 0! I set a goal of reaching 0 by lunchtime. While it hasn’t been a magical tool that has everyone participating, it certainly has encouraged many more students to get involved. I have students store these away in their math folders before we head to lunch and have been able to keep them in good enough shape to reuse for 3 years. These participation flip charts really help me as a teacher make sure I am calling on a variety of students and reflecting on why others may be more reluctant. It’s a great tool!