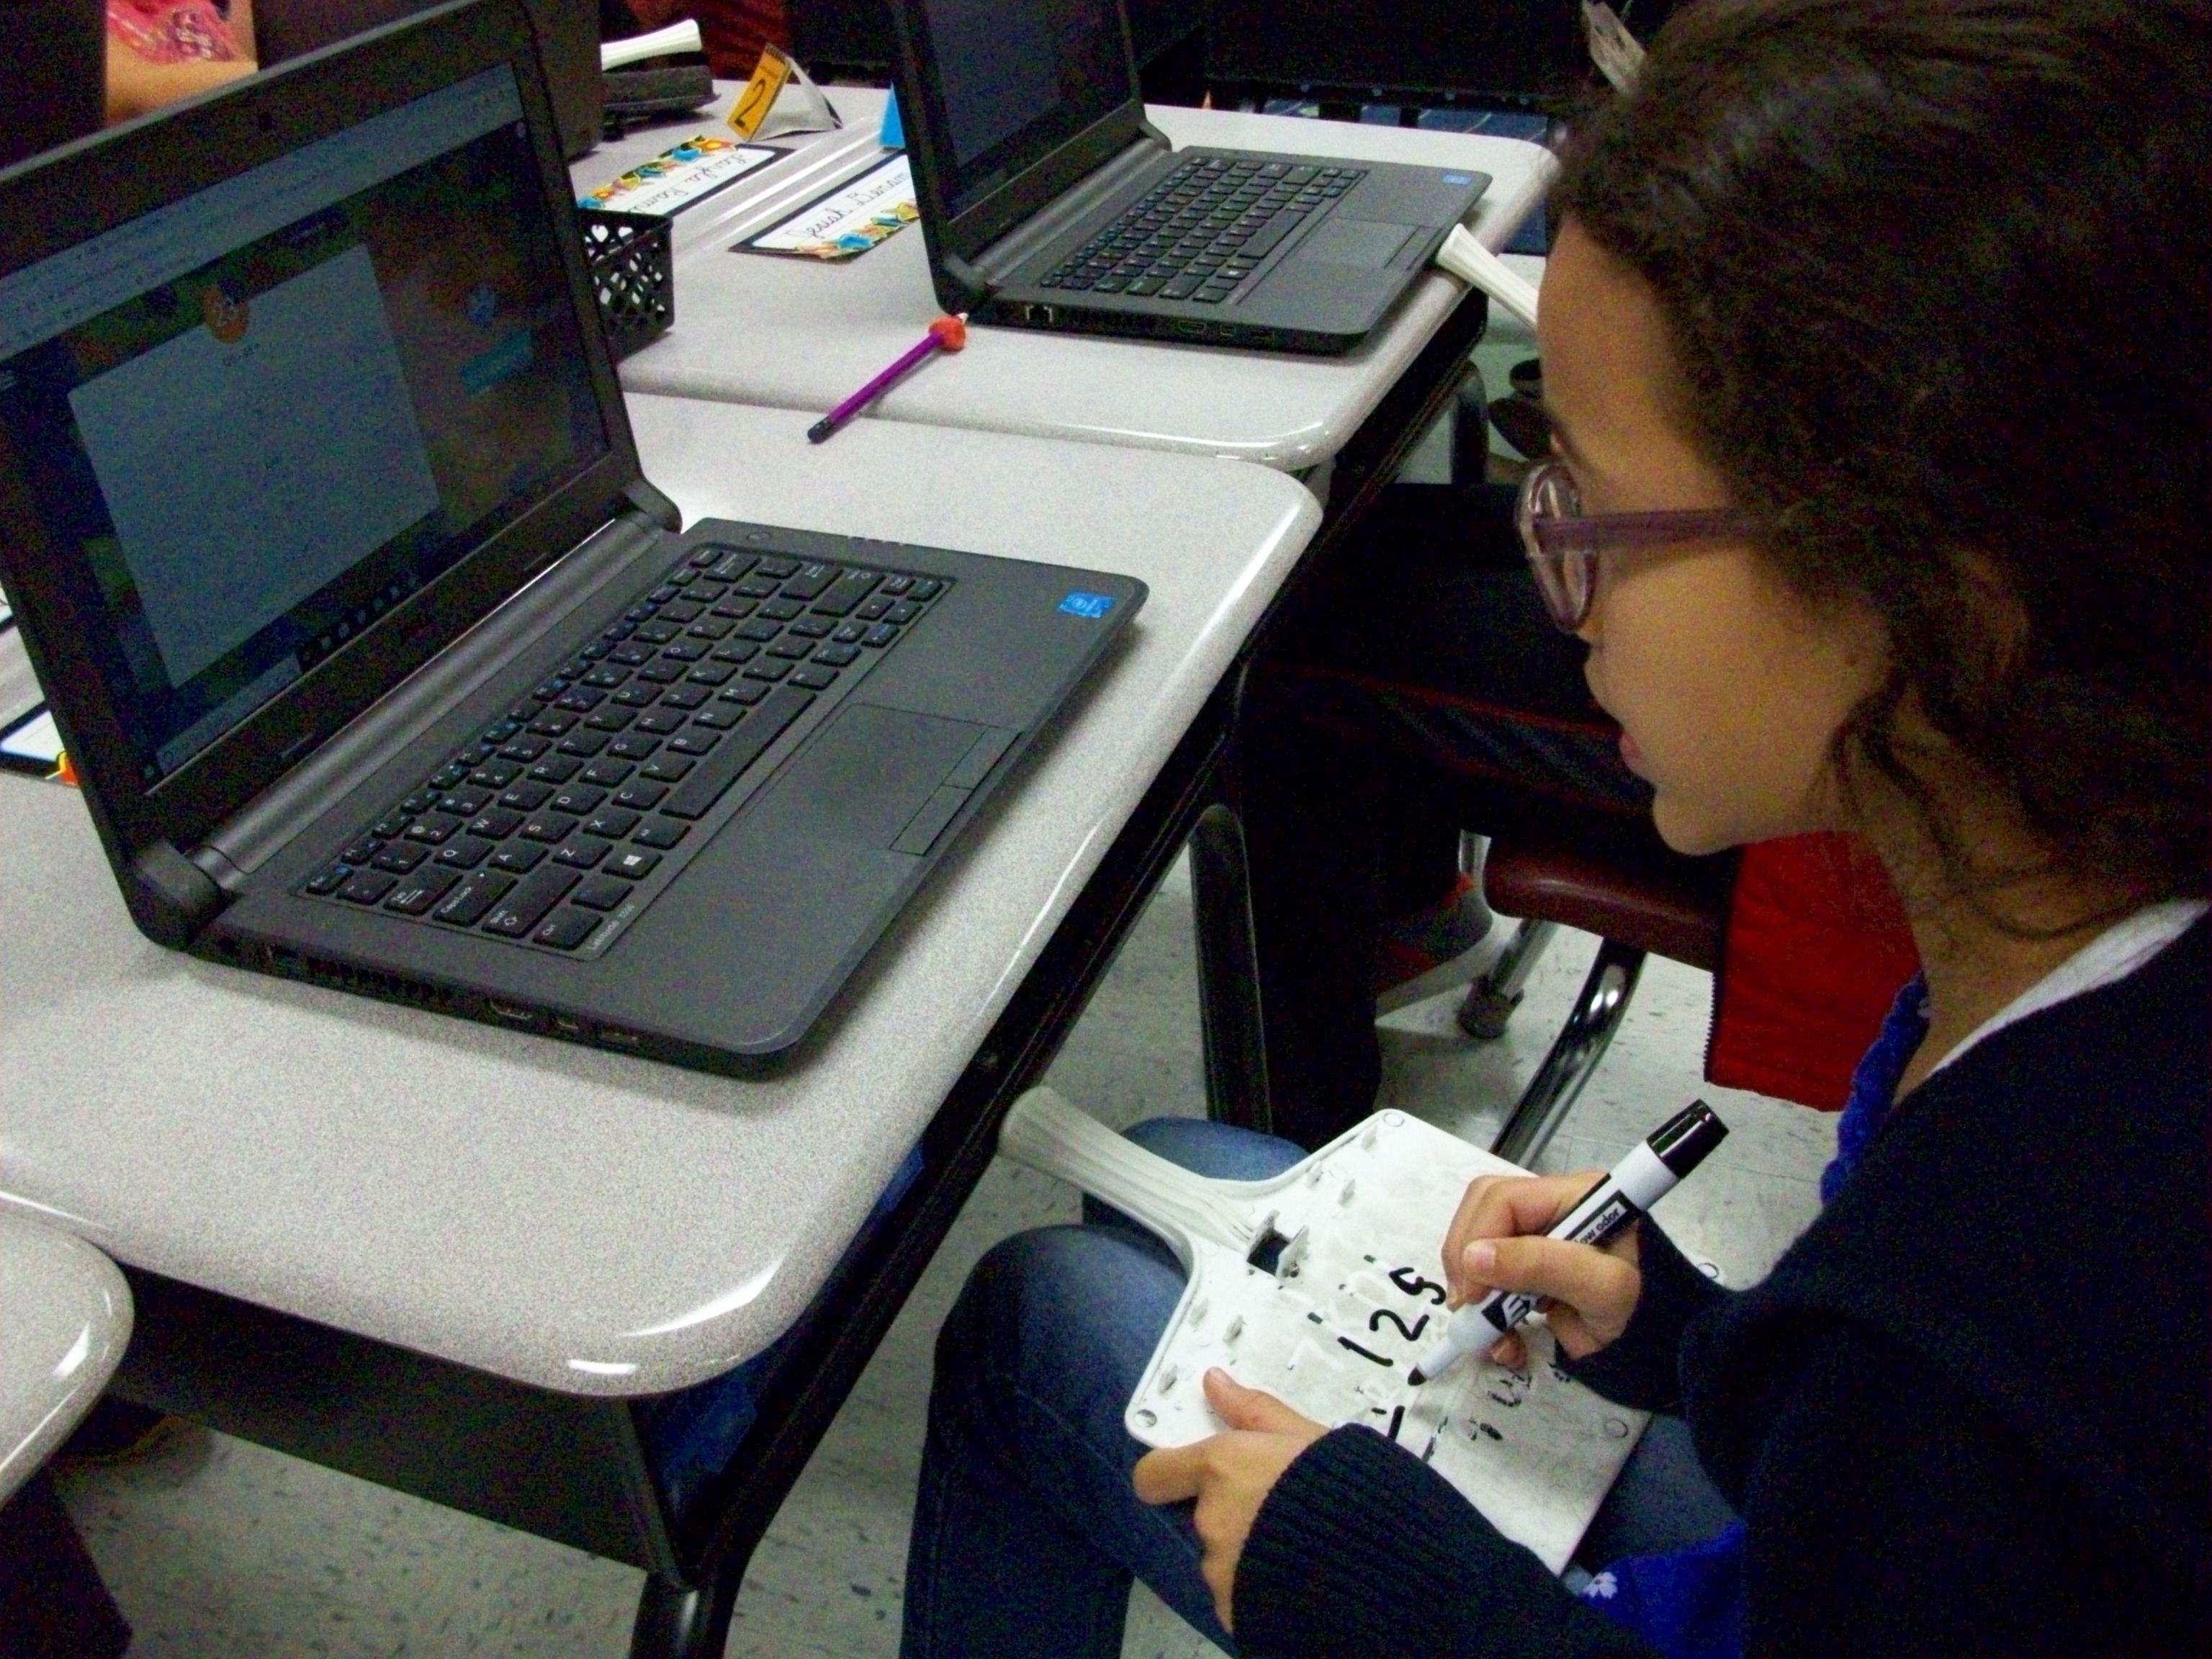
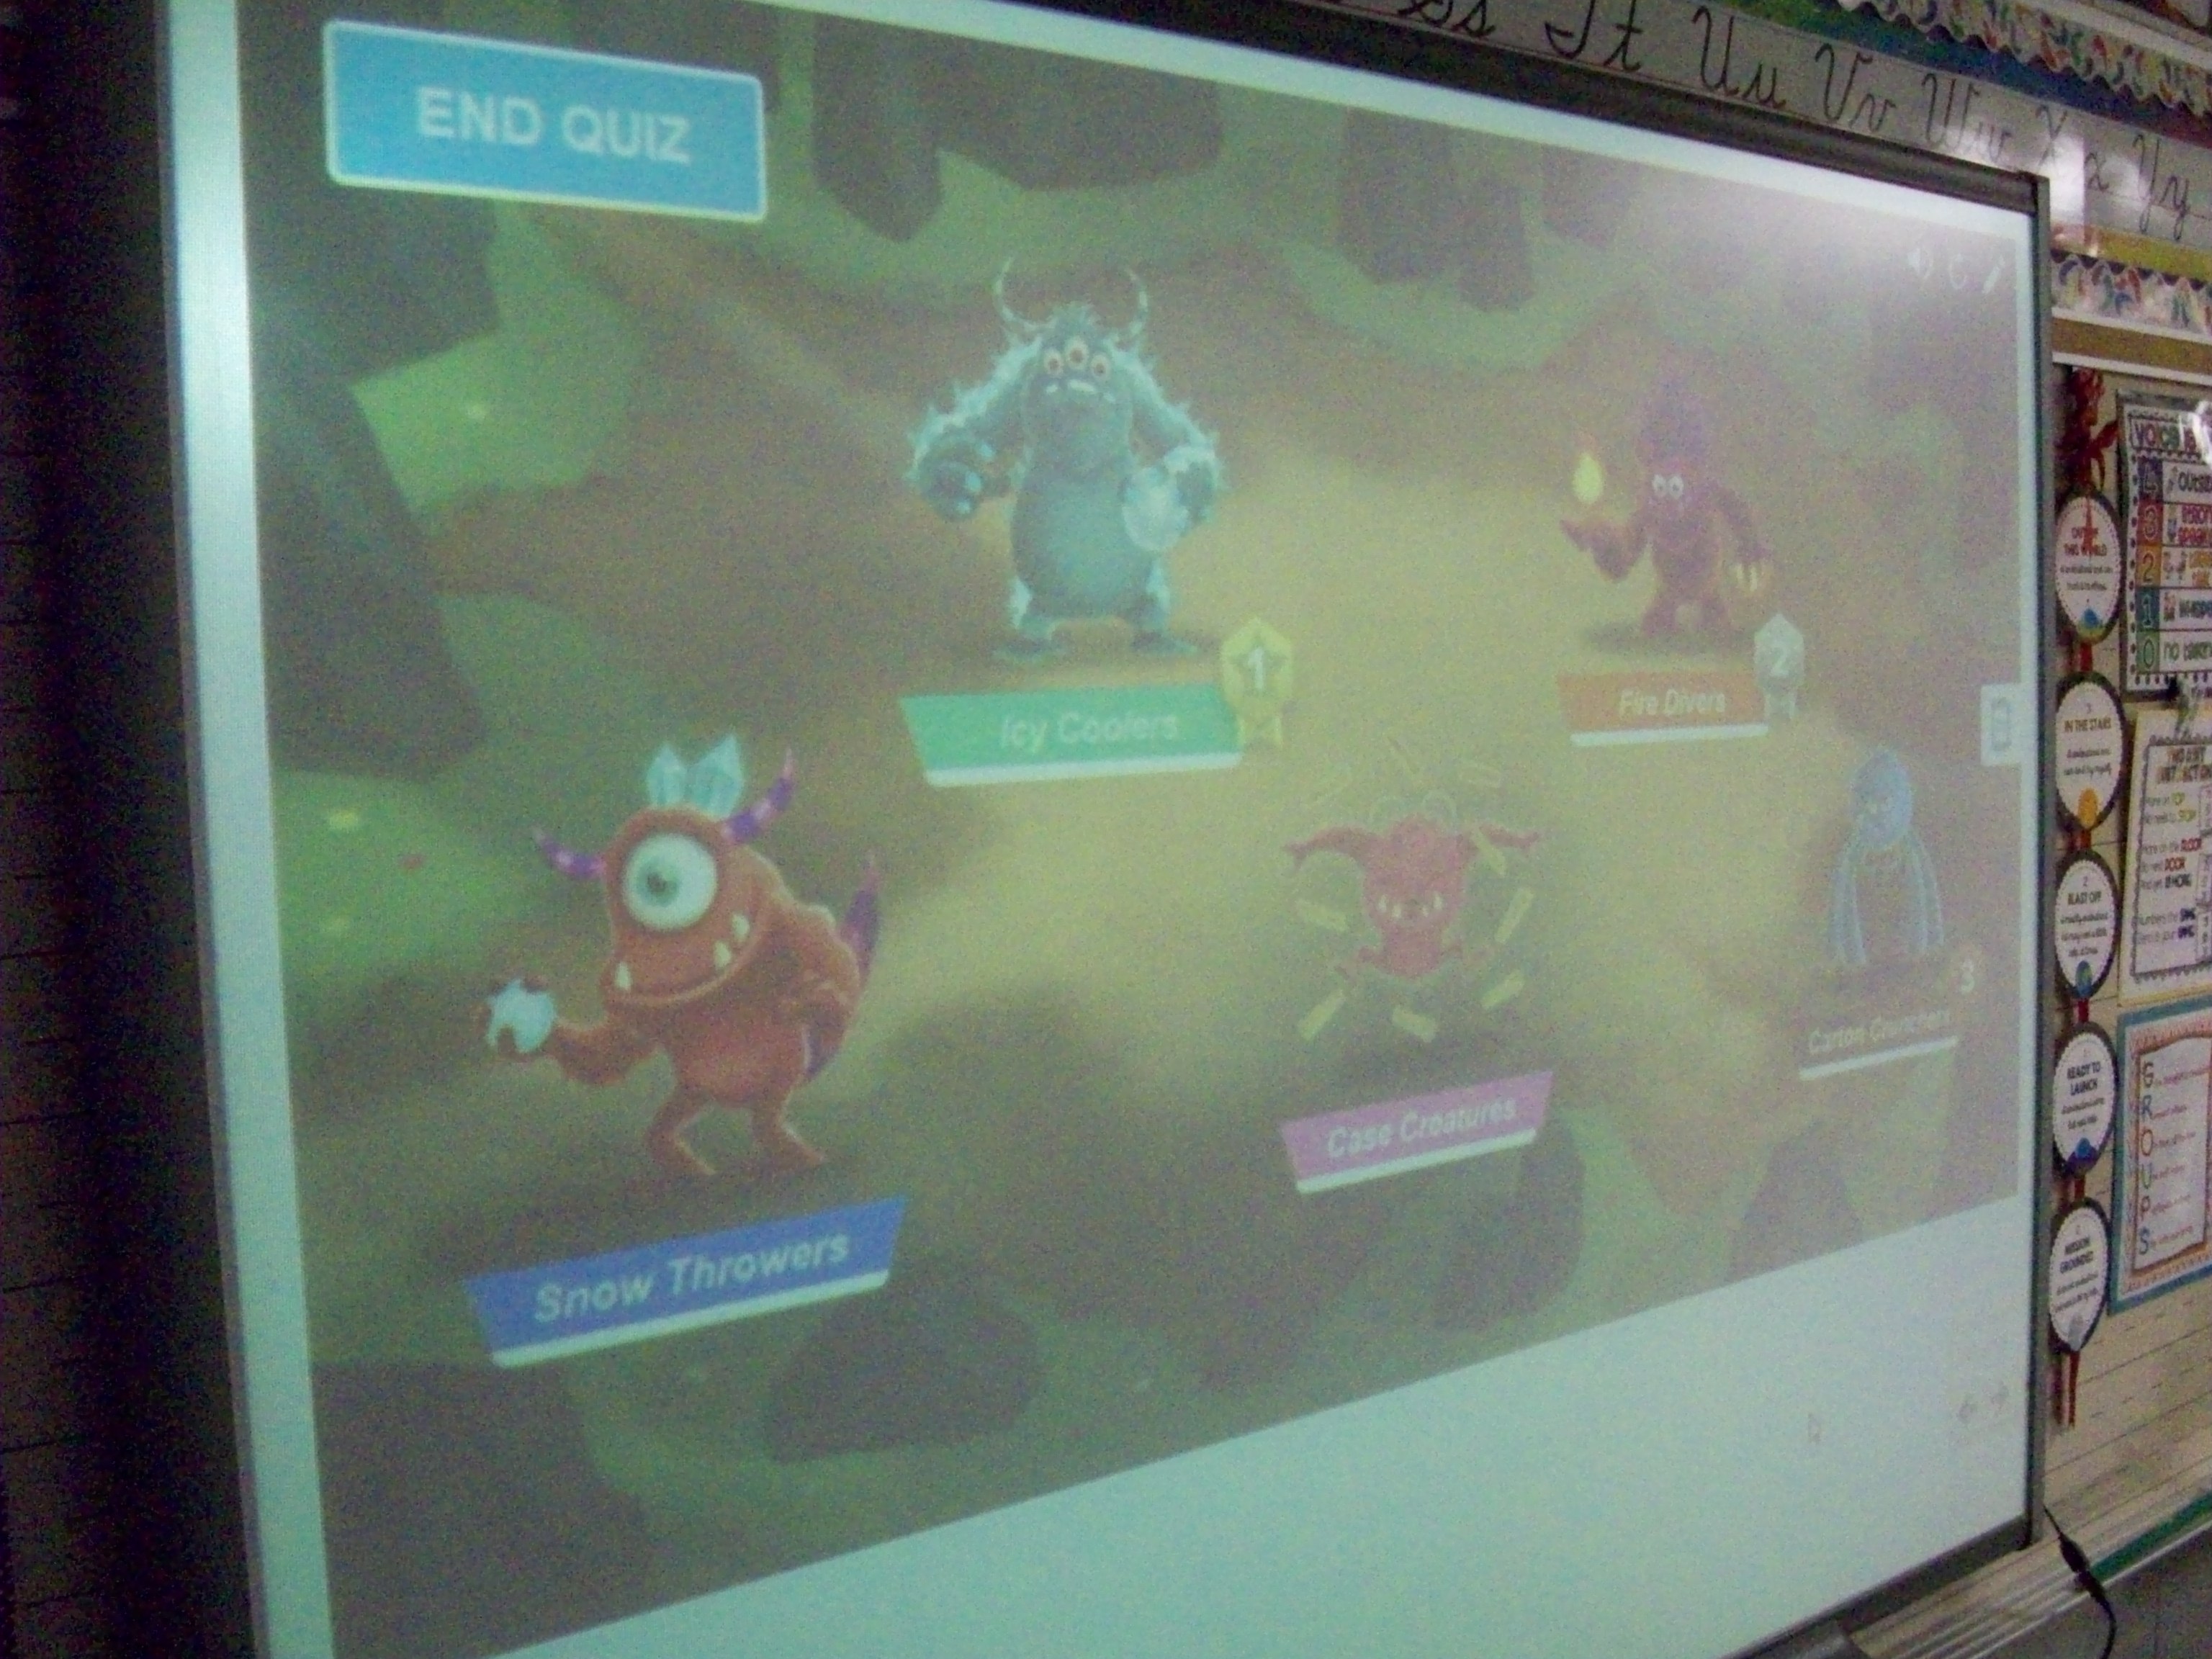
SMART Lab has several great game templates (shout out, match, sort, etc.). One that is perfect as a team review game is Monster Lab. I created 10 multiple choice questions for three-digit addition and subtraction. Each student logged onto hellosmart.com and entered his/her name. I had the program randomly sort them into 5 teams. (Teachers have the option of rearranging the members if they want better balance before the challenge starts.) Every student also had a dry-erase board and marker to work out the sums and differences. The kids were so focused during this 15 minutes that you could hear a pin drop! Though there were several quiet bursts of joy when students and saw their team monster begin to burst from the shell with every correct answer. I know they enjoyed this activity a lot because many asked to do it again. So it looks like Monster Lab review games are a winner!
SMART Boards
Checklists
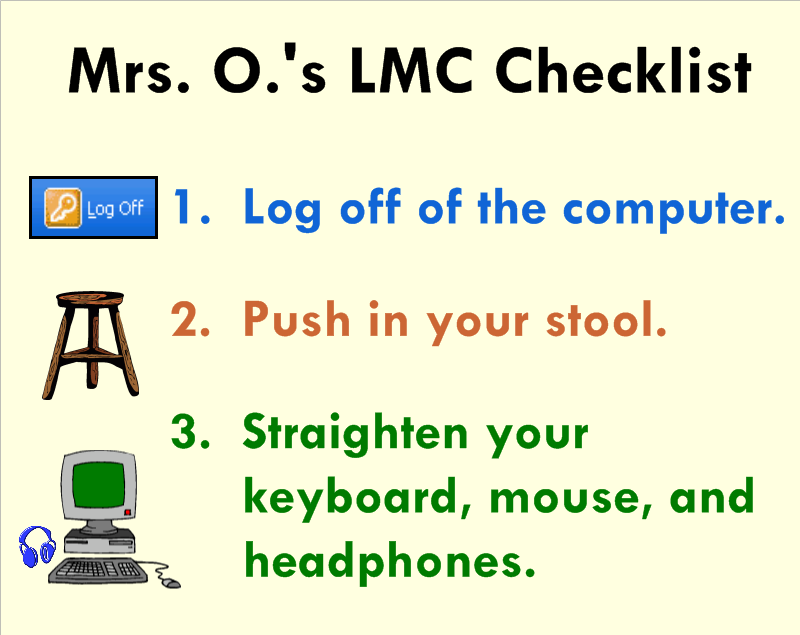
Think about all of the things you repeatedly say throughout the week. Think about all of the kids who are visual learners. Now think about how much time and breath you’ll save by making simple to do lists or checklist for your students using SMART Notebook! I prefer to use 3-5 simple statements coupled with a clipart image for each. The students will become so use to seeing and following the routine directions that you’ll smile and pat yourself on the back.
Basic Operation and Care
Components
The computer sends an image to the projector through a RGB or VGA cable. The projector transmits the image onto the interactive whiteboard. The board relays any input messages (use of pen tools or hand) to the computer through a USB cable.
When you press the board with a pen tool or your finger, the top layer of the screen makes contact with the back layer of the screen. Press with intent to ensure that your actions are recognized by the back layer.
Safety
- Never look directly at the projector’s light beam.
- Never touch the projector. It can become very hot during operation.
- Never use a chair to increase a student’s reach on the SMARTTM board.
- Never use other writing utensils (markers, pencils, ink pens, etc.) on the board. Keep these materials and others (scissors, liquids, etc.) away from the area.
- Be mindful of cords and the legs on portable models.
Cleaning and Orienting
Glass PlusR Multi-Surface Cleaner and a soft paper towel or cloth are recommended for cleaning the board. This should be done as needed. Try to make it a habit to clean and orient your board once a week.
Etiquette
Only one user can touch the board at a time. Since only one point of contact can be recognized by the board, so you may need to adjust how you hold the pen tools when writing. Do not rest your hand on the board. If you are right-handed, it is best to stand on the right side of the board. This way your body will open up to your audience.
The Pen Tray
The four SMARTTM Board pens are simply hollow plastic tubes. Optical sensors on the pen tray notify the computer when a pen is removed. If you pick up two or more tools without returning the others, the board will recognize the last tool selected.
One pen try button will launch the keyboard. The second button allows you to access right-click. Pressing them both at the same time will open the orientation screen to align the board with the projector.
Indicator Lights
The status light (ready light) is located on the bottom right side of your SMARTTM Board.
|
Color of Light |
Status |
| Not Lit |
|
| Solid Green |
|
| Flashing Green |
|
| Solid Red |
|
| Flashing Amber |
|
| Solid Amber |
|
Got Wordle?
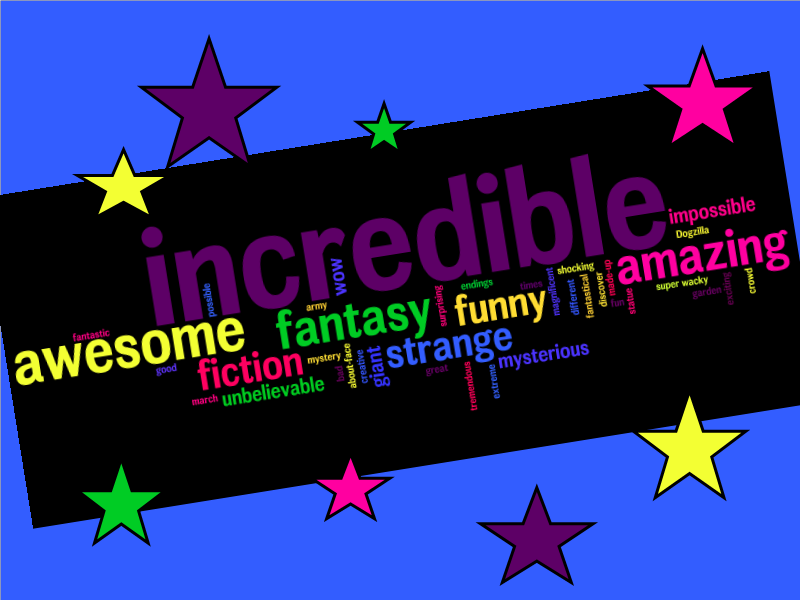
Wordle, www.wordle.net, is a website for creating word clouds. Simply type in a series of words using commas. The more often the word is included, the larger it will appear in the final word cloud. Then customize the themes, fonts, and colors. Use the SMART camera tool to take a picture and add it to your SMART file. There are a variety of classroom applications. Ask your students to write down five words to describe a character from a story, a scientific concept following the unit of story, or an upcoming holiday. This can be an individual or small group task. Or create a Wordle on a topic of study and use it to preview the chapter. Students can view it and make connections to prior knowledge. Or type each of your student’s names to create a class word cloud that can be an image on your classroom website or your classroom computer’s desktop background. TIP: Type your words in a Word document and paste them into the field on the site. Because if you decide to “go back” and add, delete, or change words, you will be sent back to the home page. Your work is not saved on the site. Also, for two words that you’d like to stay together such as United States, put a ~ between the words (United~States).
Pete’s Presentations

Phillip Martin has outdone himself with his collection of sites offering educators FREE PowerPoint presentations, education websites, and clipart. The main site, Pete’s PowerPoint Station, has links to numerous resources. I’d recommend viewing all of the themes and topics at Pete’s Presentations because you can look at all of the possibilities. Sub-sites include Gretta’s Game Station and Hannah’s Homework Help Station. Don’t miss the clipart link. Mr. Martin’s unique, colorful cartoon style appeals to all children.
As long as you use it for your classroom (newsletters, website, interactive whiteboard lessons, self-made worksheets, etc.), these amazing resources are yours at no cost. He does ask that you tell someone else about the site. I’d say that is the least we can do to thank Mr. Martin for his outstanding artistry and organization. This is a teacher’s jackpot!
Pete’s Presentations
http://www.pppst.com/themes.html
Gretta’s Games
http://games.pppst.com/index.html
Hannah’s Help
http://resources.pppst.com/index.html
Circle Tap to Erase

Do you need a shortcut for erasing a large area of writing on your SMART Board™? Try “Circle Tap” to erase words or drawings created with a pen tool.
- Make a complete circle on the board using the eraser around an area with writing. You can use the actual eraser tool in your hand or by clicking on the eraser in your top toolbar. Make sure the circle ends wear you began. And don’t dawdle. If you take too long to draw the circle with your eraser, this will not work.
- Tap firmly in the center of the invisible circle you drew. Your writing within that area will disappear.
- This will only work on words or drawings that were created with a pen tool. Typed text, shape tool objects, graphics, etc. will remain on the page.
- This skill sometimes takes new users a few attempts to master. Remember . . . draw complete circle with the eraser tool and firmly tap in the center.
Graffiti Wall

I sometimes use a traditional paper graffiti wall to accompany a novel study, read aloud, or thematic unit. It gives students an opportunity to express their thoughts in words and pictures and promotes a written discussion. The SMART™ Board takes this activity to another level. For a chapter book, you can have multiple SMART Notebook™ pages, one for each chapter. The larger electronic version of a graffiti wall also allows you to more easily discuss posted comments and questions with the entire class. It can be left up for students to use while the teacher reads aloud, during silent reading, or as a literacy station activity.
Linking

- Add a hyperlink to a website, an attachment, or another page within your file by first selecting your text or image. A blue line will appear around it to signify it was selected to have an action performed.
- Using the drop-down arrow, select “Link.”
- Paste or type in the web address.
- Decide how you’d like your hyperlink to launch. Your choices include “Corner icon” or “Object.”
- Choose “Corner icon” to click directly on a small globe, paperclip, or page icon.
- Choose “Object” to click anywhere on the text or image.
- To remove this feature, click once on the image or text. A blue line will appear around it to signify it was selected to have an action performed. Use the drop-down arrow to select “Link” and “Remove Link.”
Seating Chart

Do you still make paper and pencil seating charts? Now with SMART™ Notebook, you can create a template of your classroom floor plan and manipulate the students’ names whenever you feel it’s necessary to switch things up. It also eliminates the need for the teacher to move the desks after school. Let the students view the setup and work with a partner to move desks to the new arrangement.
The First Way to Bulid Your Seating Chart
- Use the square drawing tool to make a desk. Add a fill color (tan) to the square, if you’d like. Use the infinite cloner option by clicking on the drop-down arrow of the first desk. Drag 24 (or the maximum number of students in your room) squares from the original. Remove infinite cloner from the first square. Position the desks in the arrangement you would prefer. Lock them in place so that they don’t move accidently when you attempt to adjust the name textboxes later on.
- Add shapes for necessary furniture, the SMART™ Board, or the classroom door if you’d like.
- Make one textbox with your longest students’ name. Use the “Infinite Cloner” option by clicking on the drop-down arrow of the textbox. Drag 24 (or the maximum number of students in your room) textboxes from the original. Remove infinite cloner from the first name. Position the names on each desk. Double-click on each textbox to change the name.
The Second Way to Build Your Seating Chart
- Use the square drawing tool to make one desk. Add a fill color (tan) to the square, if you’d like. Use the infinite cloner option by clicking on the drop-down arrow of the first desk. Drag 4 (or the maximum number of students in a table group or row) squares from the original. Remove infinite cloner from the first square. Position the 4 desks in the table or row arrangement you would prefer. Group the table or row of desk by marquee selecting them all, choosing one of the drop-down arrows, and selecting “Grouping” and the sub category of “Group.” Infinitely clone this group of desks until you’ve filled the page with the maximum number of tables or rows you need. Position them before marquee selecting all of the tables or rows and “Locking” them in place so that they don’t move accidently when you attempt to adjust the name textboxes later on.
- Add shapes for necessary furniture, the SMART™ Board, or the classroom door if you’d like.
- Make one textbox with your longest students’ name. Make 4 textboxes by using the “Infinite Cloner” option. Position the 4 textboxes in one of the table or row arrangements. Group these four textboxes (not the desks) marquee selecting them all, choosing one of the drop-down arrows, and selecting “Grouping” and the sub category of “Group.” Infinitely clone this group of 4 textboxes until you’ve filled the page with the maximum number of names you need. Remove infinite cloner from the first group of textboxes. Position the textboxes (grouped) on each table or row before selecting “Grouping” and “Ungroup.” Double-click on each textbox to change the names.
Infinite Cloner

Do you want students to have an infinite bank of coins to use in a SMART™ Board activity? Do you need many textboxes to create and manipulate individual student names? Save yourself time and/or space on SMART™ pages by using the “Infinite Cloner” function.
- Click on your image or text. A dotted blue line will appear around it to signify it was selected to have an action performed.
- Using the drop-down arrow in the upper right corner of the selected text or image, choose “Infinite Cloner.”
- Now you can create duplicates by simply dragging the image or text to a new area of the page.
- To remove, click on the image or text and a dotted, blue line will appear. Click on the infinity symbol in the upper right corner of the image or text. Then click on the words “Infinite Cloner” to uncheck and stop the infinite cloner function.
